How To Create a Glitter Volcano
If you’re looking for a captivating craft activity that combines the thrill of the outdoors with the joy of artistic expression, you’ve come to the right place. This Glitter Volcano craft project not only lets kids dive into the world of hands-on creativity but also teaches them about natural phenomena.
This delightful craft is not only a breeze to complete but offers weeks of entertainment. Children can revel in crafting their own glittering volcano and then witness the enchanting eruption of sparkling lava. Unleash your child’s inner scientist and artist with this glittery volcano craft project.
What You’ll Need to Create a Glitter Volcano:
- Kraft paper
- A small plastic bottle
- Baking soda
- Vinegar
- Glitter
- Dishwashing soap
- Food coloring
Instructions for Making Your Glitter Volcano:

Step 1: Add Texture to Your Paper
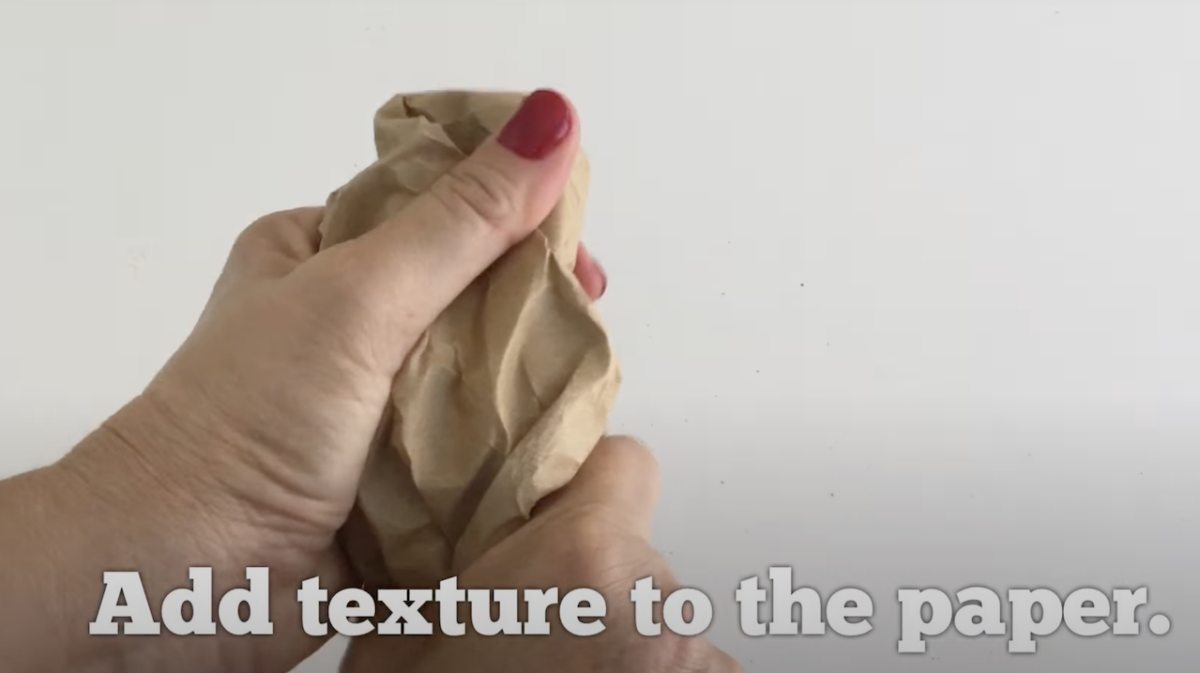
To begin creating your dazzling Glitter Volcano, you’ll want to add some texture to your craft. Take a sheet of kraft paper and gently crumple it up. This crumpling process gives the paper a realistic, volcanic texture that will make your craft even more impressive.
Step 2: Cover the Bottle
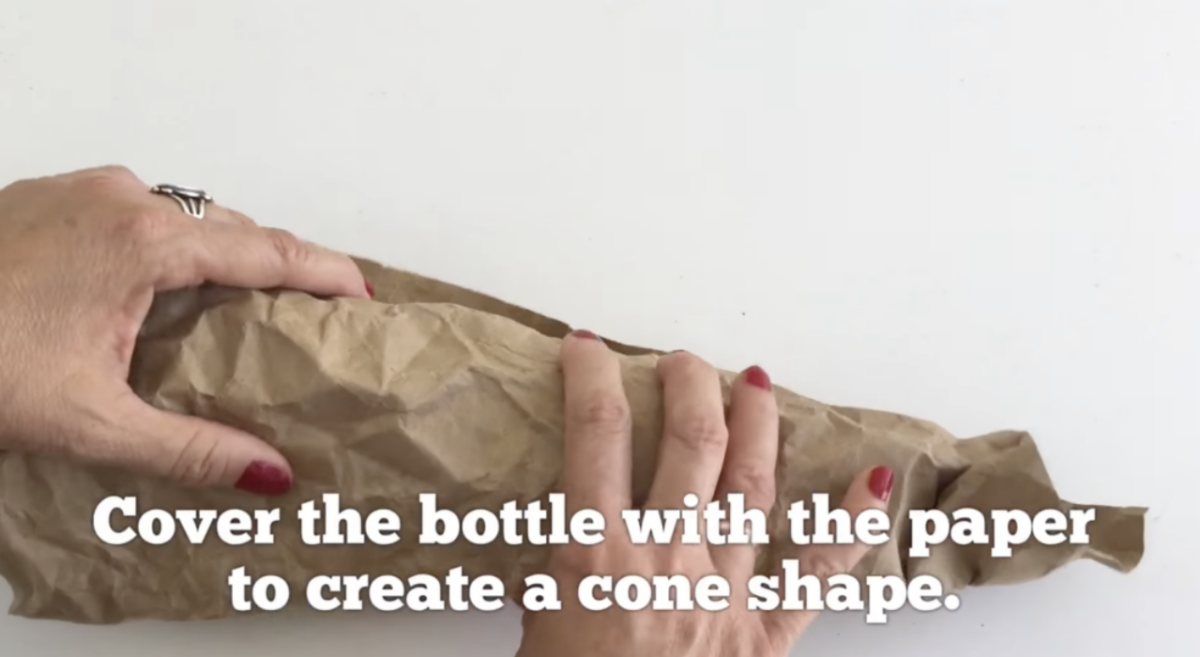
Now, take the crumpled kraft paper and wrap it around the plastic bottle to form a cone shape. The cone shape mimics the iconic appearance of a volcano.
Secure the edges of the kraft paper with tape to keep it in place. You’ll also want to trim the top and bottom edges of the paper to ensure the bottle can stand upright, and you have easy access to the top.
Step 3: Mix the Eruption Mixture
In preparation for the exciting volcanic eruption, you’ll need to create a special mixture. Grab a bowl or a large measuring cup and combine the following ingredients:
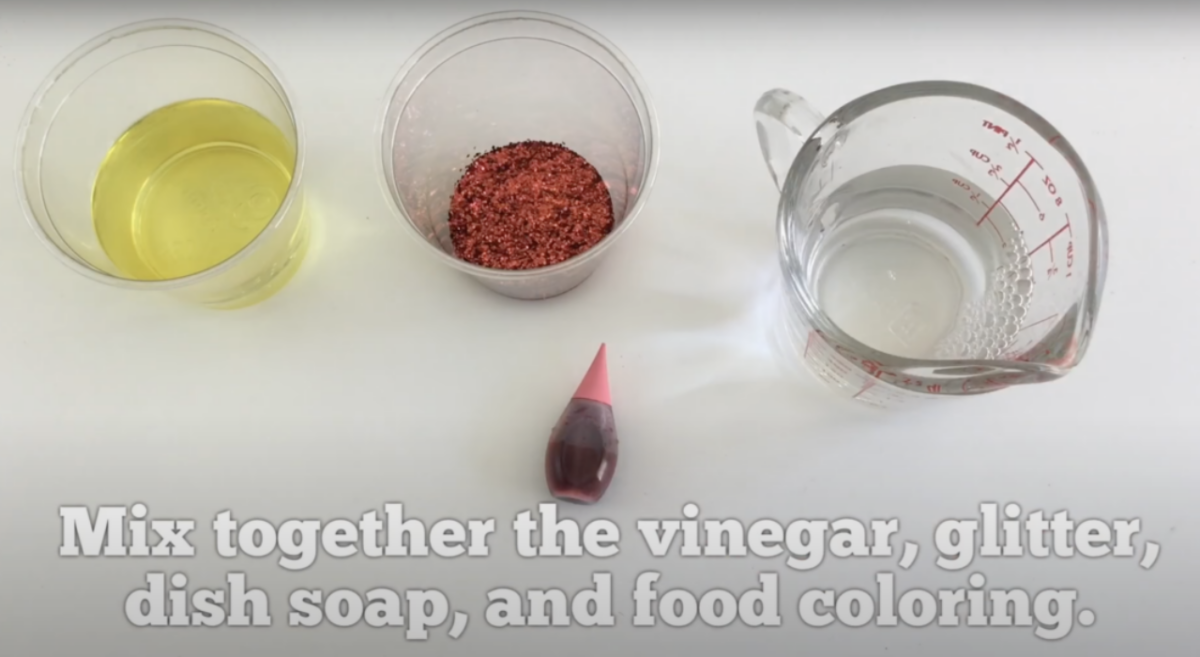
- Dish soap
- Vinegar
- Food coloring (choose a vibrant color)
- Glitter
Mix these components thoroughly to create a visually stunning and effervescent eruption
Step 4: Add Baking Soda
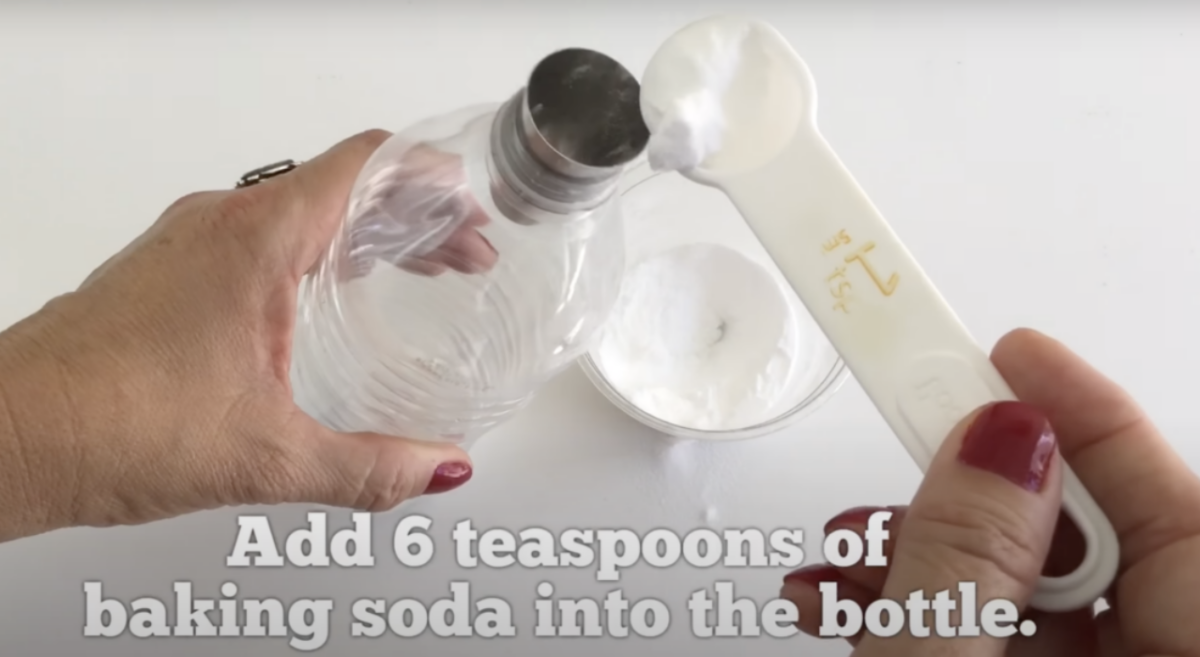
Now, it’s time to set the stage for your volcanic explosion. Carefully remove the kraft paper cover from your plastic bottle. Inside the bottle, add six tablespoons of baking soda. This baking soda will act as the catalyst for the upcoming volcanic reaction.
Step 5: The Grand Eruption
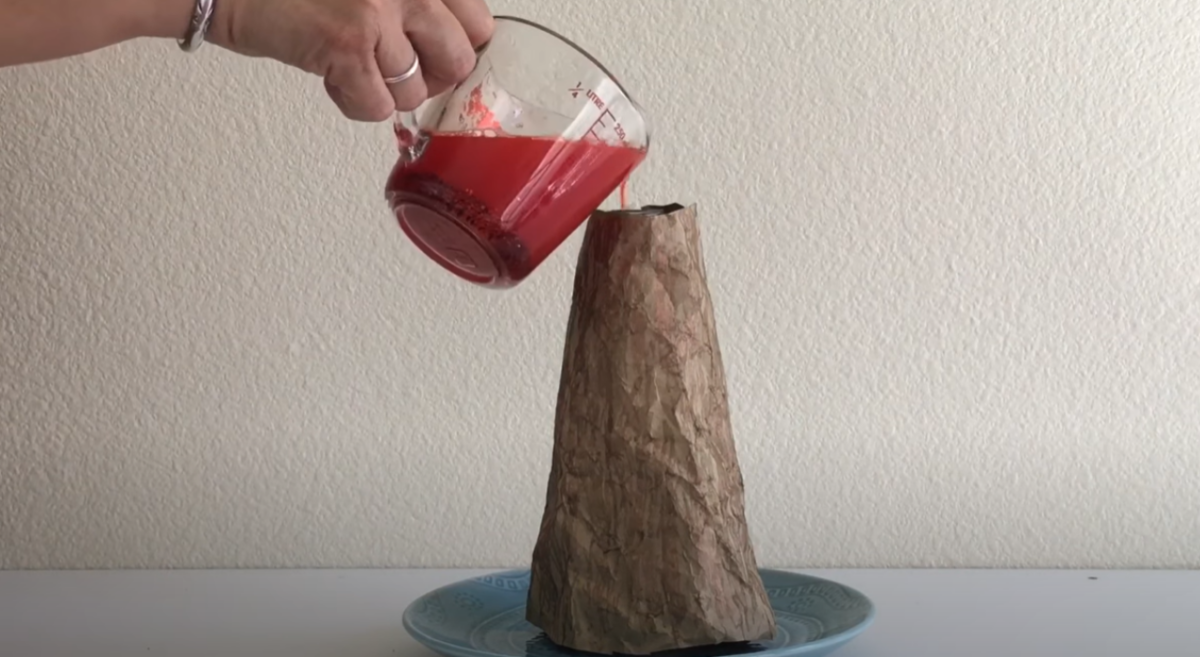
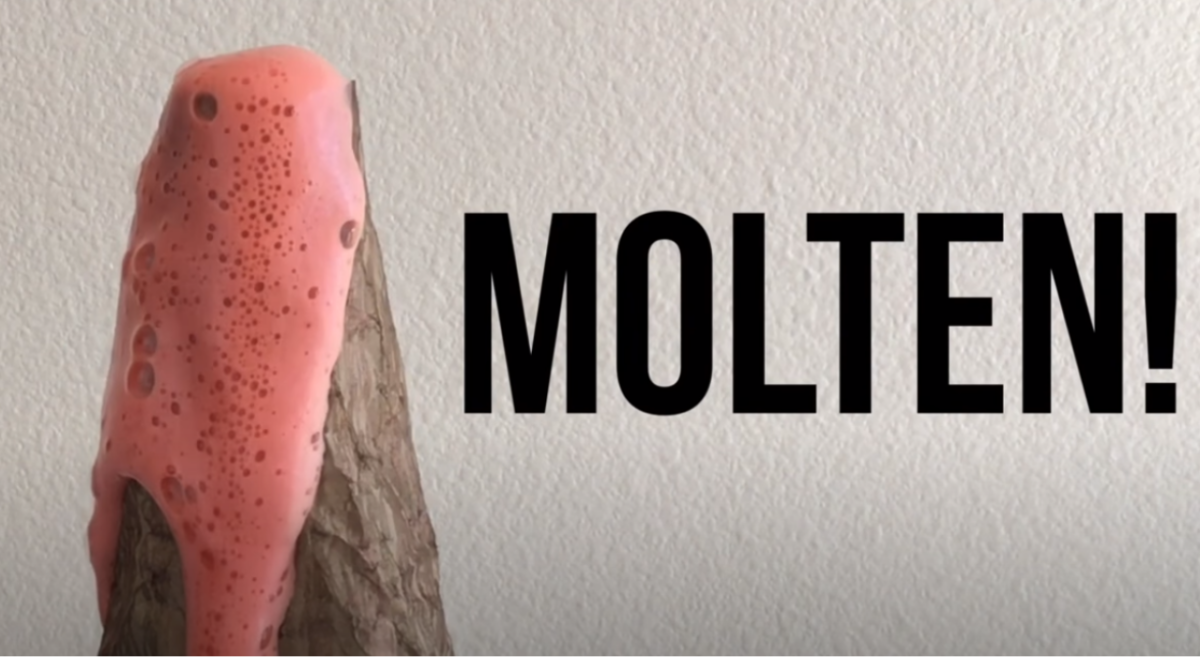
With everything in place, it’s time for the main event. Pour the prepared vinegar mixture into the bottle. If you have a funnel, this is a handy tool to use. As the vinegar mixture comes into contact with the baking soda inside the bottle, you’ll witness an enchanting eruption. The glitter will add a sparkling effect, making it a mesmerizing and realistic volcano display.
Step 6: Enjoy the Sparkling Show
The eruption is the highlight of your Glitter Volcano craft. It’s a captivating and entertaining spectacle that you and your children will love. If you’re ready for another eruption, simply repeat Step 5. The glittery lava will continue to enchant and impress with each display.
Note: Don’t forget that you can also watch our video tutorial that showcases the entire process of creating this Glitter Volcano craft project from start to finish. Get ready for a dazzling adventure that combines science and art!


