Fun Fall Craft for Kids: Yarn Pumpkin
Looking for a simple and creative fall or Halloween craft to do with your kids? This yarn pumpkin project is a perfect way to add some handmade charm to your fall decorations. Using just a few materials, you and your little ones can create a cute and festive pumpkin that’s sure to impress. It’s an easy activity that’s great for all ages, but does require adult supervision.
What You’ll Need for Your Yarn Pumpkin Craft:
- Yarn: Orange yarn works best for a classic pumpkin look, but feel free to use any color you like to create a unique pumpkin.
- Balloon: A small balloon will form the base shape of your pumpkin.
- Glue: White craft glue mixed with a little water will help the yarn harden into shape.
- Pipe Cleaners: Green pipe cleaners will be used to make the stem and curly vine.
- Pencil: This will help you twist the pipe cleaners to create a curly stem or vine.
Instructions for Making Your Yarn Pumpkin Craft:
Step 1: Gather Your Supplies
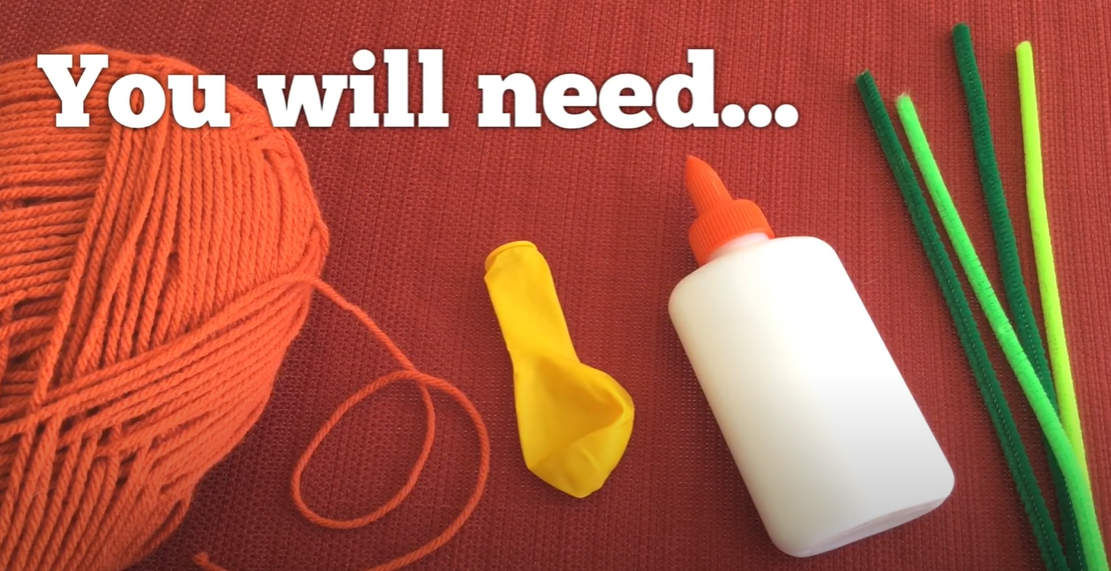
Start by assembling all of your materials on a clean, flat surface. Make sure you have everything you need within easy reach.
Step 2: Blow Up the Balloon
Blow up the balloon to your desired size, which will determine the size of your pumpkin. Tie the end securely.
Step 3: Dip the Yarn into Glue
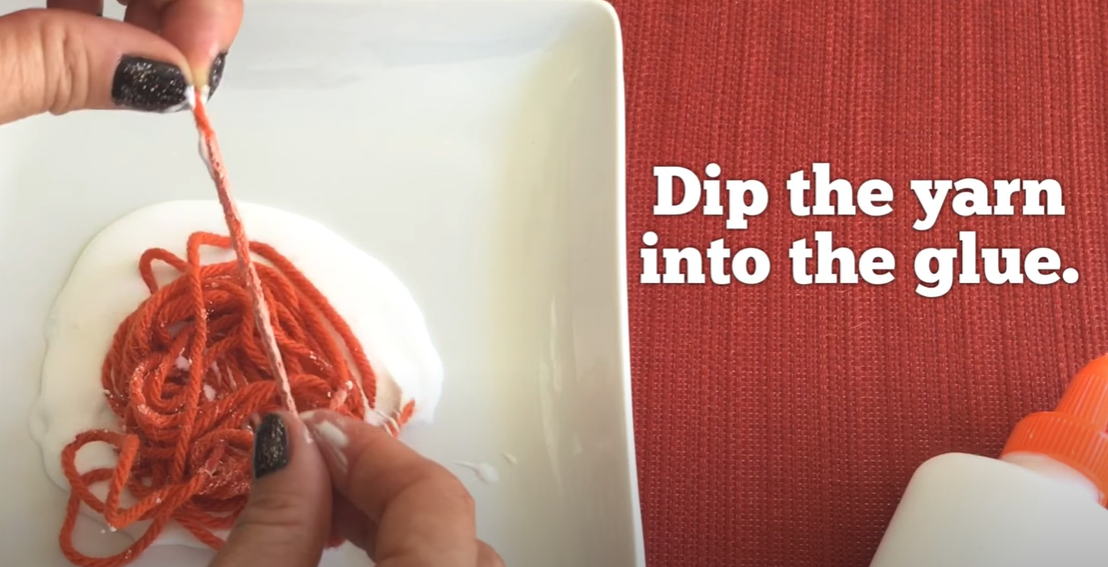
In a bowl, mix your craft glue with a little bit of water to thin it out. Dip the yarn into the glue mixture, making sure it’s fully coated.
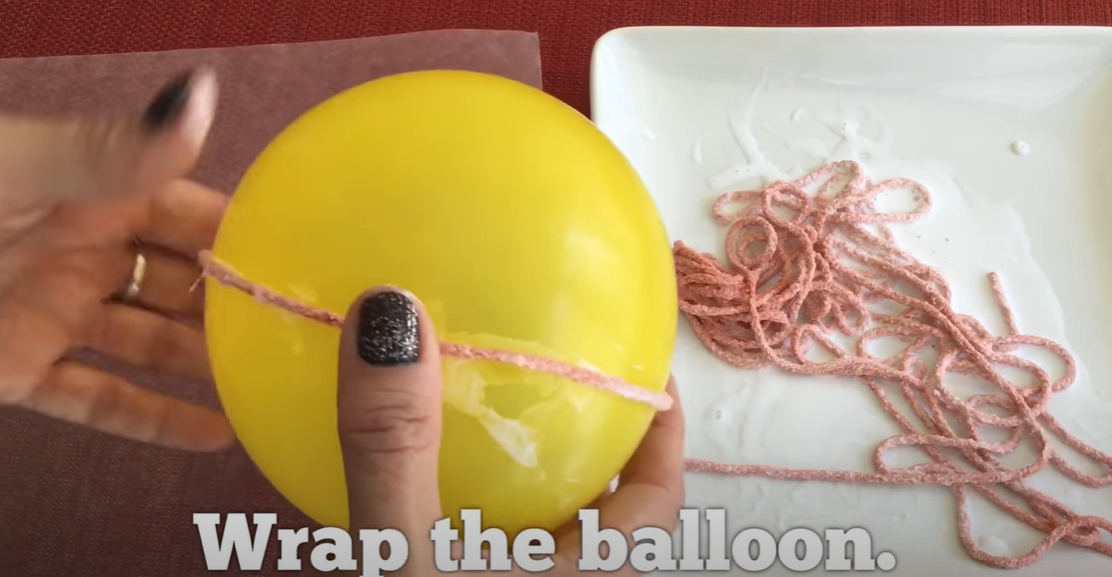
Step 4: Wrap the Balloon
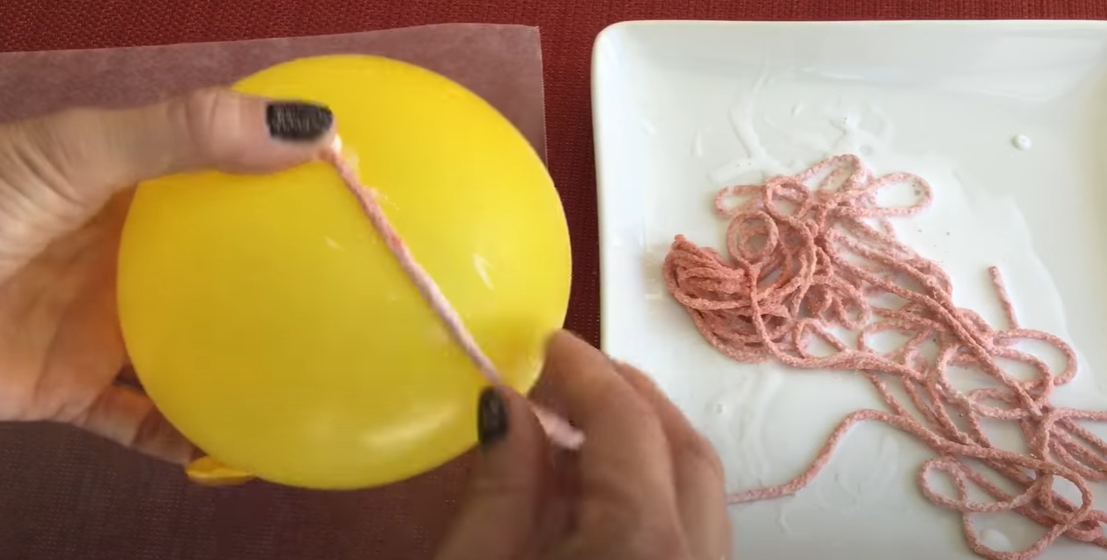
Carefully wrap the glue-coated yarn around the balloon in various directions, creating a crisscross pattern. Continue wrapping until the balloon is mostly covered, leaving some gaps for the light to shine through if you’re planning to add a light inside.
Step 5: Let it Dry Overnight
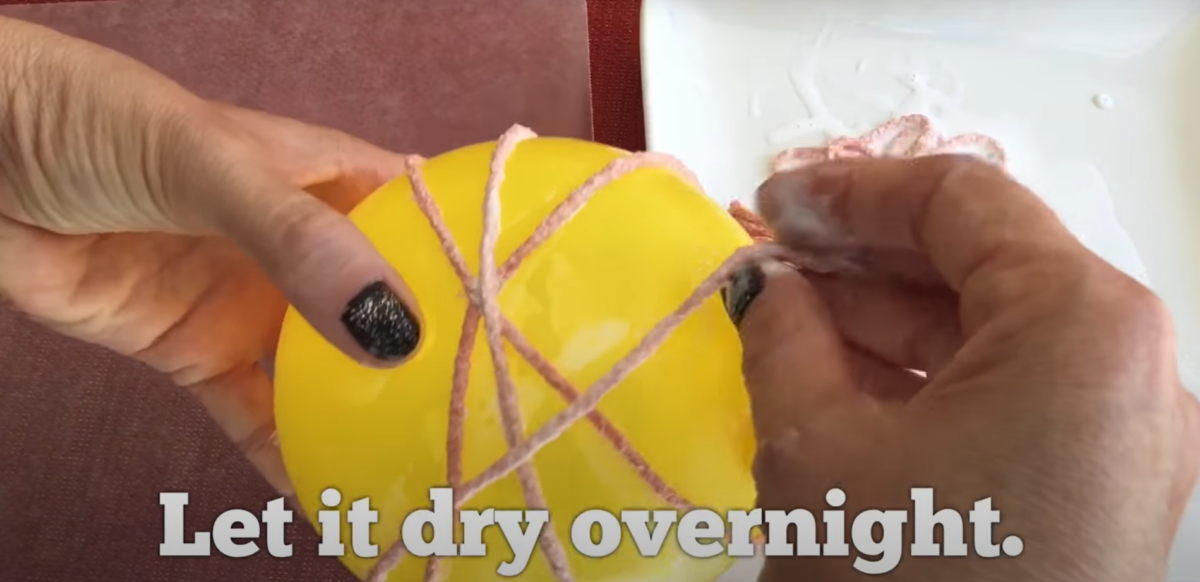
Place the wrapped balloon on a piece of wax paper or hang it up to dry. Let it dry completely overnight. The yarn should harden as the glue dries.
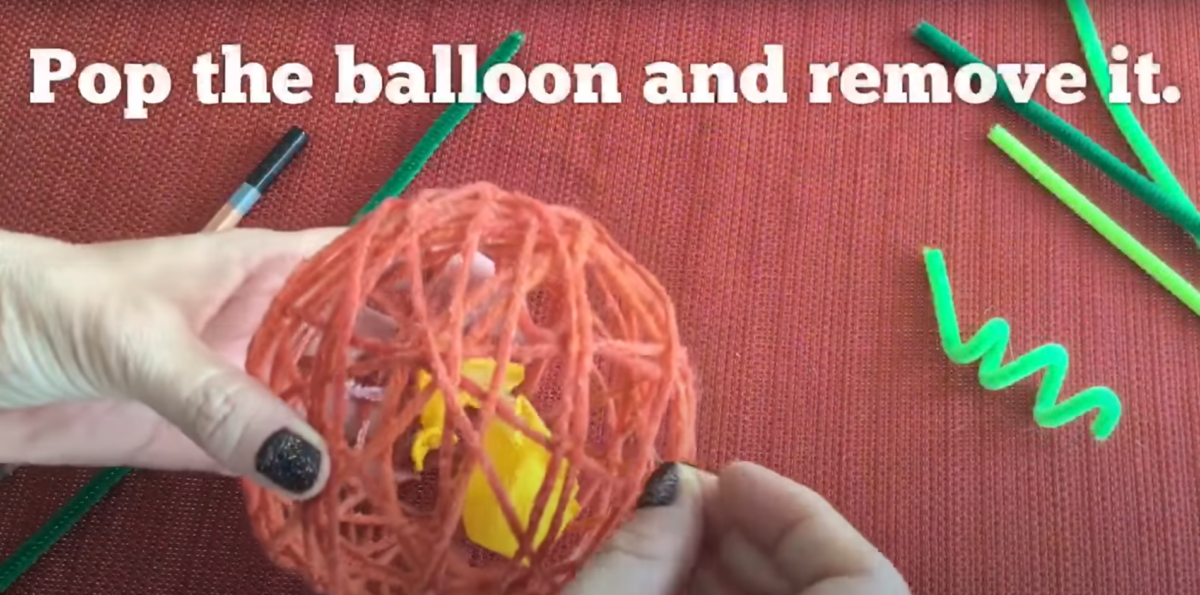
Step 6: Pop the Balloon and Remove It
Once the yarn is completely dry and hardened, pop the balloon with a pin or scissors. Carefully remove the balloon pieces from inside the yarn pumpkin.
Step 7: Make a Pipe Cleaner Stem
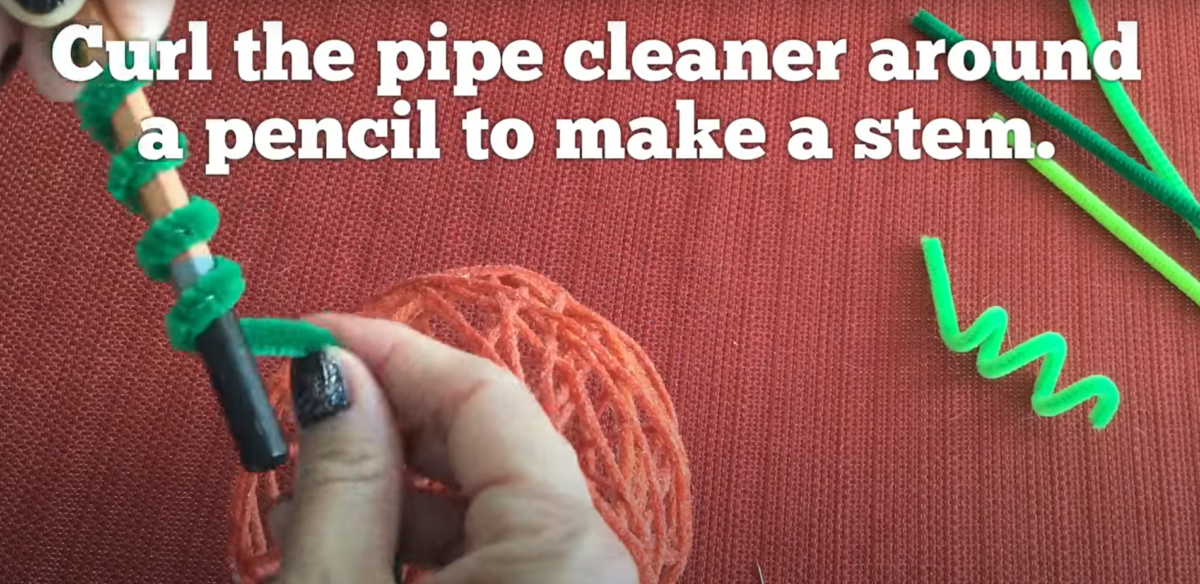
Take a green pipe cleaner and twist it around a pencil to create a curly vine. Form a small loop or spiral at one end to create the pumpkin’s stem.
Step 8: Add the Stem
Insert the twisted pipe cleaner into the top of your yarn pumpkin to create the stem. You can secure it with a dab of glue if needed.
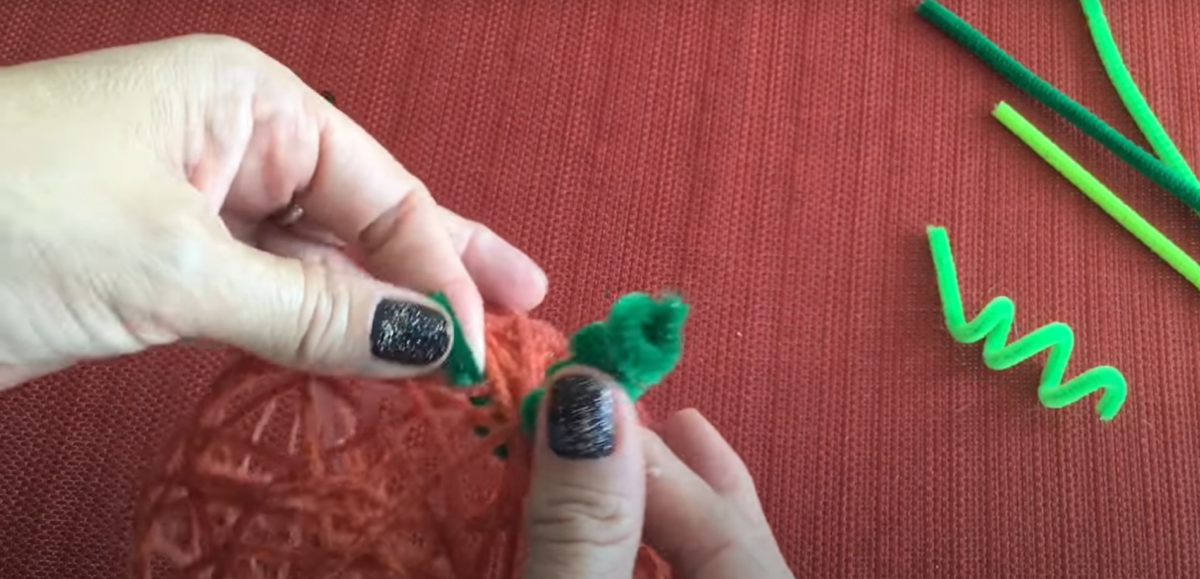
Step 9: Add a Twisty Leaf
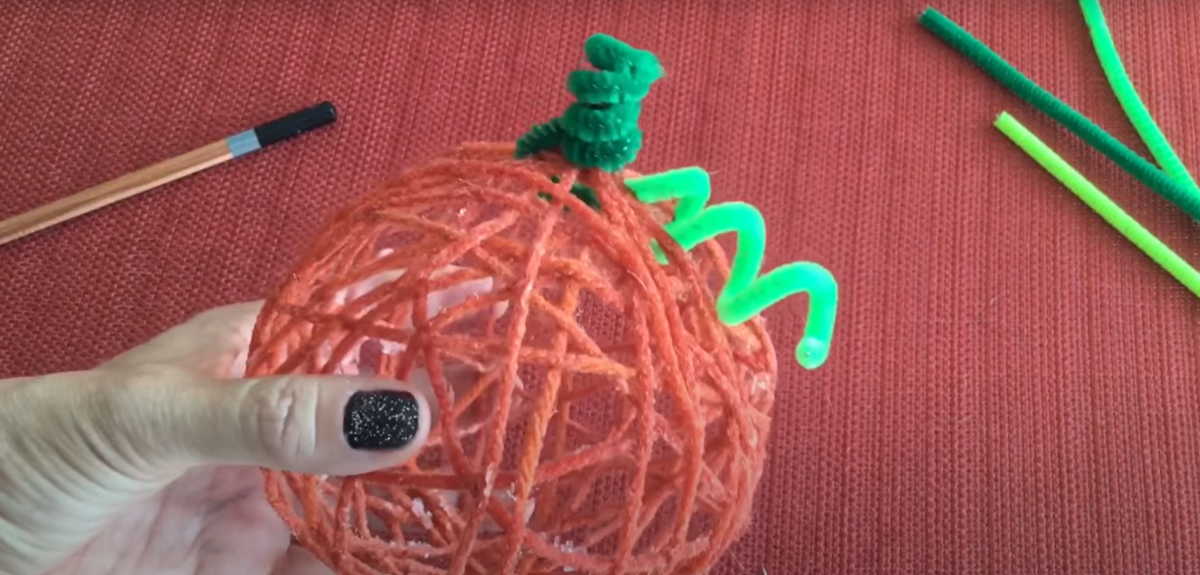
To add a twisty leaf, use another green pipe cleaner, twisting it around the pencil just like you did with the stem. Attach it next to the stem for a cute, finishing touch.
Step 10: Display and Enjoy!
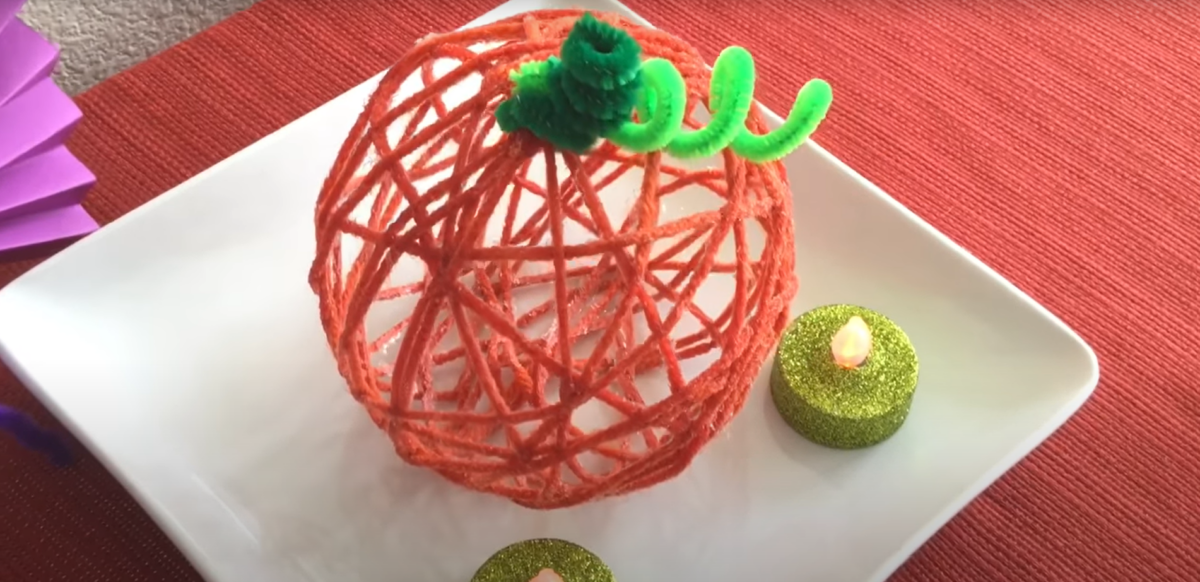
Your yarn pumpkin is now ready to be displayed! Place it on a shelf, use it as a centerpiece, or add it to your fall or Halloween decorations.
Tips for Making the Yarn Pumpkin Craft with Young Children:
- Supervise Balloon Use: When blowing up the balloon, ensure an adult is present, especially with younger children, to avoid over-inflating and potential popping the balloon.
- Watch for Glue Messes: Keep a damp cloth or disposable wipes nearby to wipe off any excess glue from hands or surfaces to avoid sticky messes.
- Use Child-Safe Scissors: When cutting the yarn or popping the balloon, make sure to use child-safe scissors and supervise closely.
- Protect Work Surfaces: Lay down newspaper or a plastic tablecloth to protect your workspace from glue drips and make cleanup easier.
- Handle Popped Balloon Pieces Carefully: When removing the popped balloon, be cautious of any small pieces to prevent choking hazards with very young children.
Congratulations on making your adorable yarn pumpkin! This charming craft is a great addition to your decorations for fall or Halloween and is a fun way to celebrate the season. Don’t forget to check out our other Halloween crafts, like the spooky Hanging Bat and the gooey Melting Monster, for even more creative and seasonal fun. Display your yarn pumpkin proudly and enjoy the festive atmosphere it brings to your home!

Try More Fun Halloween Games and Activities

Keep kids entertained this Halloween with spooky crafts, snacks, and free printables! Make balloon bats, yarn pumpkins, and tasty treats, or play Halloween bingo. Download coloring pages, word lists, and more for extra festive fun.
