Halloween Activity: Balloon Bat
Get ready for some high-flying Halloween fun with our Balloon Bat activity! This simple and entertaining craft will have your little ones giggling as they watch their bats zoom through the air. It’s a fantastic way to bring some Halloween excitement into your home or classroom while exploring some basics laws of physics. See a video of this craft in action on Facebook here.
What You’ll Need for the Balloon Bat Activity:
- Balloons: Dark-colored balloons work best to create that classic bat look, but lighter colored balloons will work fine too.
- Binder Clip: Used to seal the balloon without tying it, making it reusable for multiple flights.
- Tape: We used painters tape, but any strong tape should work to secure the straw to the balloon.
- Silver Marker: Perfect for drawing on dark-colored balloons. Use a black marker for light-colored balloons.
- String: This will be the path your bat flies along.
- Straws: A regular drinking straw will work to guide the bat along the string.
Instructions for Making the Halloween Bat Activity
Step 1: Gather your supplies.
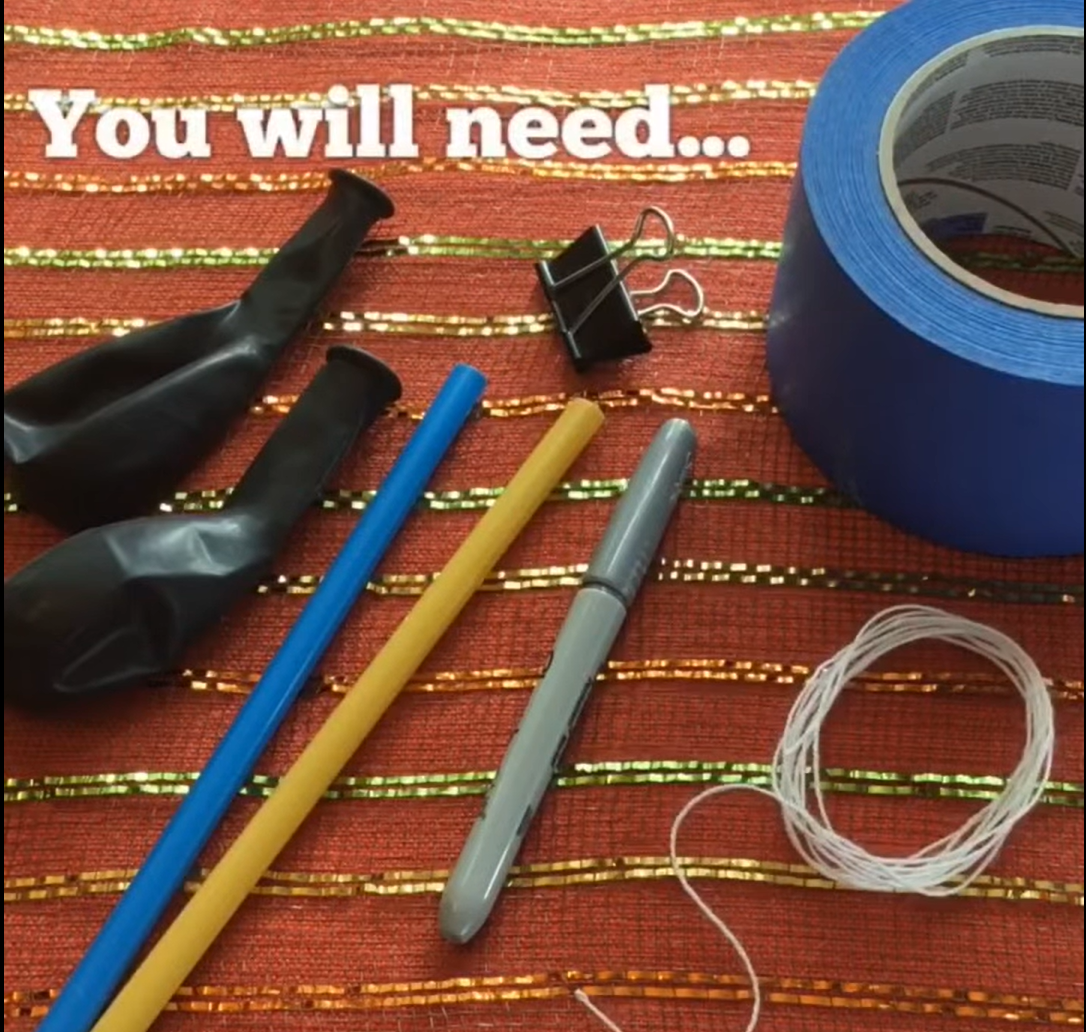
Before you begin, it’s helpful to collect everything you need. This includes your balloons, binder clip, tape, markers, string, and straws.
Choose dark-colored balloons like black or purple to make your bat look spookier. A silver marker works great on dark balloons, while a black marker is perfect for lighter ones. The string should be long enough to stretch between two points, like the backs of chairs or doorknobs, where your bat will fly.
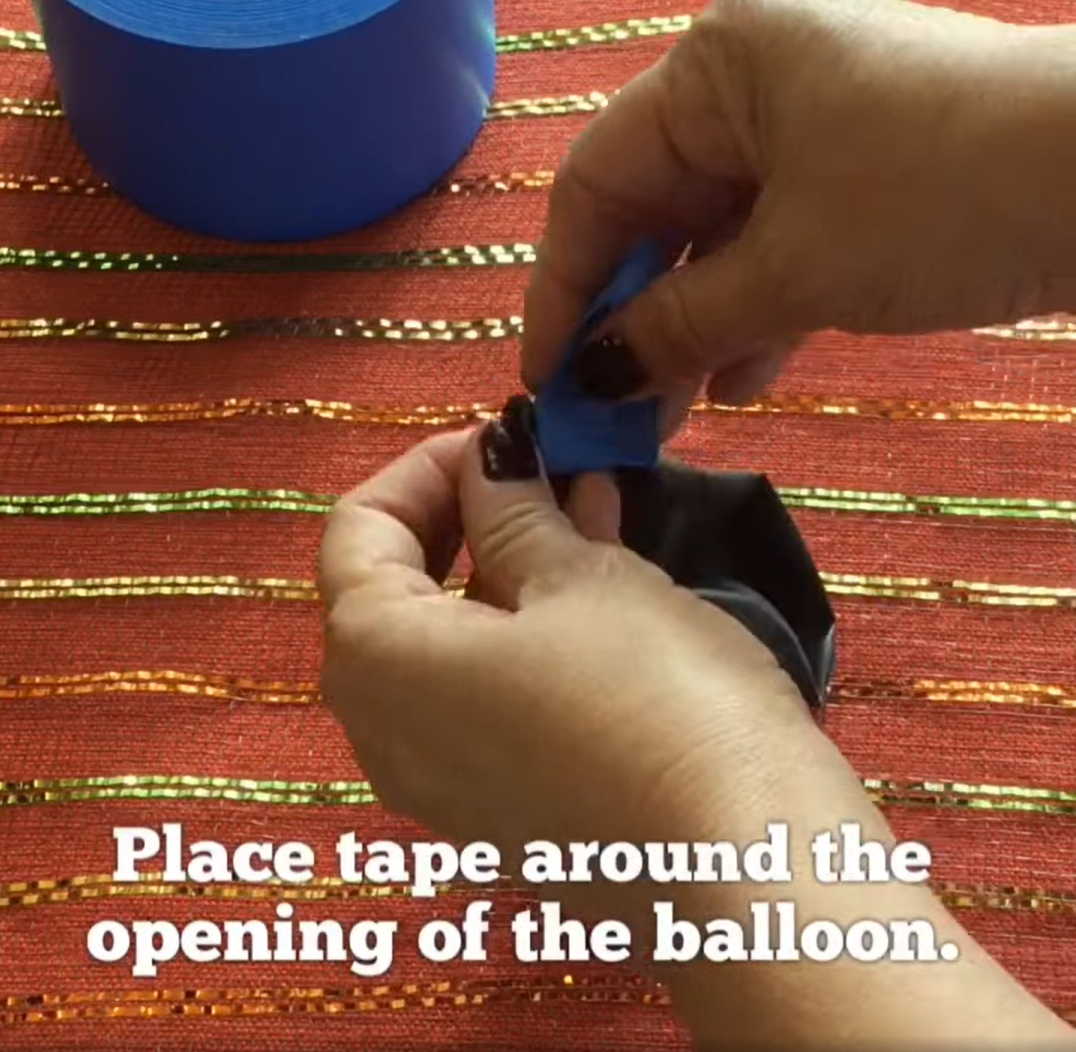
Step 2: Tape around the opening of the balloon.
After selecting your balloon, wrap a piece of tape around its neck, or the opening of the balloon. The tape will help to reinforce the balloon’s neck, providing a sturdier surface to attach the binder clip.
Step 3: Blow up the balloon, and clip it shut.
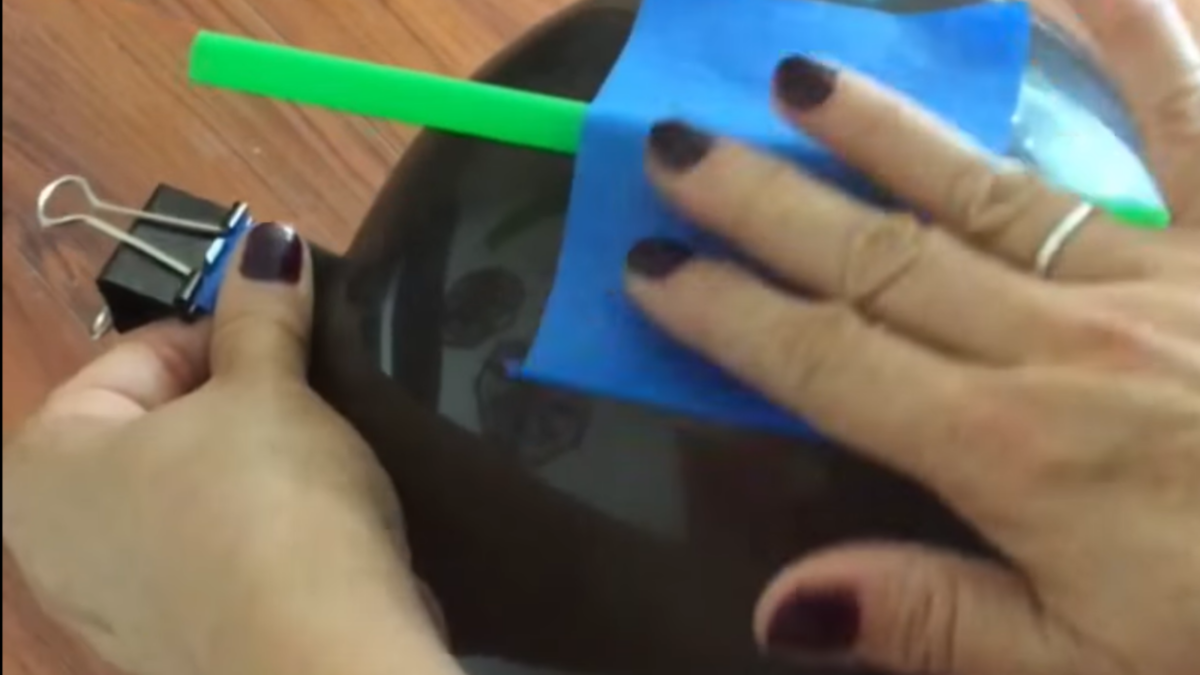
Next, inflate the balloon to your desired size, but don’t tie it off like you normally would. Instead, pinch the opening to keep the air inside, fold the end over a few times, and use the binder clip to clamp it shut.
The binder clip allows you to seal the balloon without tying a knot, allowing you to easily reuse the balloon for multiple flights. The amount of air you blow into the balloon will affect how fast it travels—the more air, the faster it will fly!
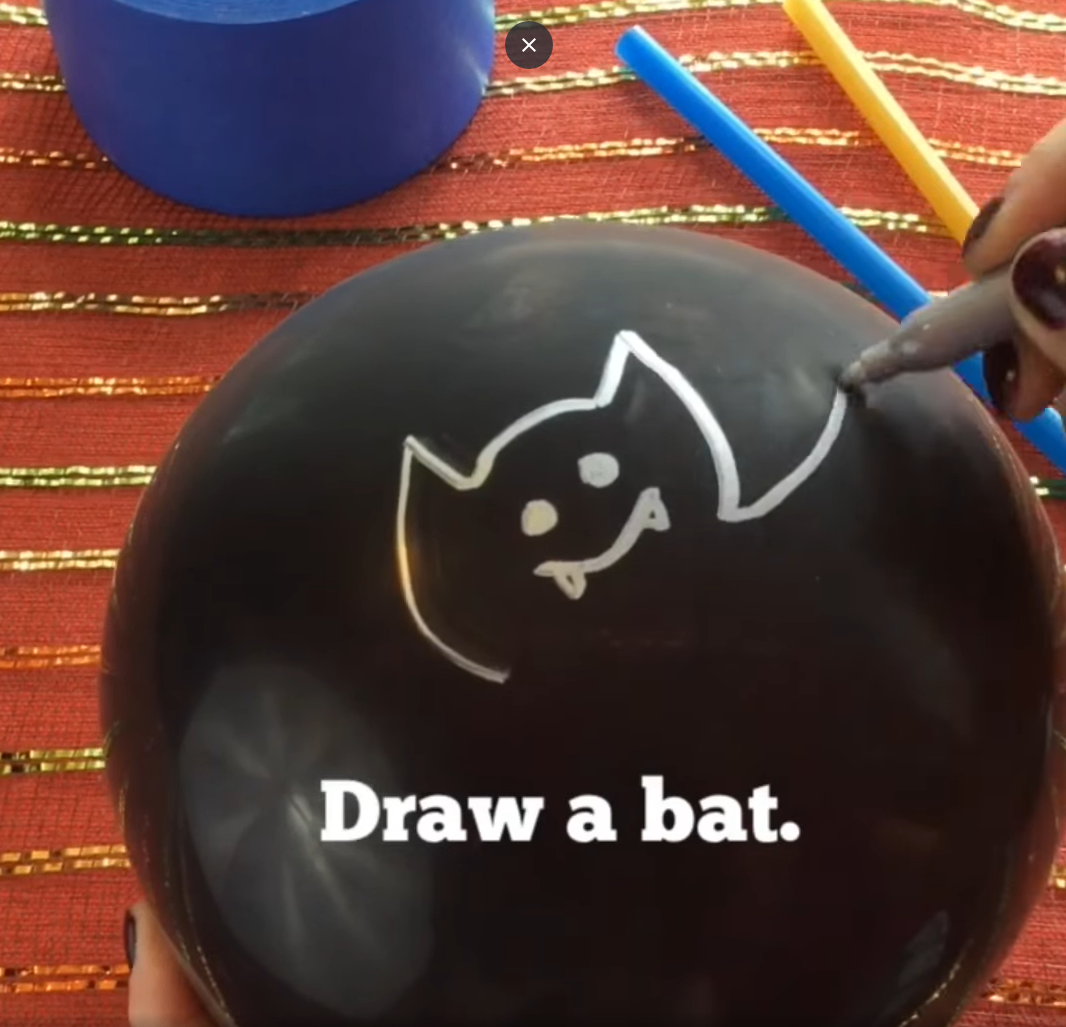
Step 4: Draw your bat.
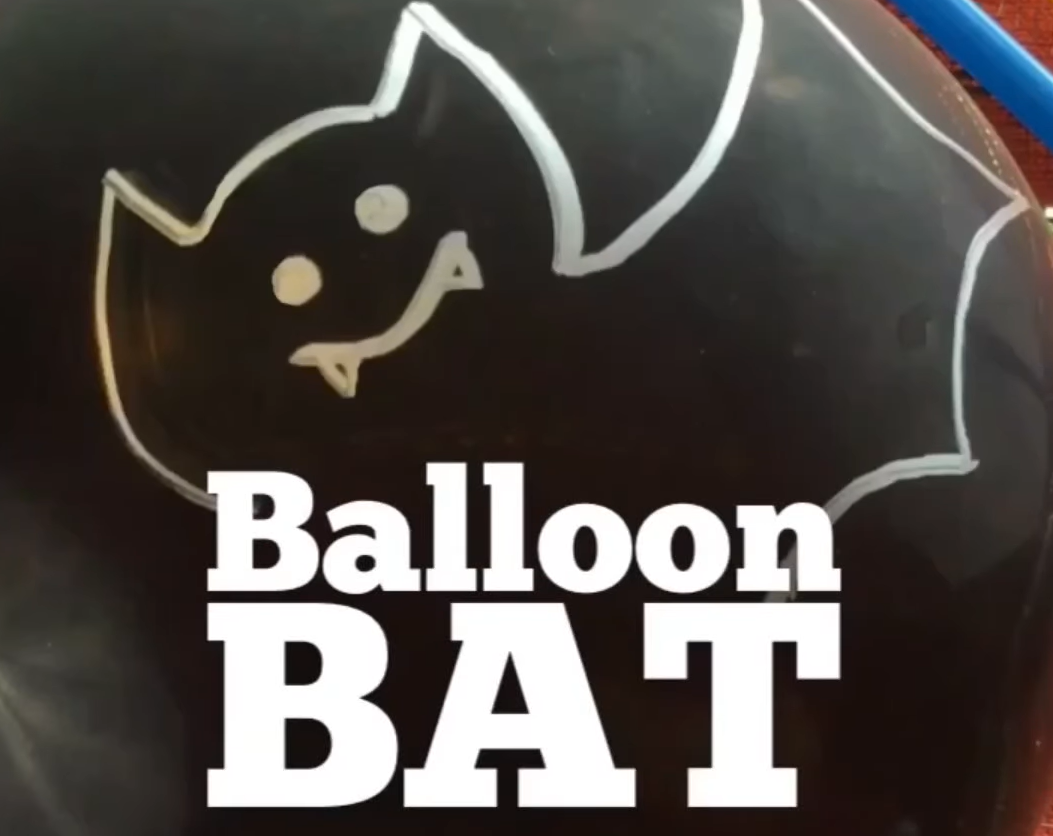
Now it’s time to get creative! On the side of the balloon opposite the opening, use your marker to draw a bat. Start with the basic outline, including the wings, body, and head. Then, add details like eyes, ears, and a mouth.
If you’re using a dark balloon, the silver marker will stand out, making your bat more visible. For lighter-colored balloons, use a black marker for the same effect. This step is fun for kids, allowing them to personalize their bat however they like.
Step 5: Thread the string through the straw.
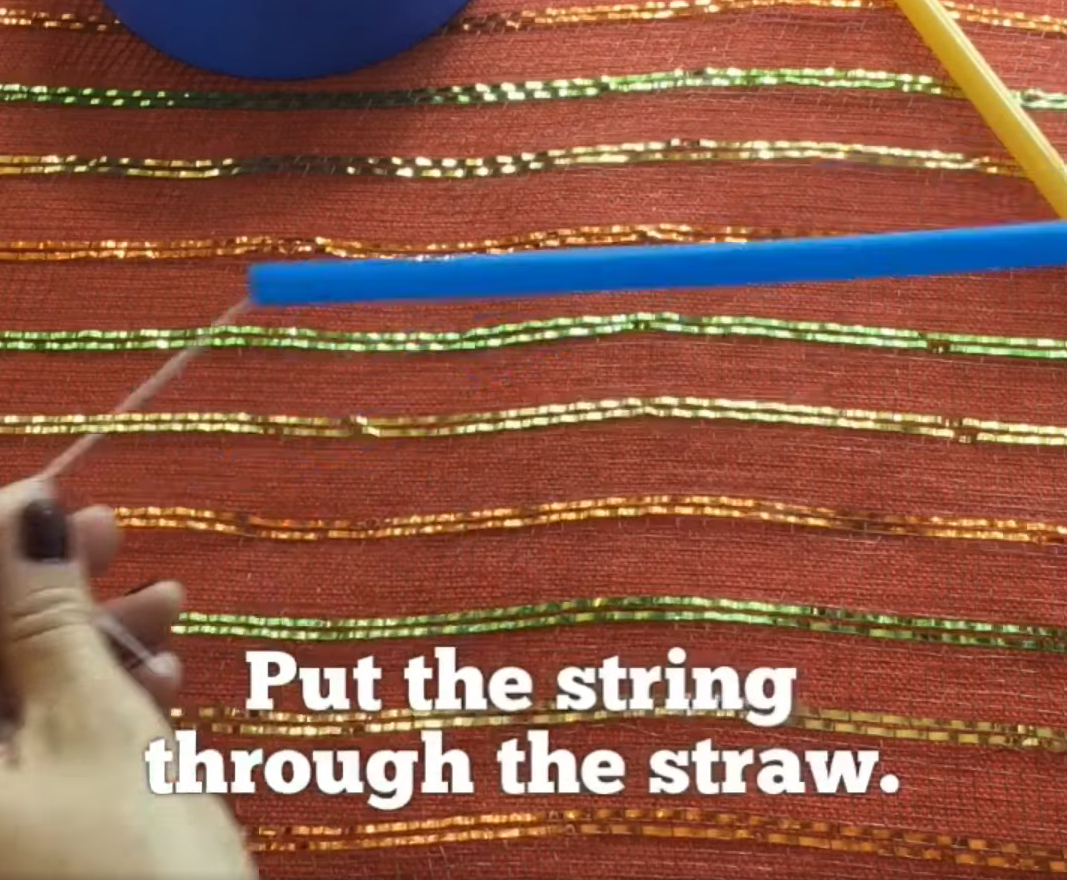
Take a standard drinking straw and thread your string through it. The straw will serve as a guide, allowing your bat to travel smoothly along the string. Ensure that the string is long enough to create a decent flight path for your bat. The straw helps the balloon stay balanced and fly straight as it propels along the string.
Step 6: Tape the straw to the top of the balloon.
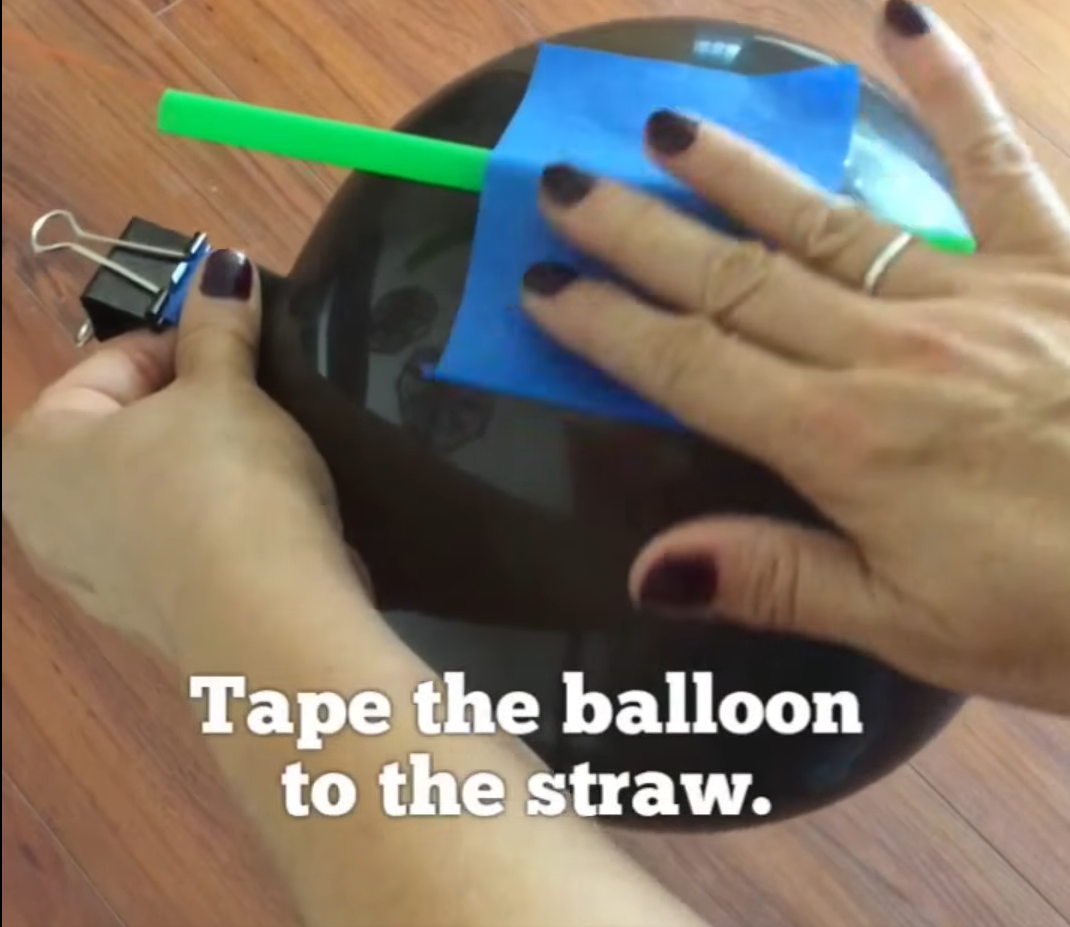
With the string threaded through the straw, position the straw on top of the balloon. Center the straw on the top of the balloon and use tape to secure it firmly in place. This positioning will allow the bat to fly straight with the drawing clearly visible from the front. Ensure the tape is applied securely so the straw doesn’t slip or twist when the balloon is released, keeping your bat on course during its flight.
Step 7: Lay out the string, and let your bat fly!

Finally, stretch your string between two sturdy objects, like chairs or doorknobs, and make sure it’s pulled taut. The string should be horizontal and high enough that the balloon can glide without hitting anything. When you’re ready to launch, unclip the binder clip from the balloon’s neck. As the air rushes out of the balloon, it will propel your bat balloon forward along the string, creating a fun flying effect! Watch as your bat zooms through the air, powered by the escaping air from the balloon.
The Science Behind This Halloween Activity
This activity is a fun introduction to the basic principles of physics. When you release the binder clip from the balloon, the air inside rushes out, propelling the balloon forward along the string. This is an example of Newton’s Third Law of Motion: for every action, there is an equal and opposite reaction. As the air is forced out of the balloon in one direction, it pushes the balloon in the opposite direction, making your bat fly!
Try More Fun Halloween Games and Activities

Keep kids entertained this Halloween with spooky crafts, snacks, and free printables! Make balloon bats, yarn pumpkins, and tasty treats, or play Halloween bingo. Download coloring pages, word lists, and more for extra festive fun.
