Paper Pumpkin Halloween Craft for Kids
Pumpkins are a Halloween staple, and this easy paper pumpkin craft is a great way to bring some festive fun into your home or classroom! This activity is perfect for kids of all ages, allowing them to create their very own pumpkin decorations that can be used for Halloween or Thanksgiving. To see a video of this craft in action, check it out on Facebook here.
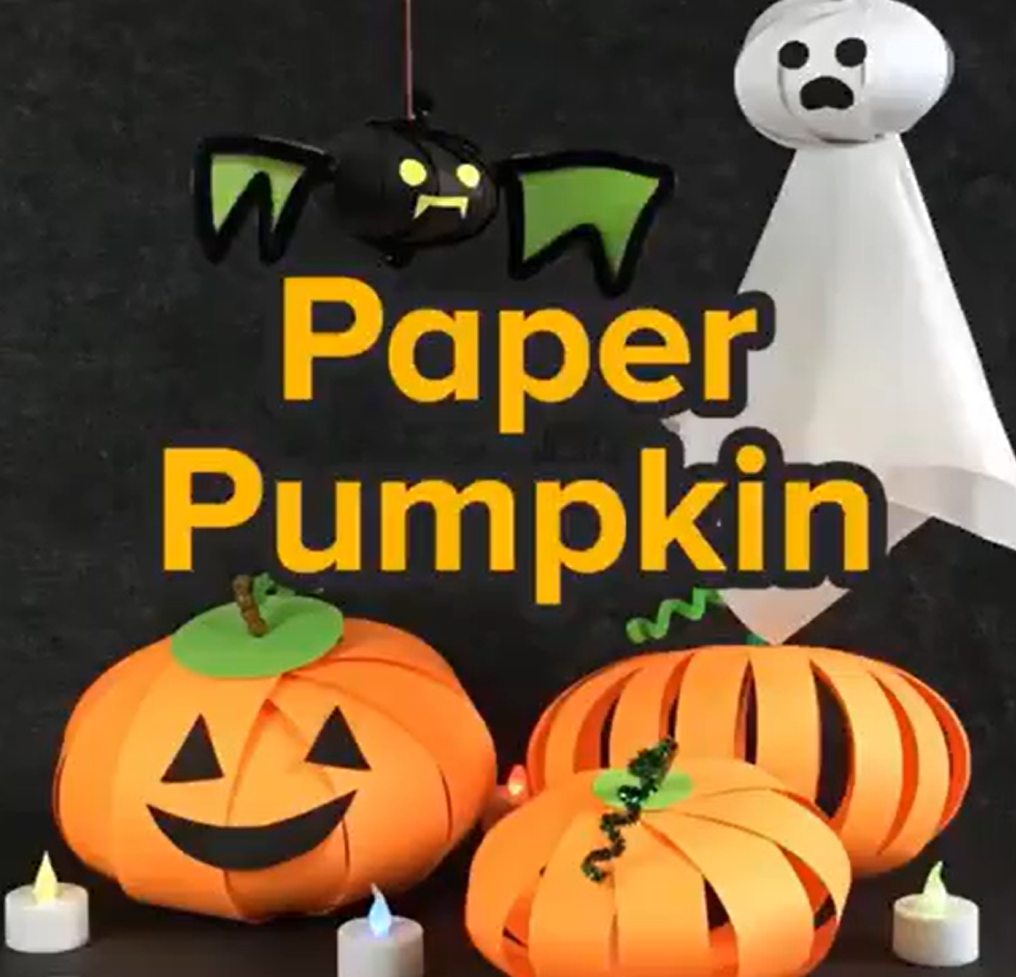
What You’ll Need for the Pumpkin Craft:
- Construction Paper: Green, orange, and black for the pumpkin, stem, and face.
- Scissors: For cutting the construction paper.
- Pipe Cleaners: Green pipe cleaners to create the pumpkin’s curly stem.
- Pencil or Pen: Useful for twisting the pipe cleaner into a curly shape.
- Hole Punch: To punch holes in the paper for threading.
- Beads: To help hold the stem in place and add decoration.
- Glue Stick: To glue your pumpkins face in place.
Instructions for Making Your Paper Pumpkins
Step 1: Cut orange strips from construction paper.
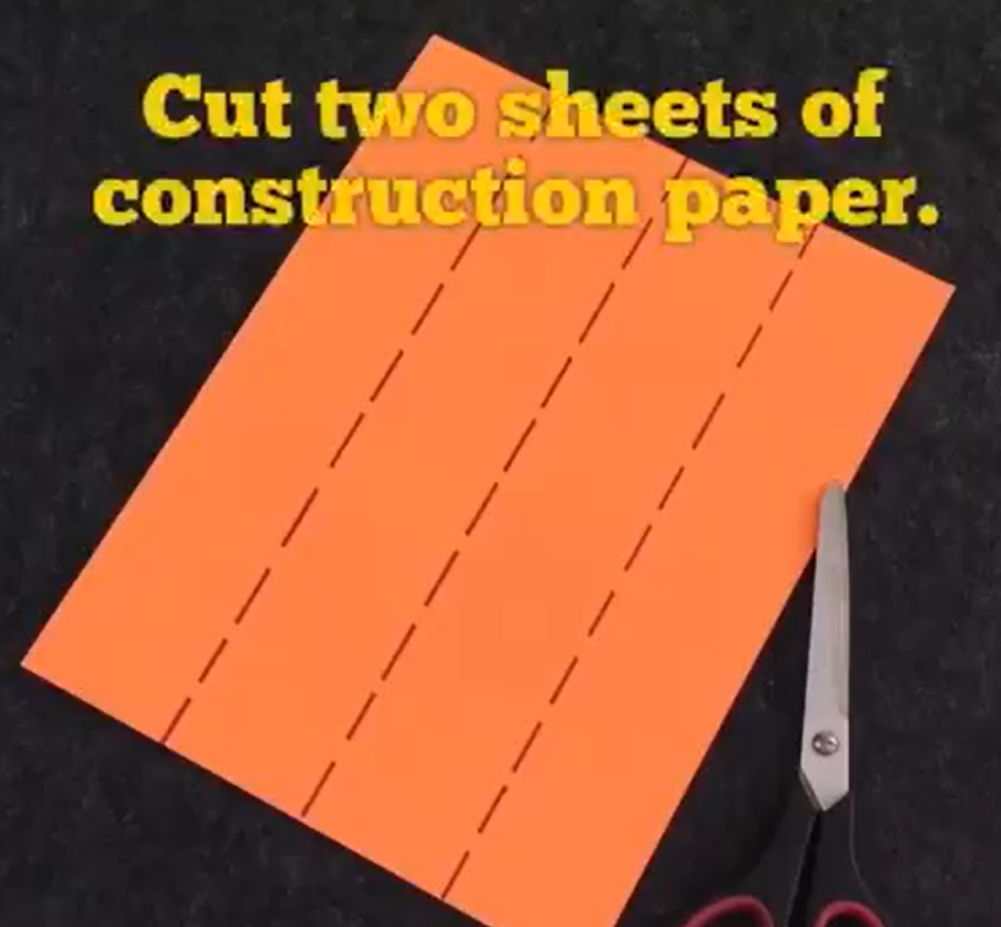
Start by taking two sheets of orange construction paper and layering them on top of each other. Cut four equal strips lengthwise from the paper. These strips will form the body of your pumpkin.
Step 2: Cut green circles from construction paper.
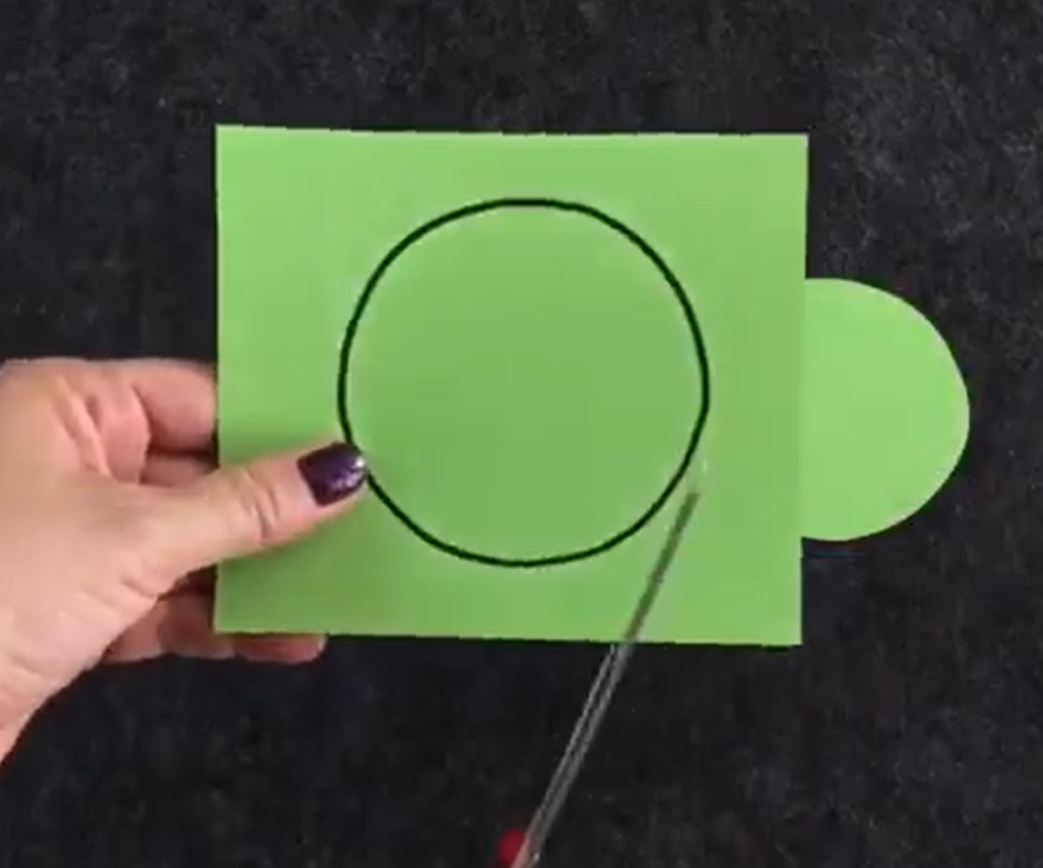
Using the green construction paper, cut out two circles, each about 2.5 inches in diameter. These circles will serve as the top and bottom of your pumpkin, holding everything together.
Step 3: Punch holes in strips and circles.
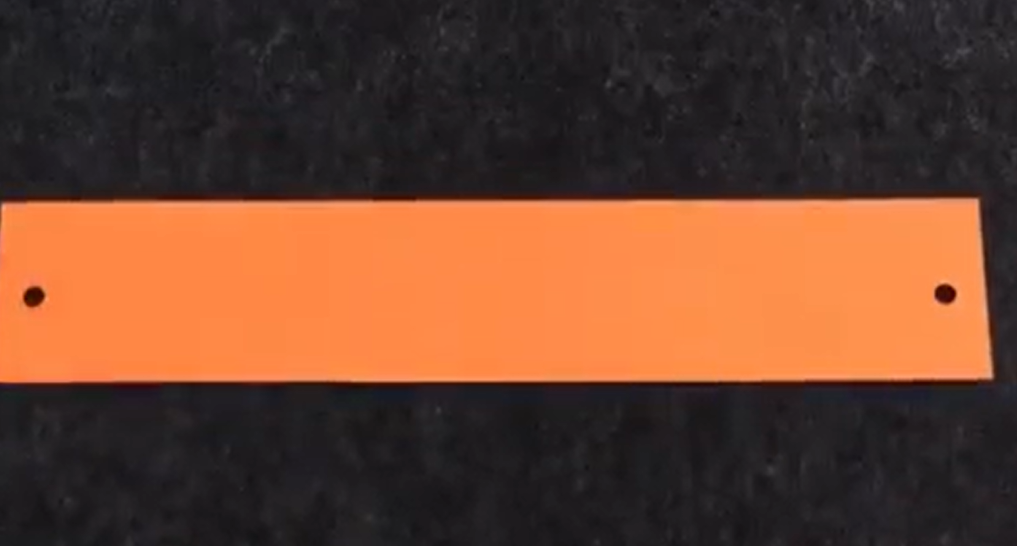
Take each of the orange strips and use a hole punch to punch holes at both ends of the strips. The holes should be about 3/4 of an inch from the ends. Then punch a hole in the center of each green circle—this is where you will thread the pipe cleaners through.
Step 4: Thread pipe cleaner through hole.
Take one of the green circles and thread a pipe cleaner through the center hole. Bend the pipe cleaner into a U shape underneath the circle to secure it in place. This will be the base of your pumpkin.
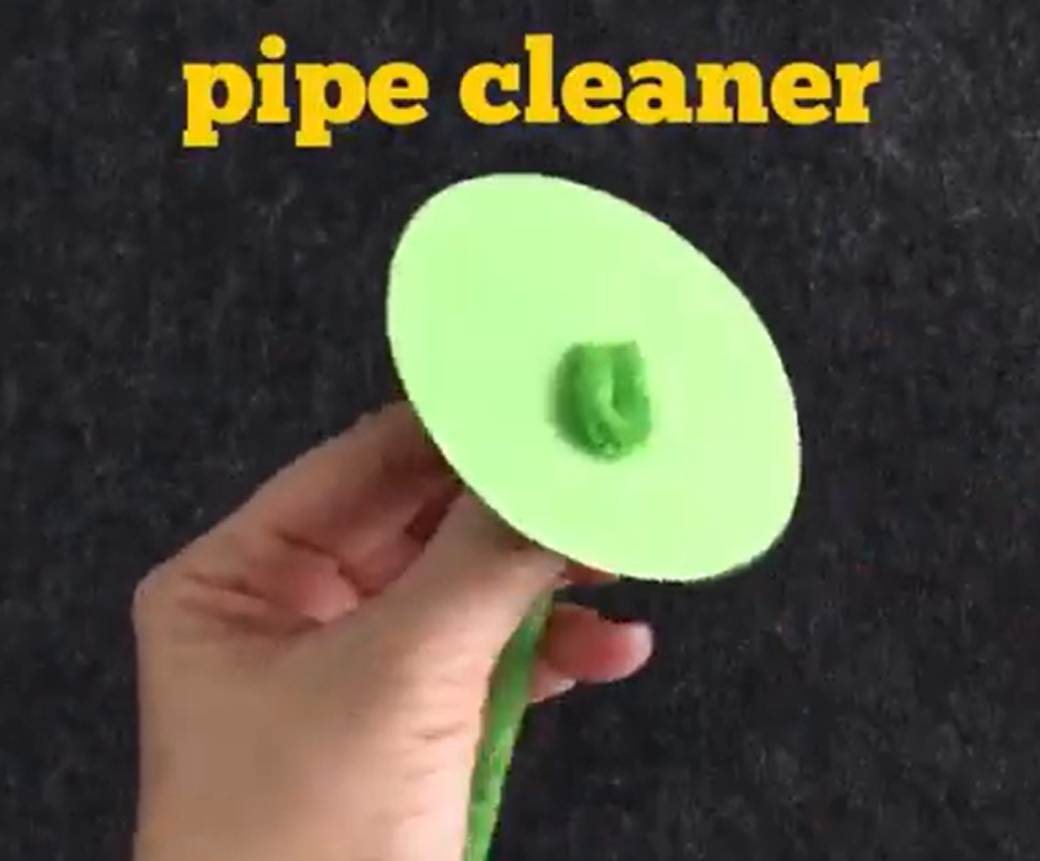
Step 5: Continue threading the pipe cleaner.
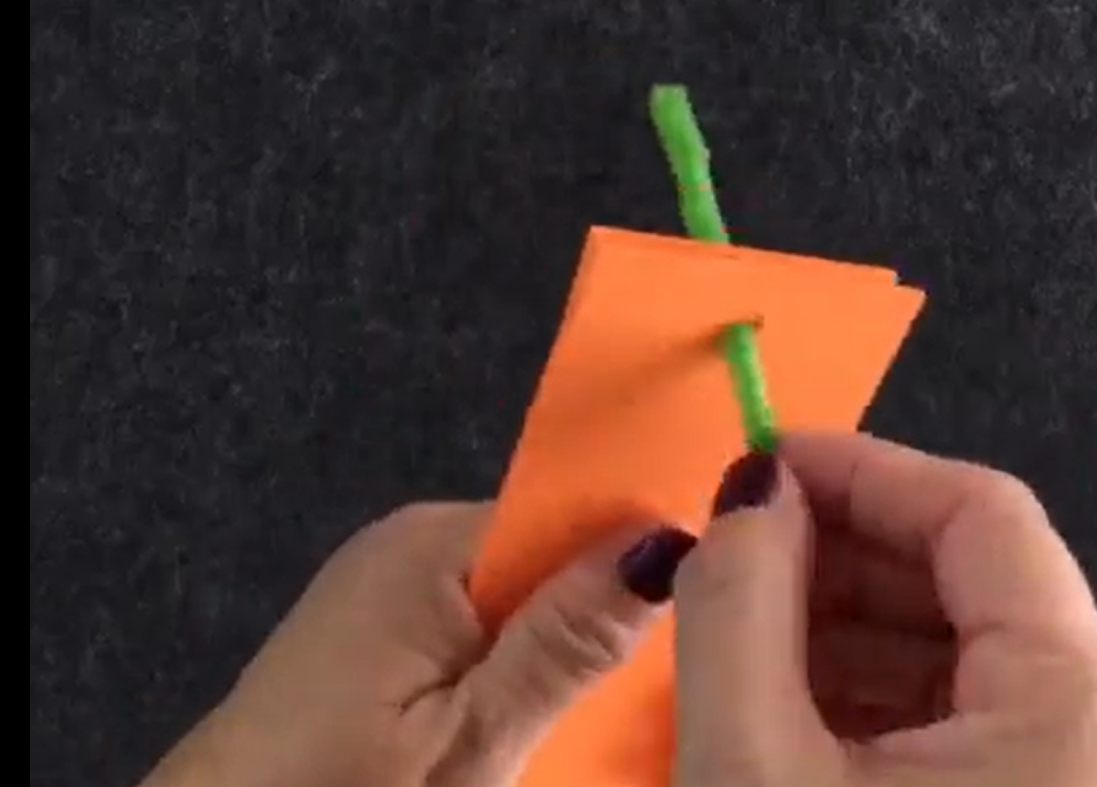
Next, take the other end of the pipe cleaner and thread it through one end of all the orange strips. Once all the strips are threaded onto the pipe cleaner, thread the pipe cleaner through the holes on the other end of the strips. Finally, thread it through the hole in the second green circle, which will be the top of your pumpkin.
Step 6: Add beads to the pipe cleaner.
Once the pipe cleaner is threaded through the top green circle with about 4-5 inches to spare, you can add some beads onto the end of the pipe cleaner. These beads will help keep the stem in place and add a decorative touch to your pumpkin.
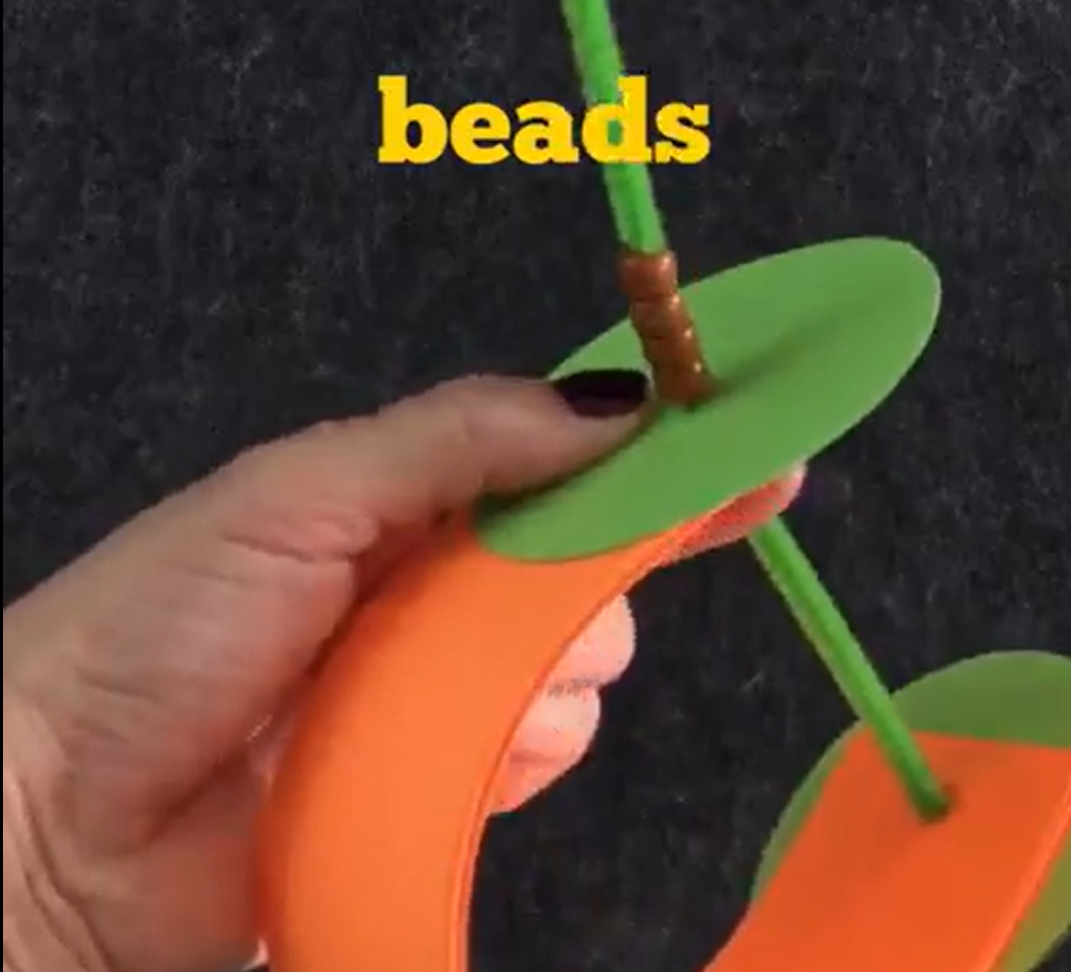
Step 7: Twist the pipe cleaner stem.
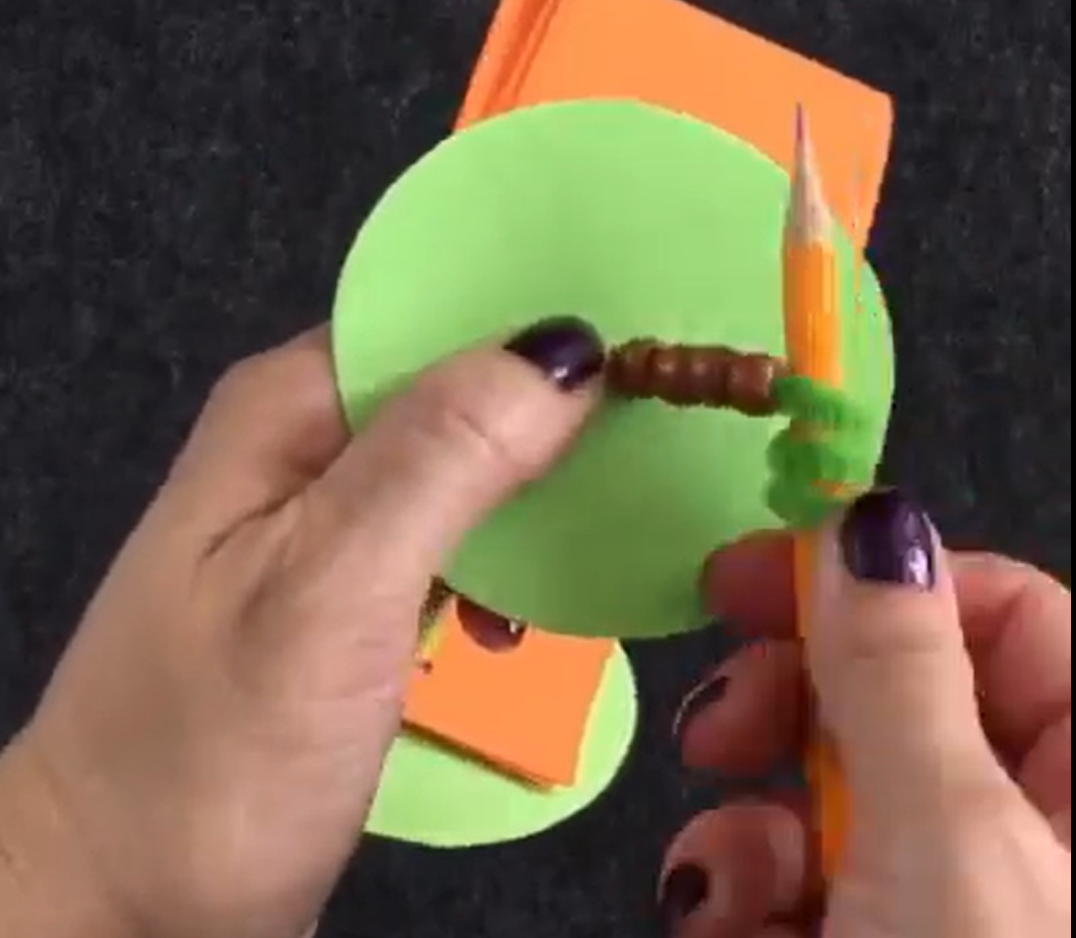
Now take a pencil or pen and wrap the remaining pipe cleaner around it to create a curly stem. Once it’s twisted, slide the pencil out, and your stem will have a fun, curly shape, adding character to your pumpkin.
Step 8: Spread out your pumpkin.
Gently spread out the orange paper strips in all directions to form a round pumpkin shape.
The strips should fan out evenly from the top to the bottom, creating the body of your pumpkin. Adjust the strips as needed to get the shape you like.
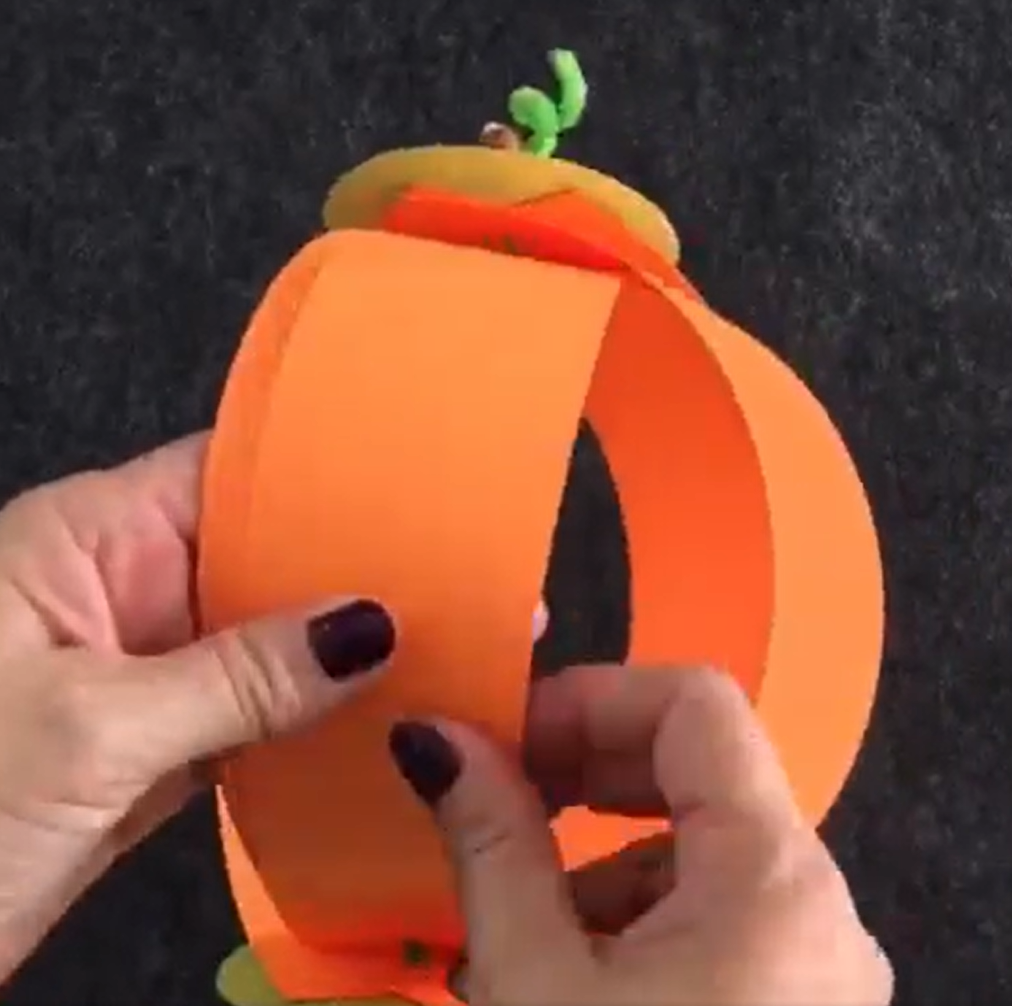
Step 9: Add a face to your pumpkin.
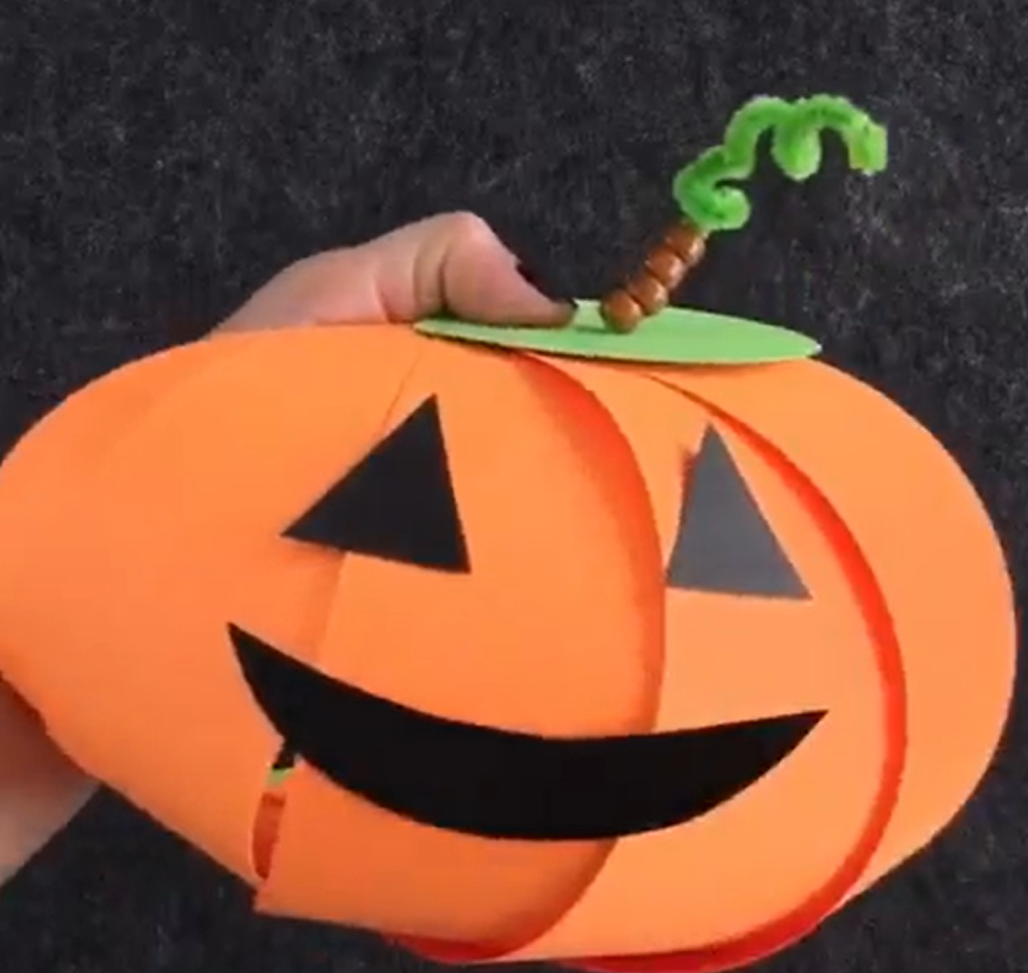
Using black construction paper, cut out shapes to create a spooky or silly face for your pumpkin. You can also use markers if you prefer. Glue or tape the face onto one of the orange strips of your pumpkin.
Step 10: Have a Happy Halloween!
Your paper pumpkin is now complete! You can display it as part of your Halloween decorations. This simple craft is not only fun but also a great way to personalize your Halloween décor.
Tip: This pumpkin craft can also work for creating Thanksgiving decorations. Simply leave off the face, and you’ll have a charming pumpkin perfect for your Thanksgiving feast.
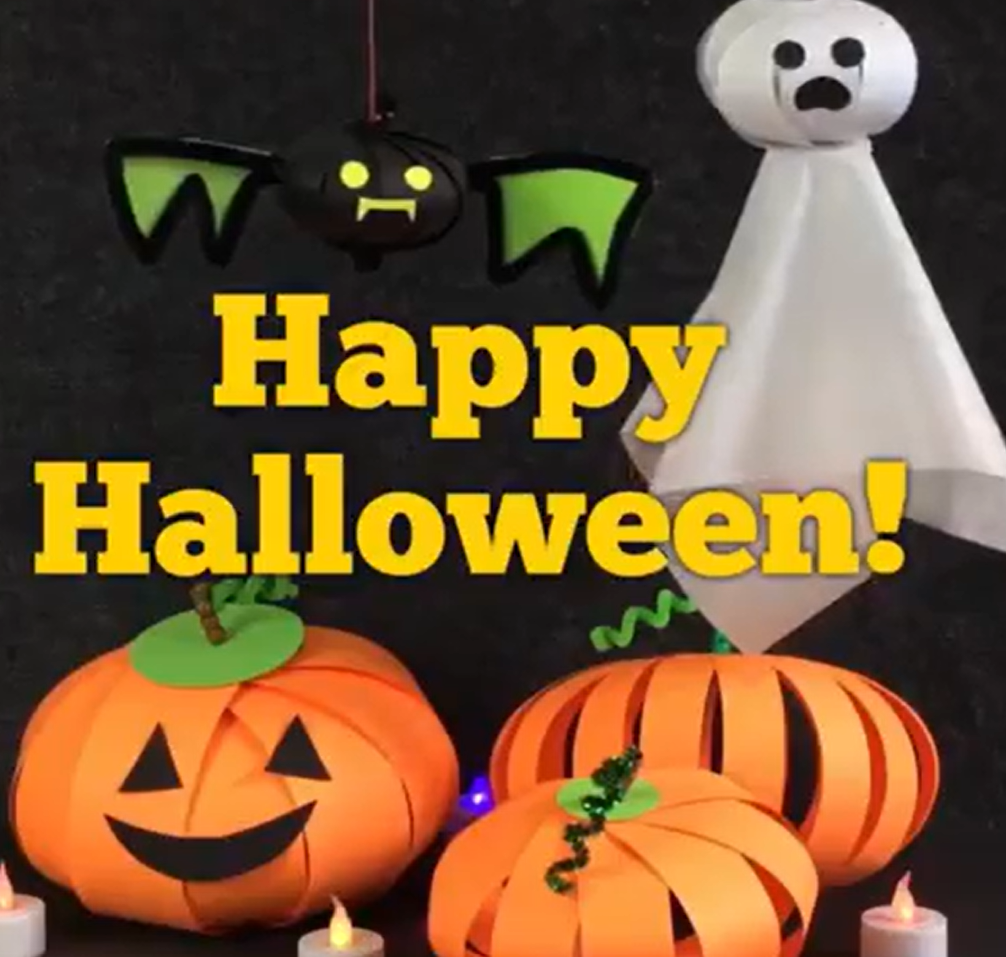
⭐ Pumpkin Coloring Pages: Continue the crafting fun and creativity by printing off some of our FREE pumpkin coloring pages.
Safety Tips for Crafting with Young Children
When crafting with young children, always supervise them, especially when using scissors, tape, or small items (like beads) that could pose a choking hazard. Consider using child-safe scissors to help prevent any accidental injuries.

