Fun Halloween Craft for Kids: Hanging Bat
Get ready to learn how to make a spooky bat craft that glows in the dark! This creative project uses simple materials to create cute and eerie bats that can hang from anywhere. It’s perfect for adding a touch of Halloween magic to your home.
What You’ll Need for Your Hanging Bat Craft:
- Paper Towel Tube: This will be the body of your bat. If you don’t have a paper towel tube, you can use a toilet paper roll instead.
- Pipe Cleaners: These will form the bat’s legs and help it hang from a branch.
- Battery Powered Lights: These will light up your bat from the inside, making it glow. Opt for LED tea lights as they are safe for kids to handle and don’t produce heat.
- Construction Paper: This will be used to create the bat’s wings. You can also use glitter paper or patterned paper for a more unique bat.
- Acrylic Paint: Black or purple paint will give your bat its spooky color. Make sure to have some water and paper towels nearby for easy cleanup.
Instructions for Making Your Hanging Halloween Bat Craft:
Step 1: Gather Your Supplies
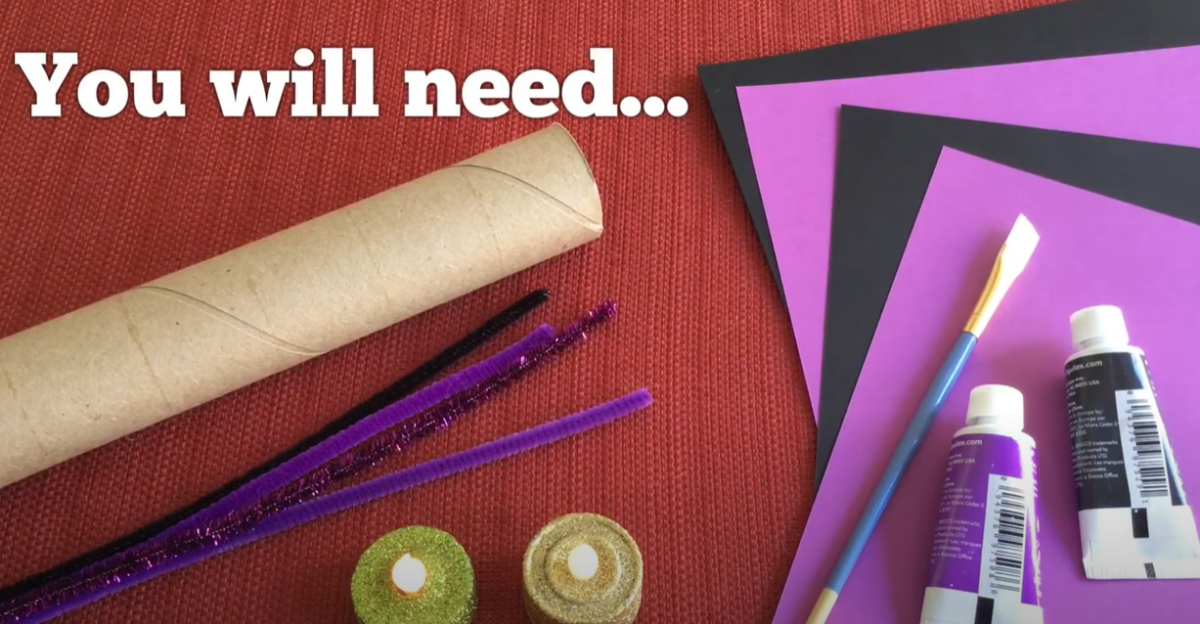
Begin by gathering all of your materials and setting them up on a clean, flat surface. Protect your workspace with newspaper, a plastic tablecloth, or any other covering that you don’t mind getting paint on.
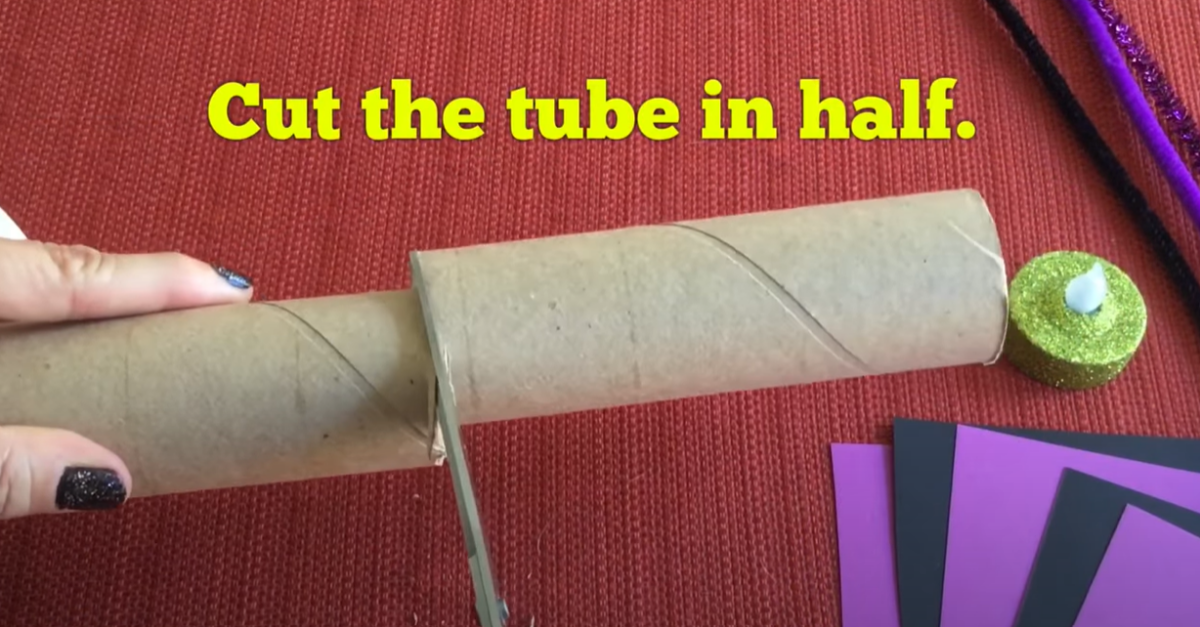
Step 2: Cut the Cardboard Tube in Half
Using a pair of scissors, carefully cut the paper towel roll in half. You can use both halves to make two bats or save the other half for another project.
Step 3: Paint the Tube
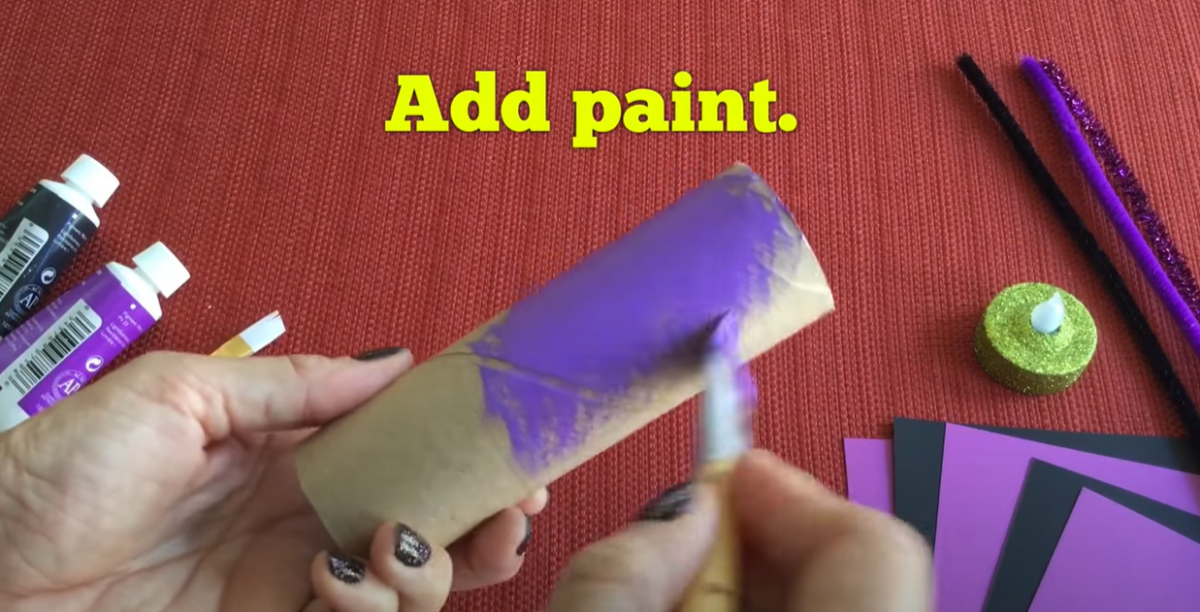
Paint the entire outside of the cardboard tube with black or purple acrylic paint. Let it dry completely. You might need to apply a second coat to ensure it’s fully covered.
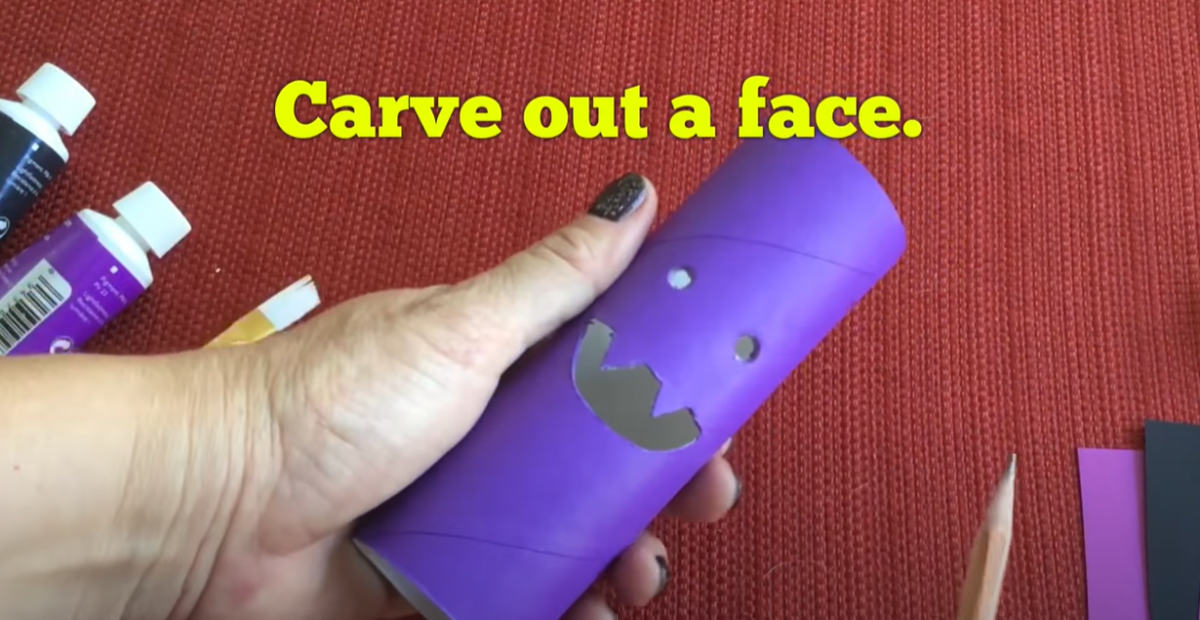
Step 4: Carve Out a Face
Once the paint is dry, use a pencil to draw a simple bat face (eyes, nose, and mouth) on the tube. Carefully cut out the shapes with scissors or a craft knife (with adult supervision).
Step 5: Fold the Top and Bottom of the Tube
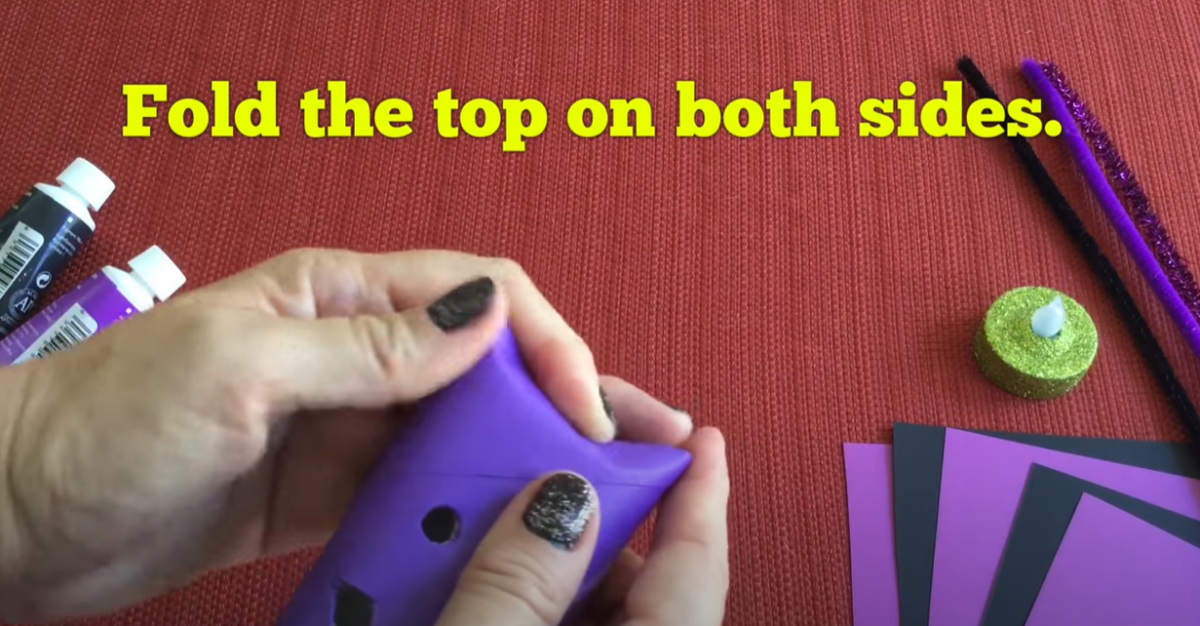
Gently press down and fold the top and bottom of the tube. This will help give it a slightly more bat-like shape.
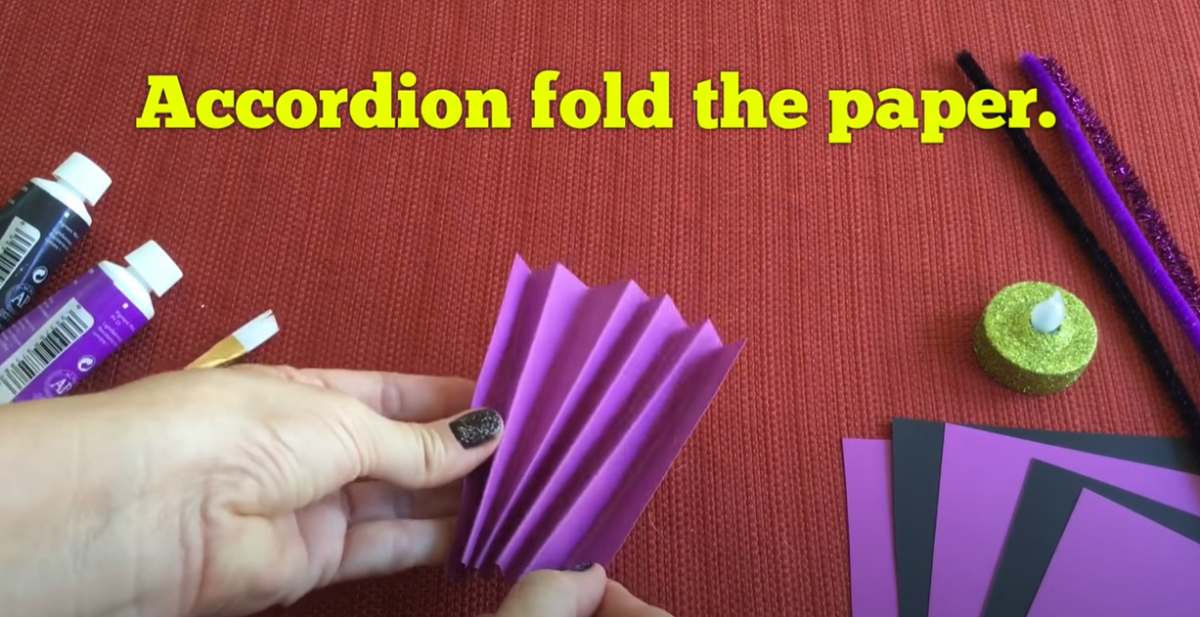
Step 6: Fold the Paper for Wings
Take a piece of purple or black construction paper and cut out two squares. Fold each square accordion-style to give them a pleated look. This will make the wings look more realistic.
Step 7: Insert the Wings
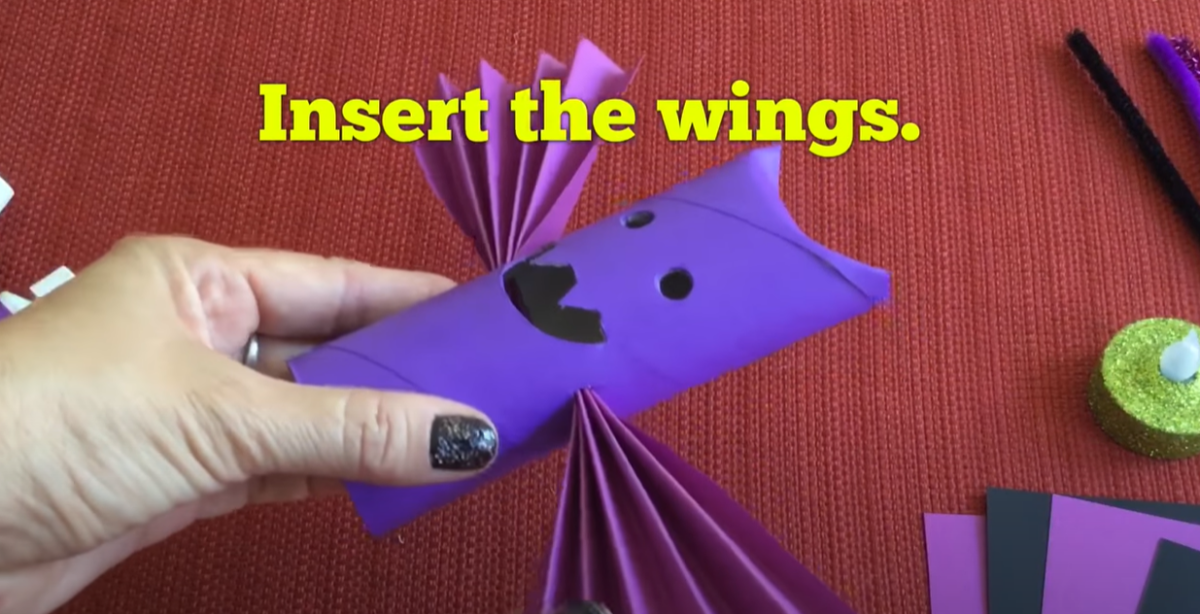
Make small slits on each side of the painted tube using scissors (adult supervisor may be needed). Insert the folded construction paper wings into the slits. Secure them with glue if needed.
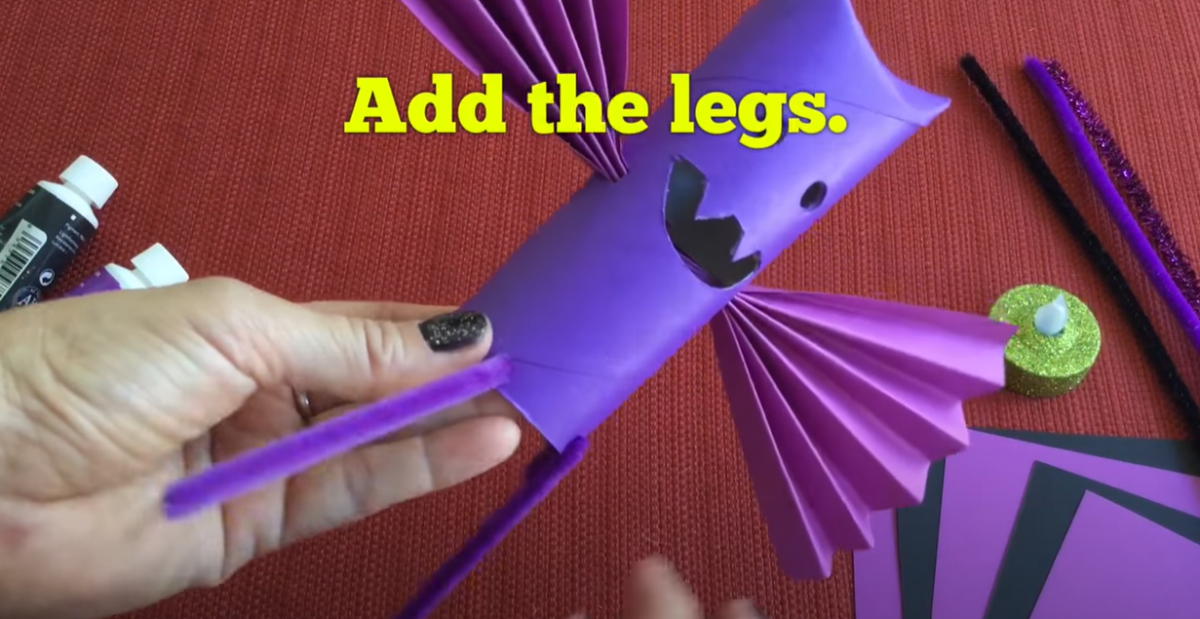
Step 8: Add the Legs
Cut two pieces of pipe cleaners to the desired length for the bat’s legs. Attach the pipe cleaners to the bottom of the tube by making a small hole or gluing them. Bend the ends of the pipe cleaners so they can hook onto a branch or other surface for hanging.
Step 9: Add the Light
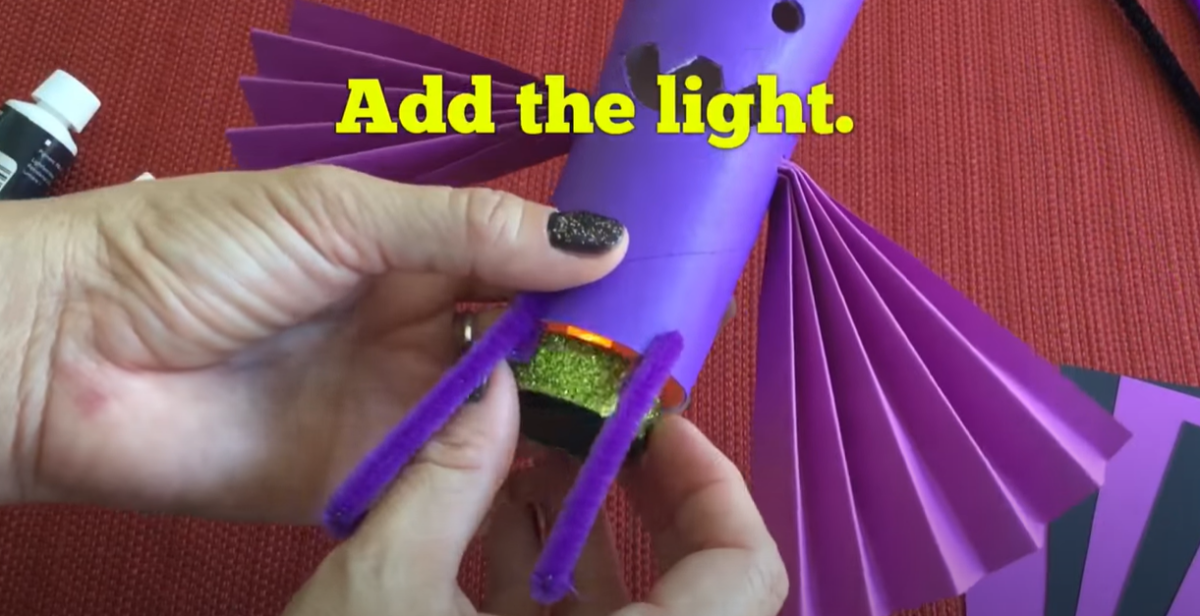
Turn on the LED tea light and insert it into the bottom of the tube. The light will shine through the cut-out face, making your bat glow.
Step 10: Display and Enjoy!
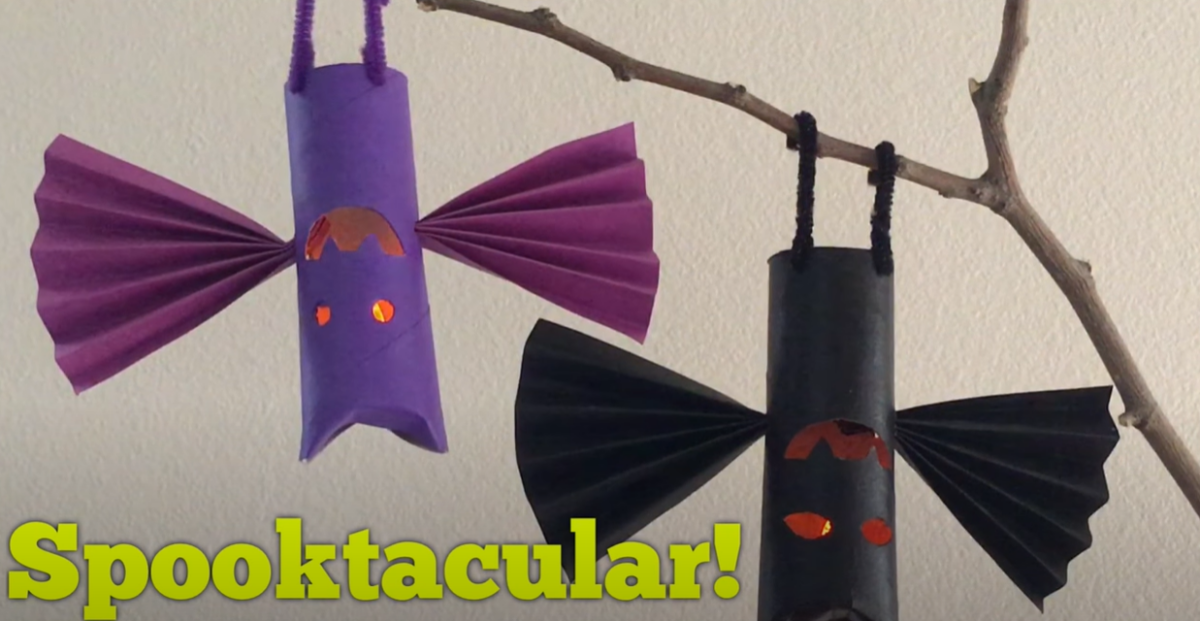
Find a special spot to display your glowing bat. Hang it from a branch, shelf, or anywhere you like. Enjoy your spooky, creative craft!
Safety Tips for Making the Halloween Bat Craft with Young Children:
- Supervise Scissor Use: Ensure an adult is always present when children are using scissors. Use safety scissors appropriate for the child’s age to minimize the risk of injury.
- Use Non-Toxic Paints: Choose non-toxic, child-safe acrylic paints to avoid any harmful effects if the paint comes into contact with skin or is accidentally ingested.
- Handle Sharp Tools with Care: If using a craft knife to cut out the bat’s face, ensure that an adult handles this part of the craft. Small children should not use sharp tools.
- Avoid Small Parts for Very Young Children: Be cautious with small parts like pipe cleaners and LED tea lights. These can be choking hazards for children under three years old. Ensure these parts are securely attached and supervise their use.
- Protect Work Surfaces: Cover the work surface with newspaper or a plastic tablecloth to protect it from paint spills and glue. This also makes cleanup easier.
- Wash Hands After Crafting: Encourage children to wash their hands thoroughly after handling paints, glue, and other materials to avoid accidental ingestion of any residues.
- Use LED Lights Safely: Only use LED tea lights that are safe for children. Avoid real candles or any light source that generates heat, as these can be fire hazards.
- Monitor Glue Use: Use non-toxic, child-safe glue, and supervise its application. Teach children how to use glue sparingly and safely.
- Ensure Proper Ventilation: If working with paints or glues that have fumes, make sure the crafting area is well-ventilated to avoid inhalation of any potentially harmful substances.
- Keep Crafting Area Organized: Keep the crafting area tidy and free of unnecessary items to prevent accidents. Teach children to clean up as they go to maintain a safe and organized workspace.
Congratulations on completing your glowing Halloween bat craft! Your new bat friend is ready to join the Halloween decorations and bring a spooky glow to your home. Whether you hang it in your room or display it in the living room, it’s sure to be a hit. Remember to show off your creation to family and friends.

