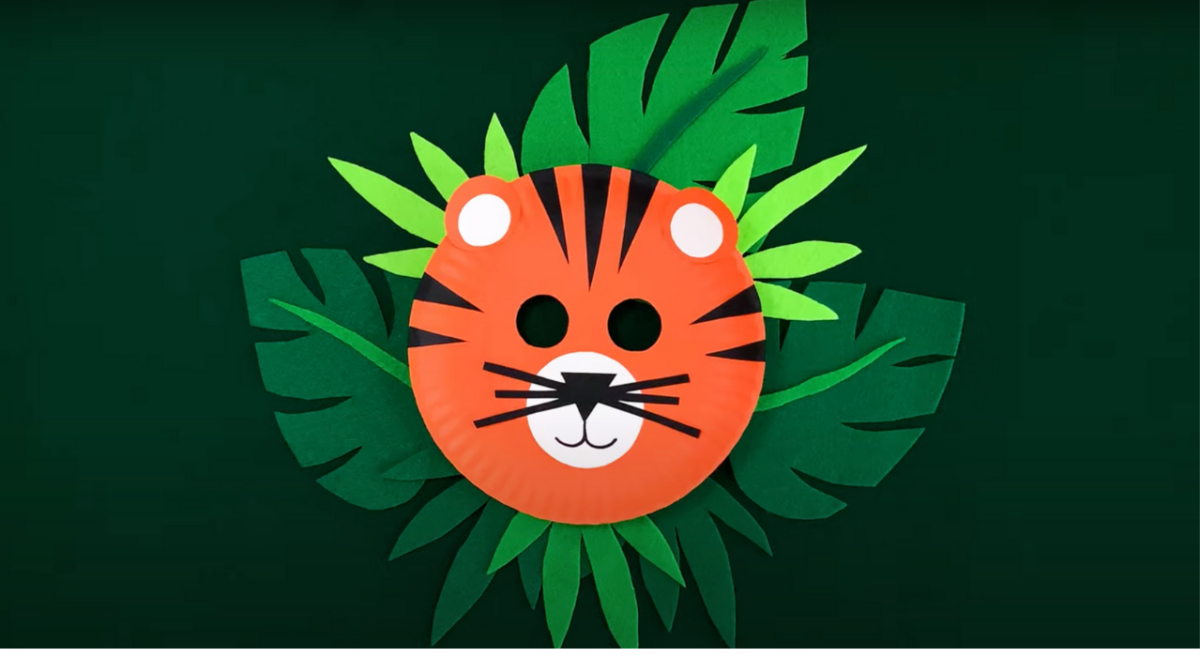
How to Make a Tiger Mask From Paper
If you’re on the lookout for an exciting craft project that combines imaginative play with artistic expression, you’re in for a roaring good time! This Tiger Mask craft project not only lets kids embrace their inner artist but also encourages imaginative role-play.
This enjoyable craft is not only simple to create but also brings an opportunity for creative play. Kids can immerse themselves in crafting their very own tiger mask and then embark on thrilling adventures in the animal kingdom. Unleash your child’s creativity and embark on a wild safari with this exciting Tiger Mask craft project.
What You’ll Need to Create a Tiger Mask:
- A paper plate
- A piece of white paper
- A piece of black paper
- Orange paint
- A paintbrush
- Orange marker
- Glue
- Scissors
Instructions for Making Your Tiger Mask:

Step 1: Gather Your Materials
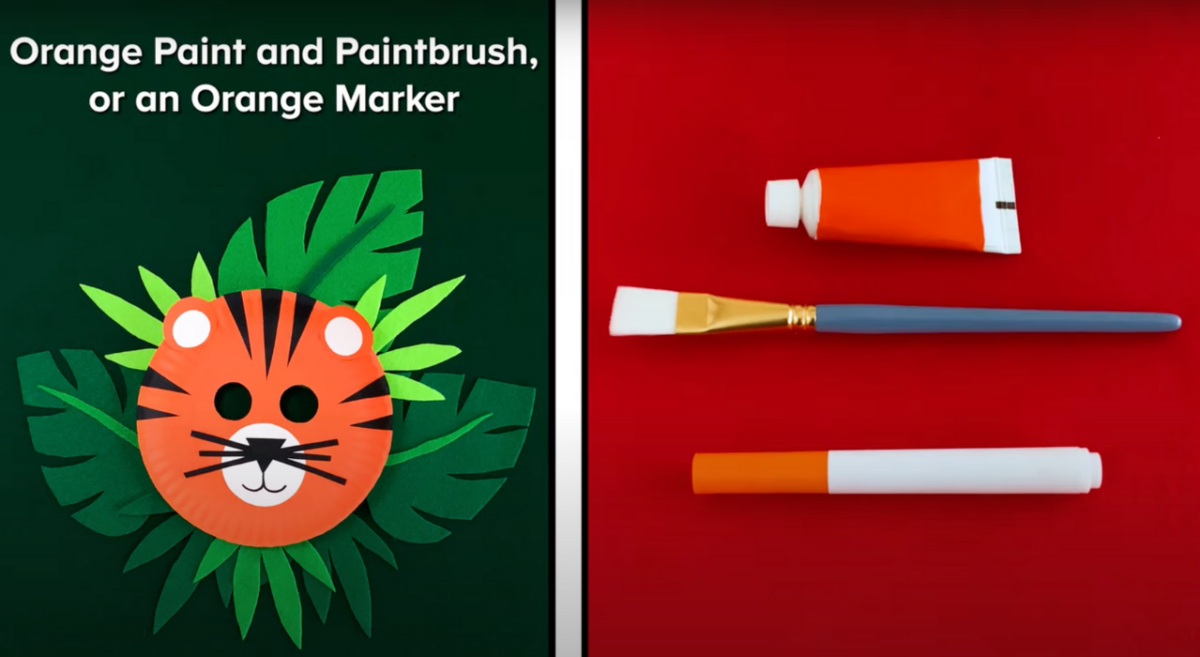
Before you begin the fun of creating your tiger mask, make sure you have all the necessary materials listed above.
Clear a comfortable workspace where your creative imagination can roam freely.
Step 2: Cut Shapes for the Tiger Mask
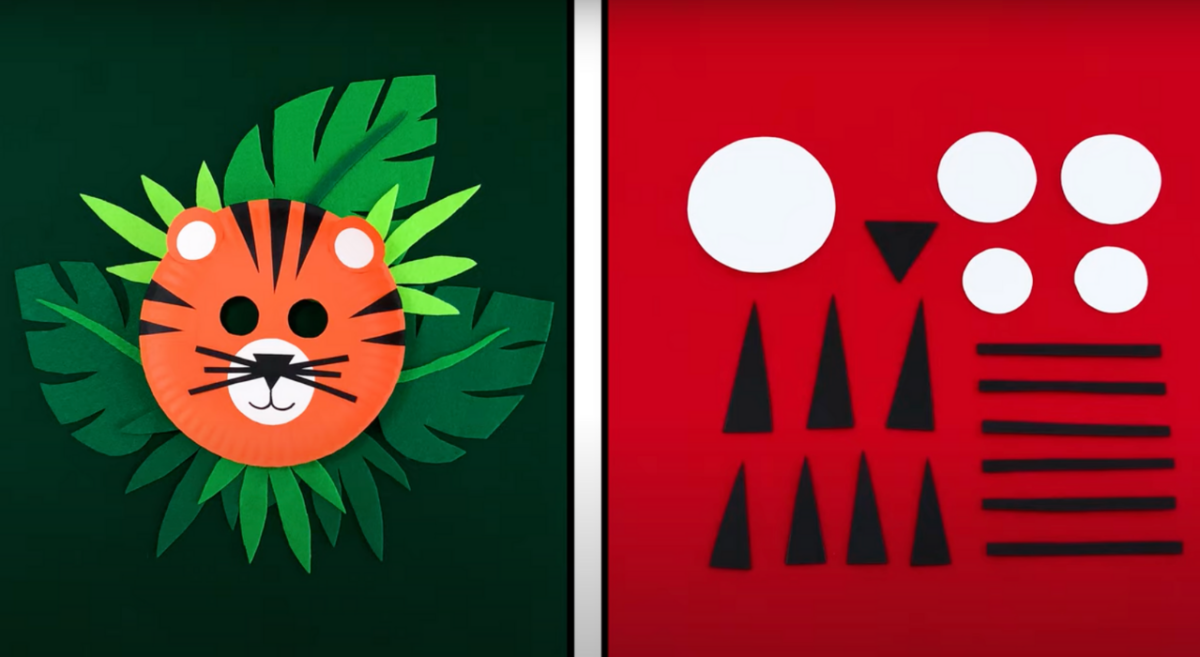
To bring your tiger mask to life, begin by cutting out the necessary shapes.
You’ll need five circles: one larger circle for the tiger’s muzzle, two medium-sized circles for the ears, and two smaller circles for the inner part of the ears.
Additionally, prepare a black triangle for the tiger’s nose, thin black triangles to create distinctive stripes, and thin black strips to mimic whiskers.
Step 3: Cut Out the Eyes of the Tiger Mask
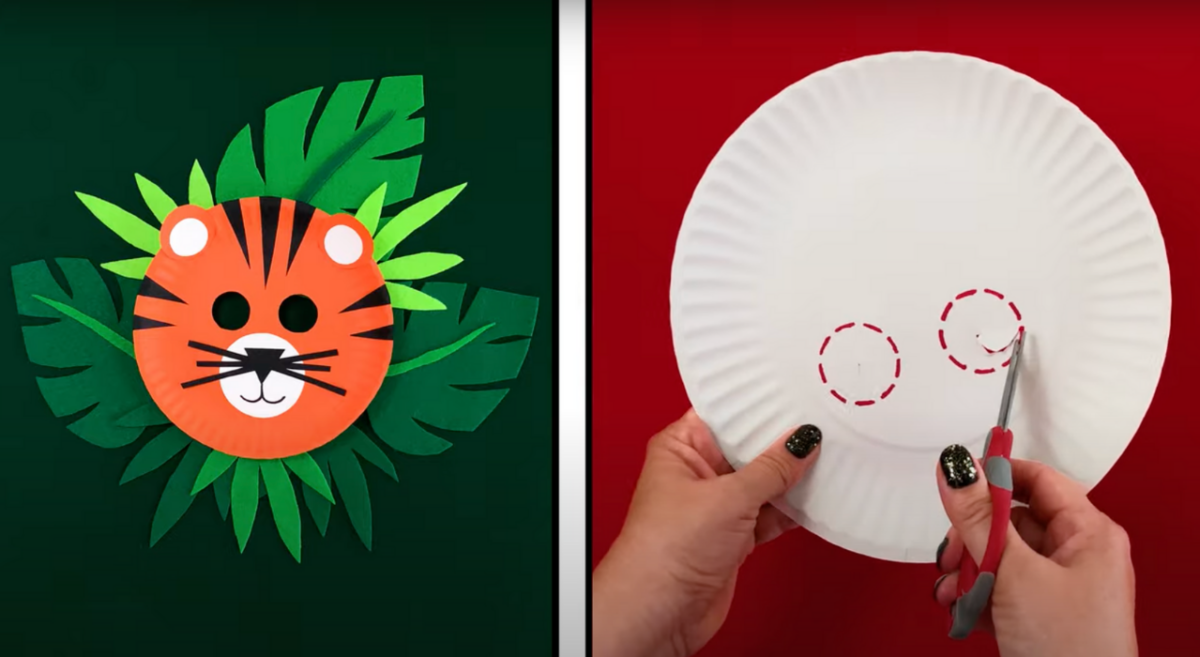
Use your orange marker to draw in where you’d like the eye holes to be on your mask. Then, carefully use your scissors to cut out the eyes of the mask, following the outlines you’ve drawn. Take your time to ensure precision in shaping the eyes.
Step 4: Design Your Tiger Mask
Now, it’s time to infuse your mask with vibrant color. Begin by painting both the paper plate and the two larger circles a bold and fierce shade of orange.
While waiting for the paint to dry, practice your best tiger roar–after all, a tiger needs its voice!
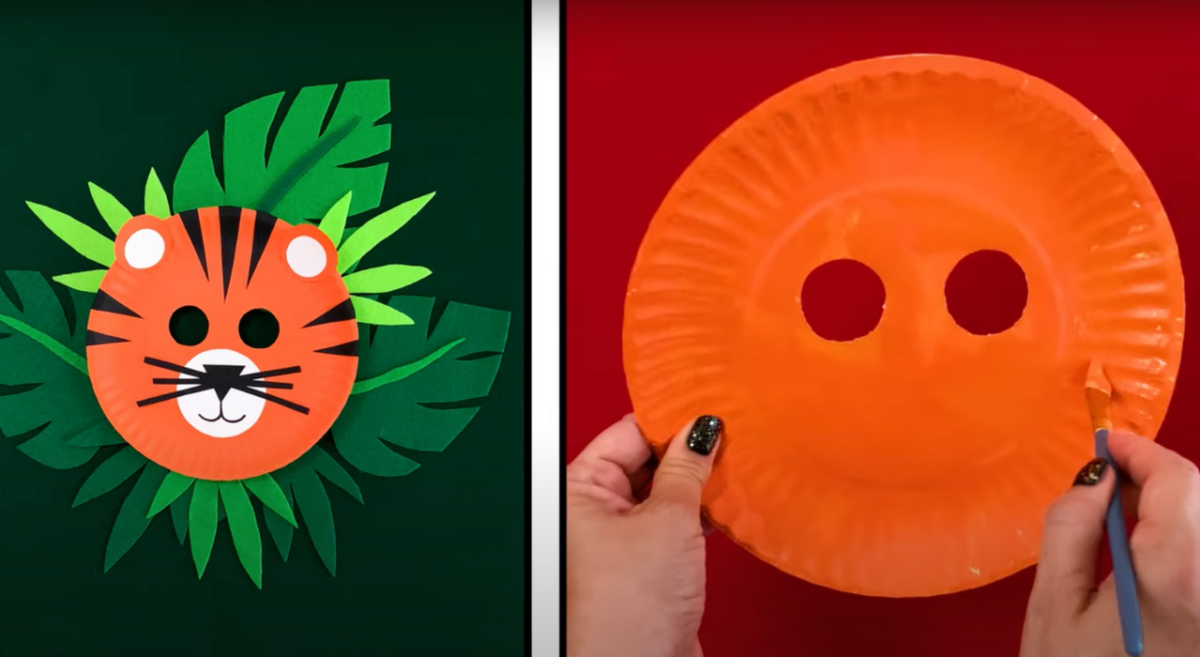
Step 5: Assemble and Add the Features
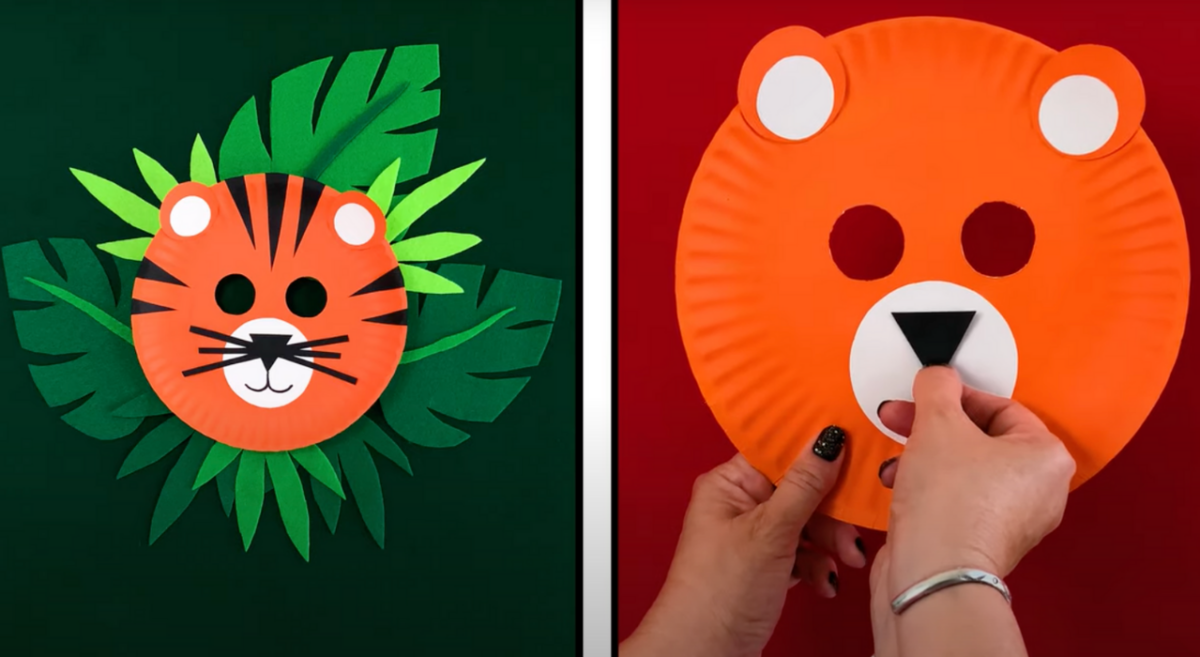
Once the paint has dried, it’s time to assemble your tiger mask. Start by gluing the smaller white circles onto the larger orange ones, creating tiger ears.
Add the larger circle for the tiger’s muzzle, position the black triangle for the nose, and affix the thin black strips to mimic whiskers. Don’t forget to include the distinctive stripes, placing them thoughtfully to give your tiger mask its signature look.
Step 6: Unleash Your Inner Tiger!
With your finished tiger mask in hand, it’s time for some imaginative play. Pretend to prowl through the jungle or engage in playful antics, just as a real tiger would.
As you venture into the world of your imagination, remember that this tiger mask can be your passport to endless adventures. Have fun, explore, and let your inner tiger shine!
