How to Make Mother’s Day Keepsake Baskets
Mother’s Day is a special time to show love and appreciation for all the wonderful things moms do. What better way to celebrate than by making a heartfelt, handmade gift? Today, we’re going to create adorable keepsake baskets that are perfect for storing jewelry, candy, or any small treasures. This craft is ideal for kids aged 4-8 with a little help from their parents. Not only will it be a fun activity to do together, but it will also result in a beautiful and meaningful gift for mom. So, let’s gather our supplies and get started!
What You’ll Need for the Mother’s Day Keepsake Baskets:
- Yarn: Choose mom’s favorite colors to make your basket extra special.
- Cardboard or Foamcore: This will be the base of your basket, giving it shape and support.
- Toothpicks or Straws: These will be used as the frame for your basket. Toothpicks are great for smaller baskets, while straws can be used for larger ones.
- Glue: To hold everything together securely.
- Pom Poms: For decorating your basket and adding a pop of color.
Instructions for Making Your Mother’s Day Keepsake Baskets:
Step 1: Prepare Your Base
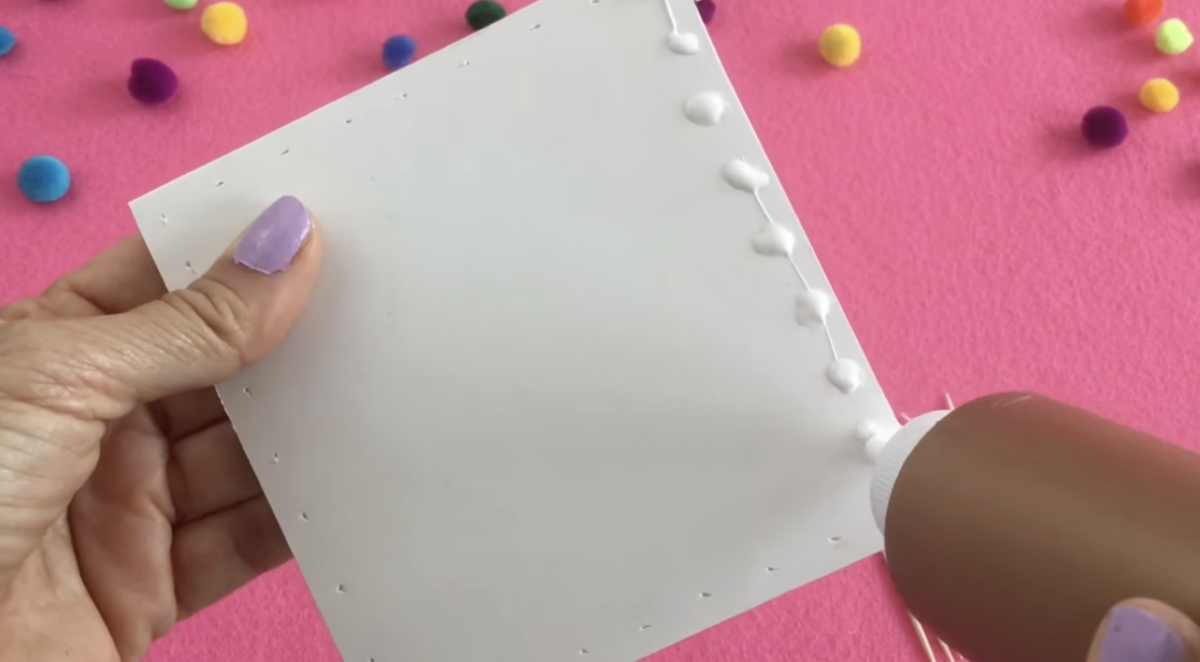
First, cut your cardboard or foamcore into a circle. This will be the bottom of your keepsake basket. The size of the circle can vary depending on how large you want your basket to be, but a good starting point is about 4 inches in diameter.
Step 2: Create the Frame
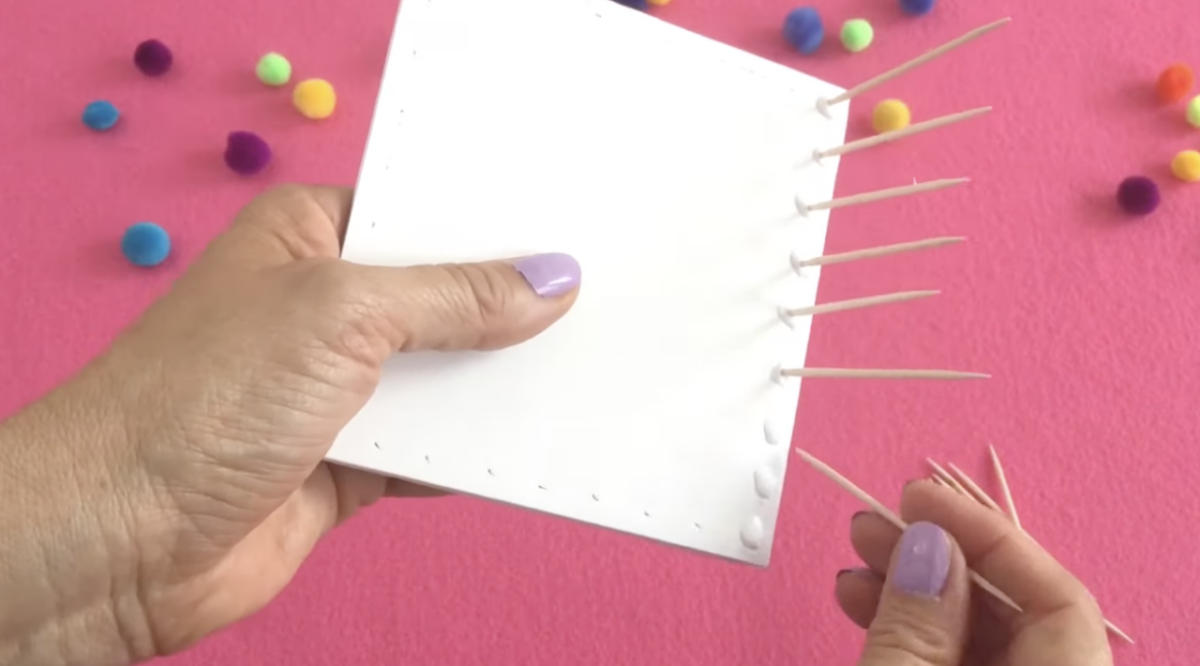
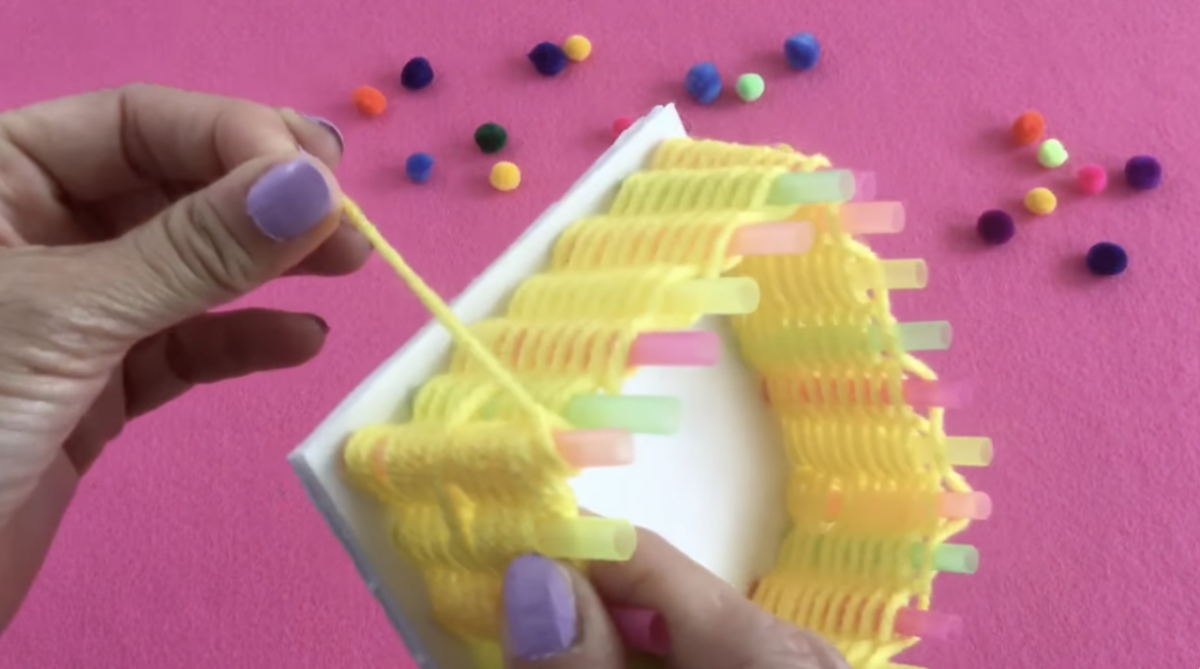
Take your toothpicks or straws and glue them standing up around the edge of the circle base. They should be evenly spaced and form a sort of fence or barrier around the circle. Allow the glue to dry completely before moving on to the next step. This will create the structure for your basket.
Step 3: Weave the Basket
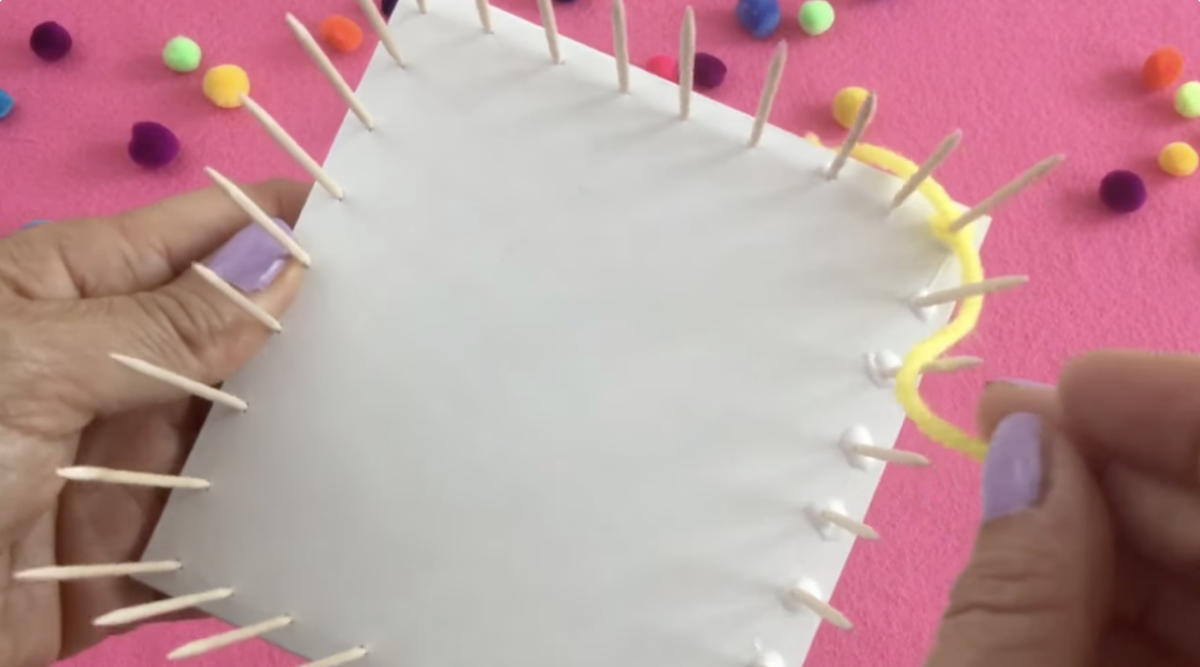
Now, take the yarn and start weaving it around the toothpicks or straws. Begin at the base, near where they connect to the cardboard, and work your way up. You can weave in and out of the toothpicks or straws, wrapping the yarn around each one as you go. This is where you can get creative with colors and patterns!
Step 4: Finish the Weaving
Once you’ve reached the top of your toothpicks or straws, you can tie off the yarn with a secure knot. If you have excess yarn, you can weave it back down through the basket for extra decoration or trim it close to the knot.
Step 5: Decorate Your Basket

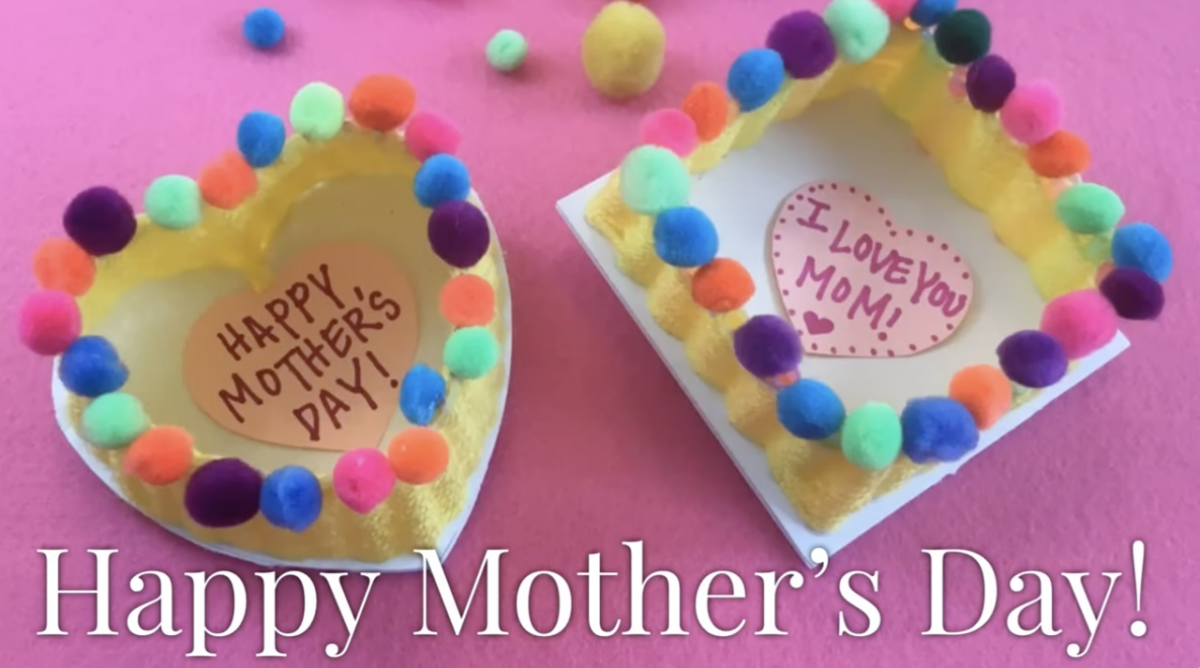
Now it’s time to add the finishing touches. Glue pom poms onto your basket to decorate it. You can create patterns, spell out “Mom” or simply dot them around for a festive look. Let your imagination lead the way!
Step 6: Fill and Gift
Your Mother’s Day keepsake basket is now ready to be filled with small gifts, candy, or jewelry. It’s not just a basket; it’s a token of love and appreciation that mom can treasure.
Safety Tips:
- Always have an adult handle the scissors and supervise the use of glue.
- Be mindful of small parts like pom poms with younger children.
Creating these Mother’s Day keepsake baskets is a wonderful way to spend quality time together while also making something special for mom. She will surely love the thought, effort, and creativity that went into her gift. Happy crafting, and Happy Mother’s Day to all the amazing moms out there!


