Leaf Prints – Fun Fall Craft for Kids
Fall is the perfect time to get creative with nature and making leaf prints is a wonderful way to embrace the season. This simple and fun craft invites kids to explore the different textures, colors, and patterns found in nature. With just a few supplies, you can create stunning prints that celebrate the beauty of autumn leaves.
What You’ll Need for Your Leaf Prints Craft:
- Leaves: Collect various shapes and sizes for a variety of prints.
- Pencil or Colored Pencils: Use these for leaf rubbings.
- Paint Brush: Soft, wide paint brushes work best.
- Acrylic Paint: Use fall colors like red, orange, yellow, and brown, or get creative with your favorite colors.
- Paper: Any kind of paper will do, but thicker paper works best for painting, while thinner paper is best for the leaf rubbings.
Instructions for Making Your Leaf Print Craft:
Step 1: Gather Your Supplies
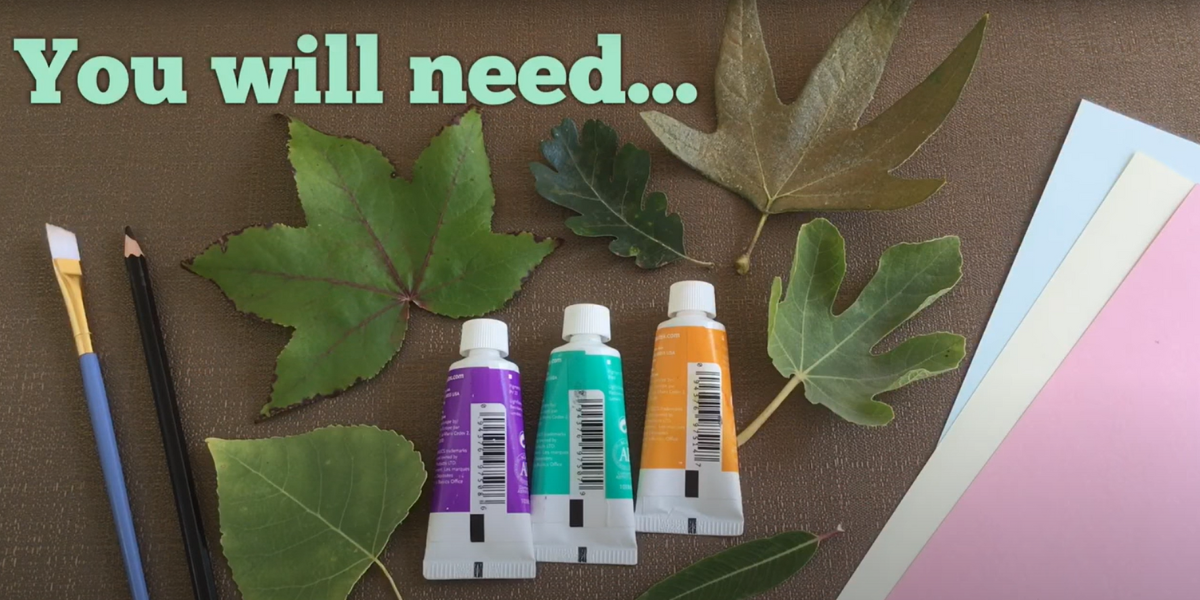
Before you begin, collect your leaves from outside. Look for different shapes and textures to add variety to your prints. Then, gather your pencils, paintbrushes, paints, and paper. Set up a workspace that’s easy to clean, as this craft can get a little messy.
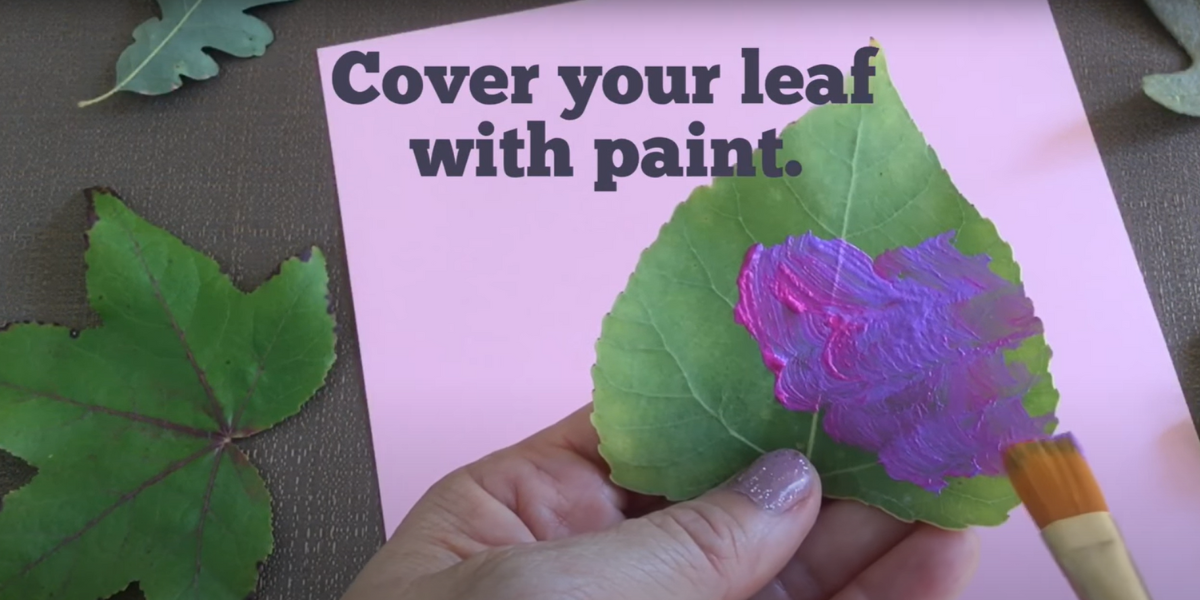
Step 2: Cover Your Leaf with Paint
Using your paintbrush, gently cover the textured side of the leaf with a thin layer of acrylic paint. Be sure to apply the paint evenly, so the leaf’s veins and other details will show up clearly when pressed onto the paper. Don’t overload the leaf with too much paint, as this can cause smudging.
Step 3: Place the Leaf on the Paper
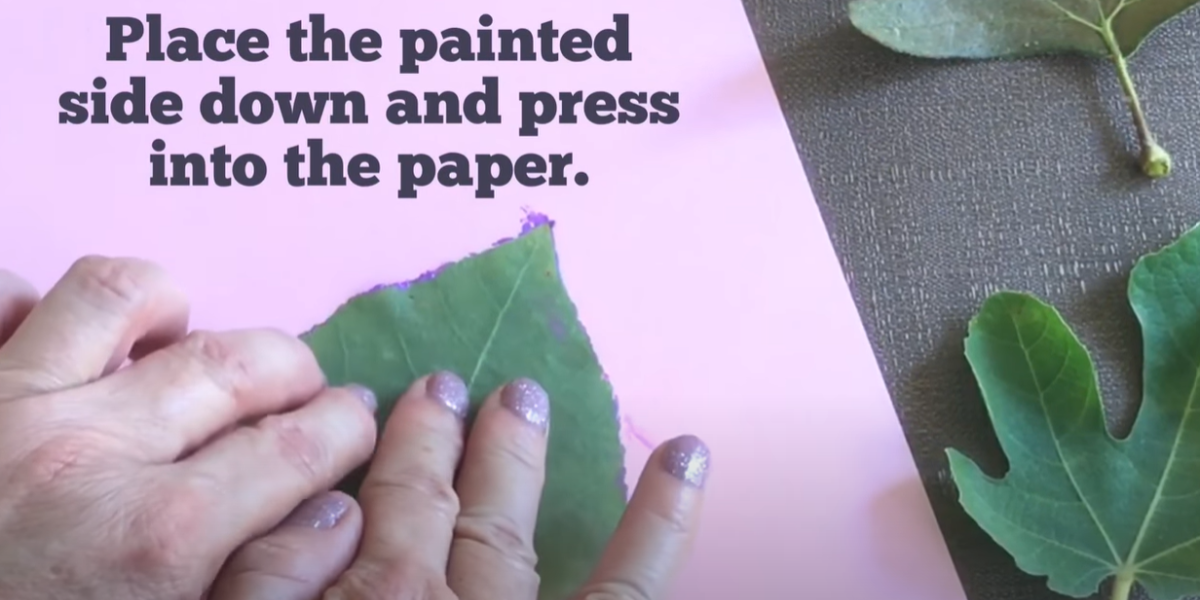
Carefully place the painted side of the leaf onto your paper. Press down lightly to make sure the leaf’s texture transfers to the paper. You can use your fingers or another piece of paper to press gently over the leaf. Then, lift the leaf to reveal your print!
Step 4: Repeat
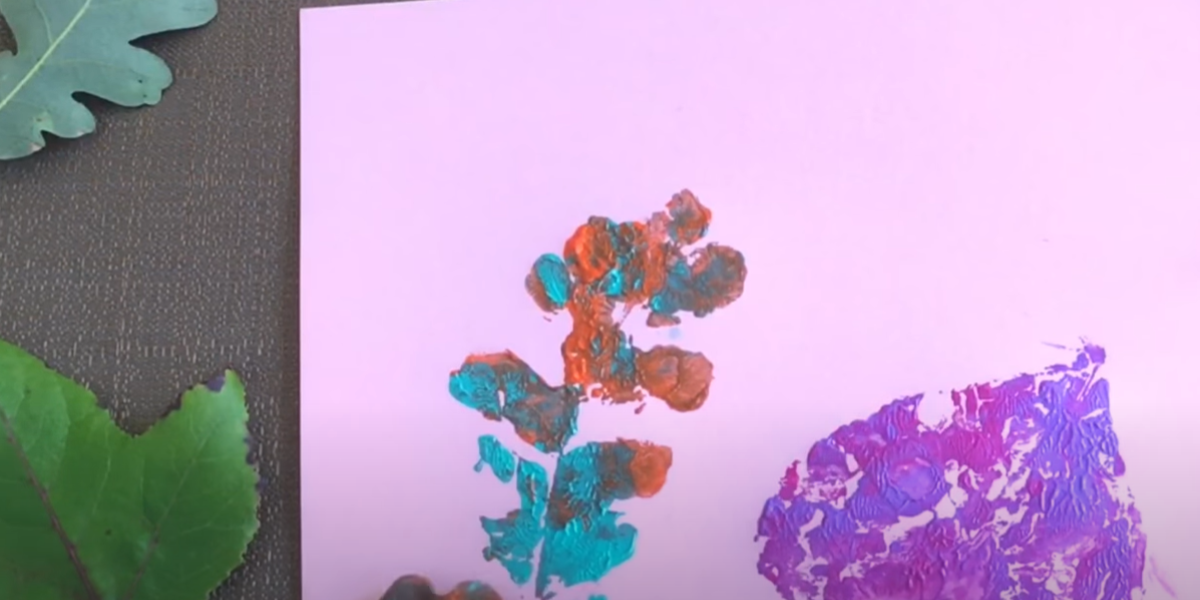
Try this technique with different leaves and paint colors to create a collage of beautiful fall prints. You can overlap the leaves for a layered effect or create patterns by repeating the same leaf in different colors.
Step 5: Place Leaf Under the Paper
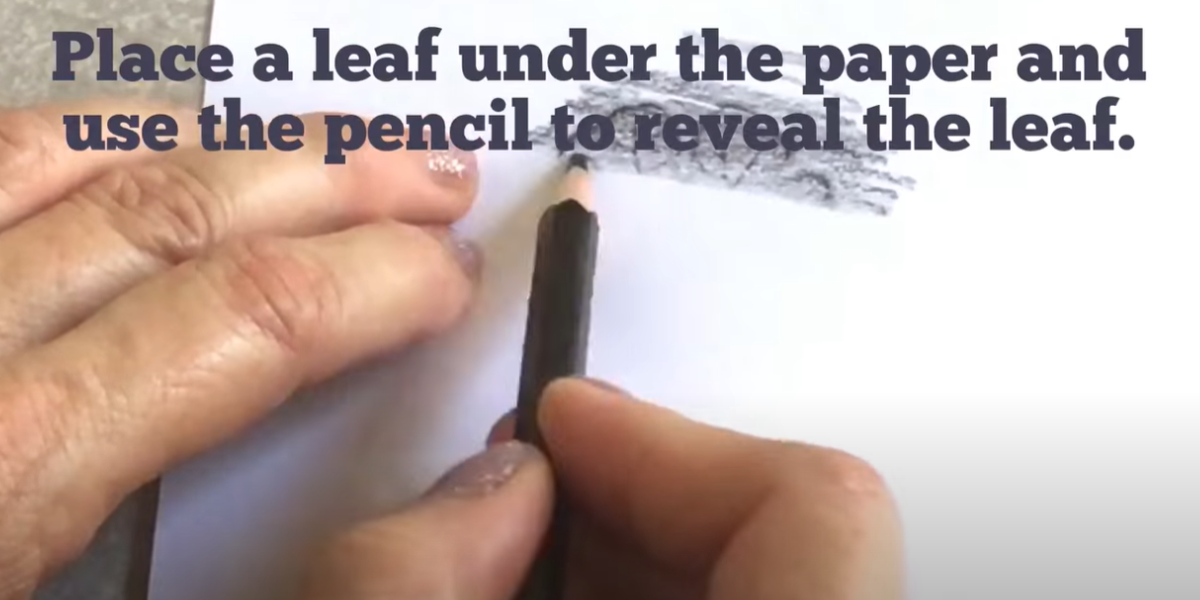
For a different approach, place a leaf under your paper and use a pencil or colored pencils to reveal the leaf’s texture. Hold your pencil at an angle and rub over the top of the leaf. As you color, the texture of the leaf will start to show through, creating a delicate, detailed print.
Step 6: Be Creative
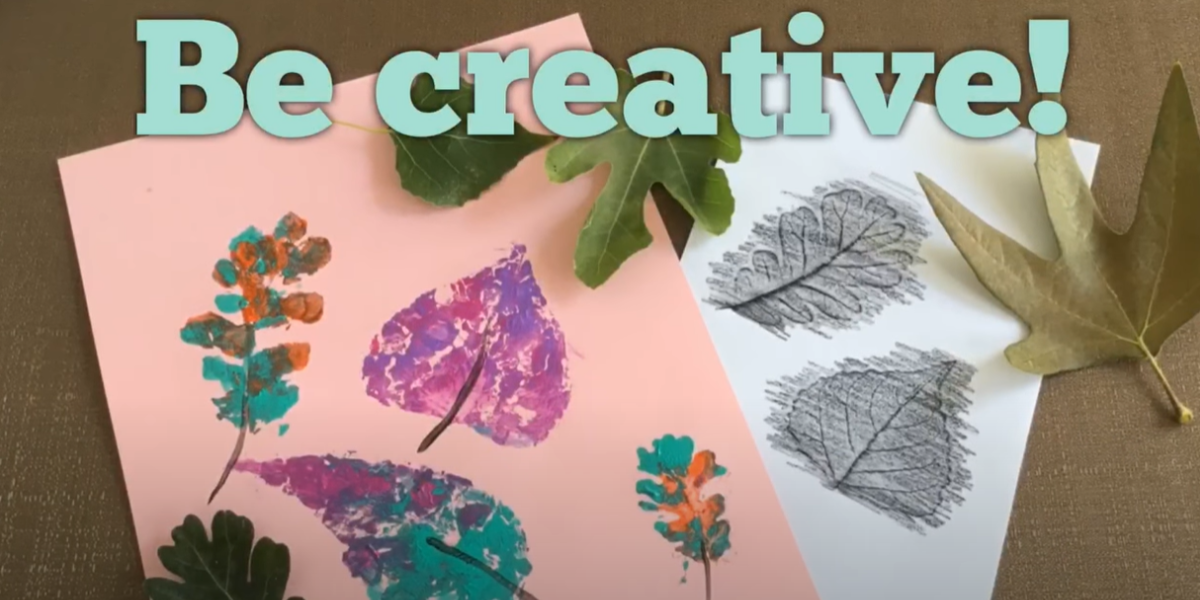
Feel free to mix and match techniques! You can combine painted prints with pencil rubbings, use different types of leaves, or create a colorful leaf collage. Encourage your child to explore and make the artwork their own by using a variety of colors and patterns.
Tips for Making the Painted Leaf Craft with Young Children:
- Choose large leaves: Larger leaves are easier for younger kids to handle and paint. They also make bolder prints.
- Use washable paints: If working with toddlers or preschoolers, consider using washable paints to make cleaning up easier.
- Help with pressing: Young kids may need help pressing the leaf onto the paper to ensure a good print.
- Encourage creativity: Let children experiment with different colors and leaf shapes. It’s not about perfection but rather enjoying the process!
Leaf printing is a fun craft that helps kids connect with nature while expressing their creativity. This activity is a wonderful way to celebrate fall and create lasting memories through art. Whether you’re making a beautiful autumn collage or just experimenting with different textures, leaf prints are a perfect way to enjoy the season!

