Learn How to Create a Paper Plate Panda
If you’re in search of a craft project that combines imaginative play with artistic expression, get ready for a panda-monium of fun! This Paper Plate Panda craft project not only lets kids unleash their inner artist but also encourages imaginative role-play in the world of pandas.
This delightful craft is easy to create and offers opportunities for creative play as kids imagine the personalities of their pandas and their world in a bamboo forest. Let your child’s creativity roam wild and join them in creating this adorable Paper Plate Panda.
What You’ll Need to Create a Paper Plate Panda
- Two paper plates
- A piece of white paper
- A piece of black paper
- Black and white paint
- A paintbrush
- Black marker, a pencil, and other drawing supplies
- Glue
- Scissors
- Stapler or tape
Instructions for Making Your Paper Plate Panda

Step 1: Gather Your Materials and Set Up Your Workspace
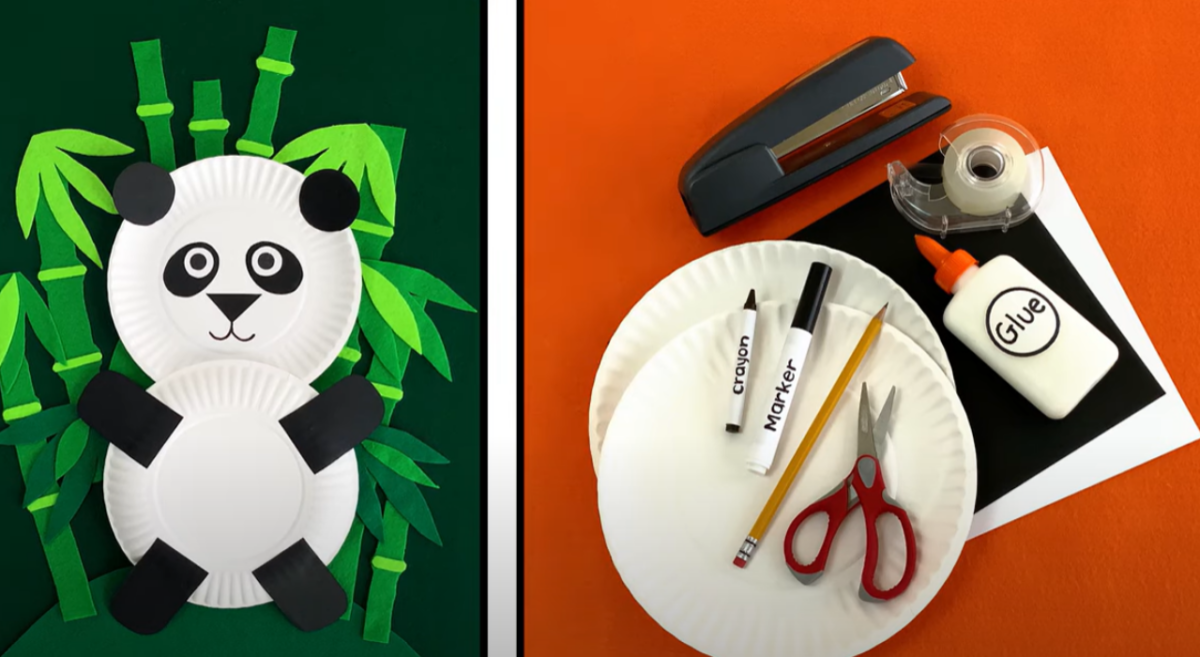
Before you start your panda craft, ensure you have all the necessary materials listed above.
Clear a comfortable workspace where your imagination can roam freely.
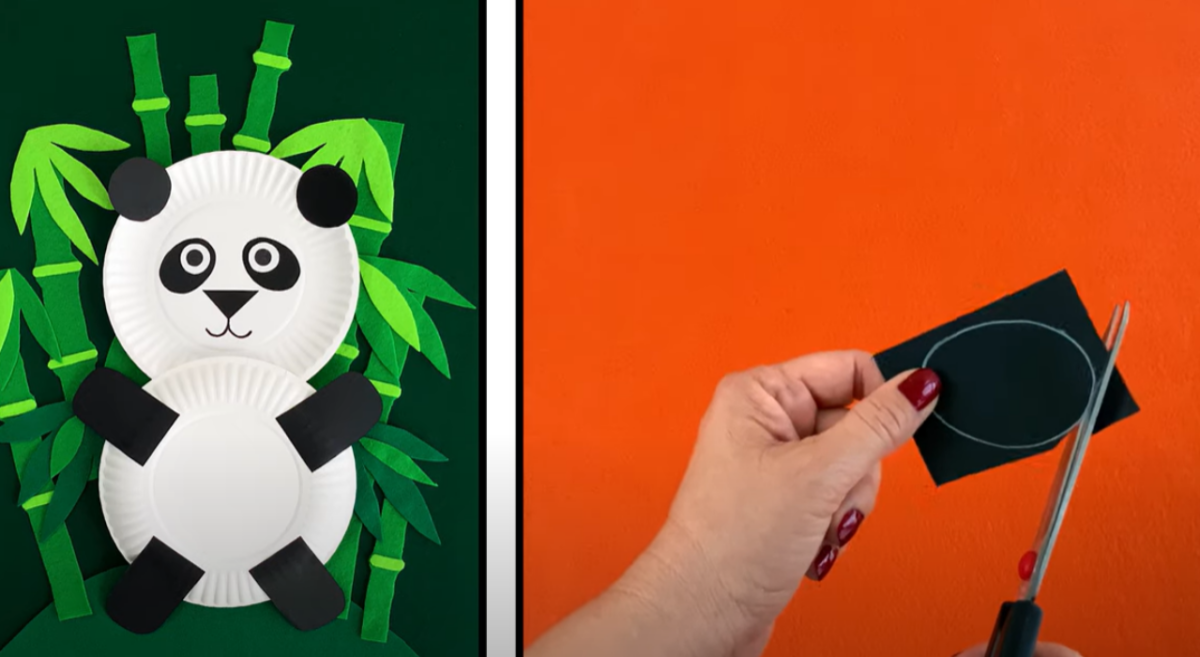
Step 2: Start Cutting Shapes for the Panda
To bring your panda to life, begin by cutting out the shapes you’ll need from your paper.
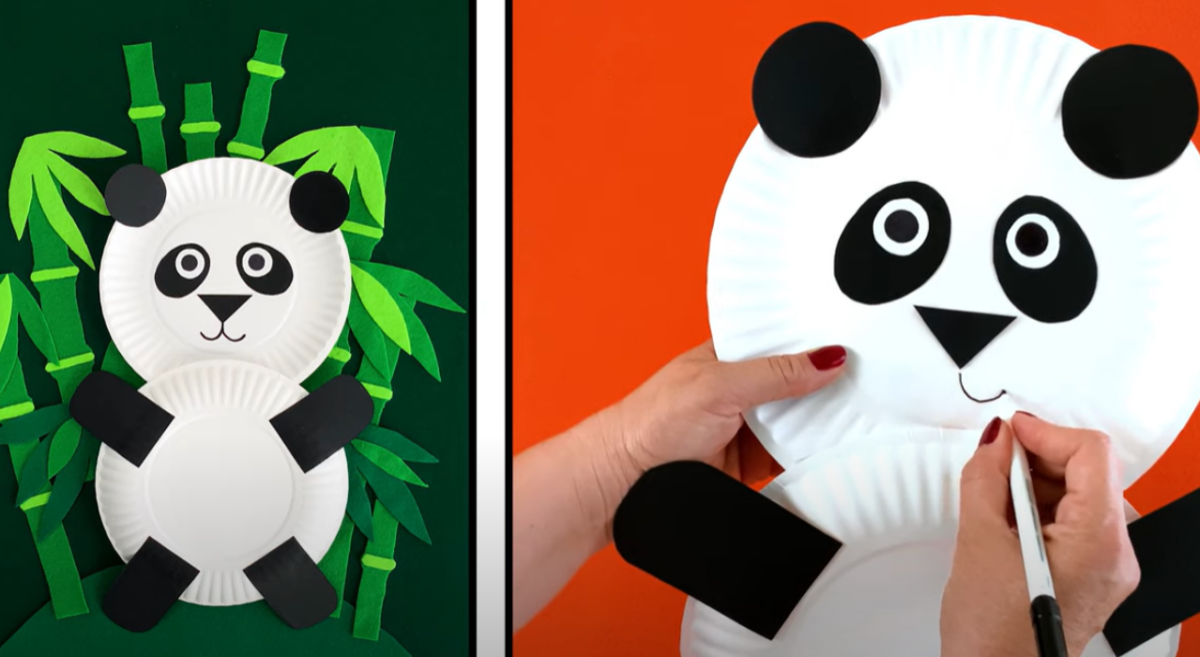
You’ll need two large black ovals for the panda’s eyes, two smaller white and black circles for the inner part of the eyes, a black triangle for the panda’s nose, and black circle-shaped ears.
Additionally, cut out some black rectangle-shaped pieces for the panda’s arms and legs.
Step 3: Create the Panda’s Body
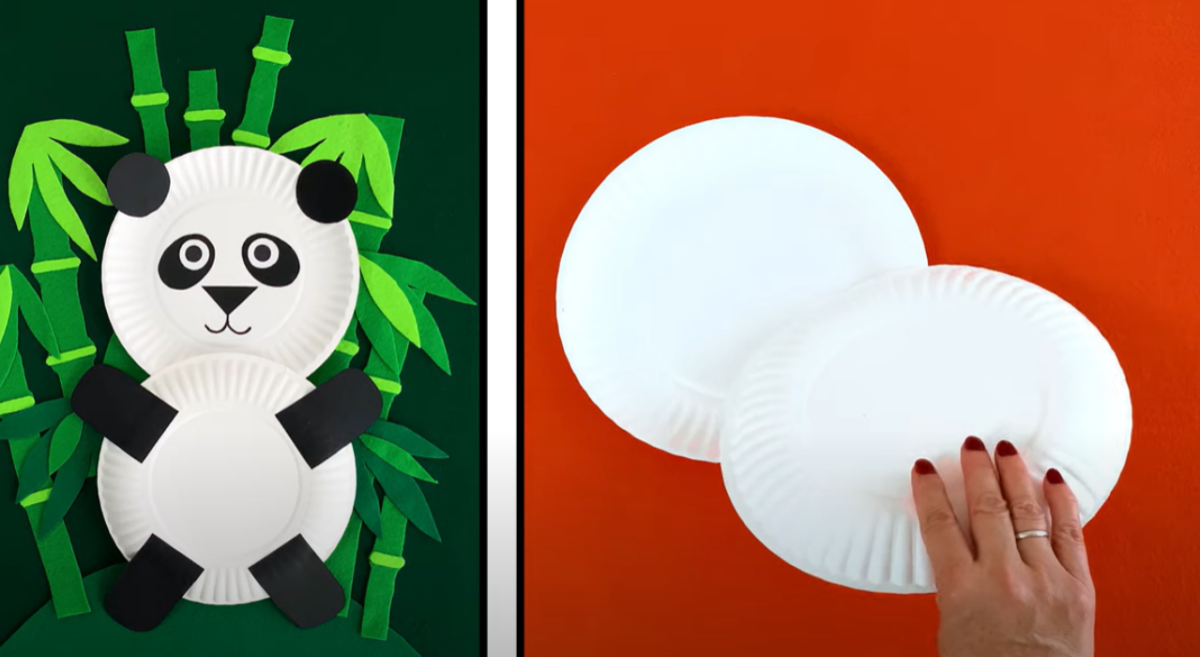
Turn one plate upside down—this will be used as the panda’s body.
Then, place the upside down plate on top of the right-side-up plate and glue them together.
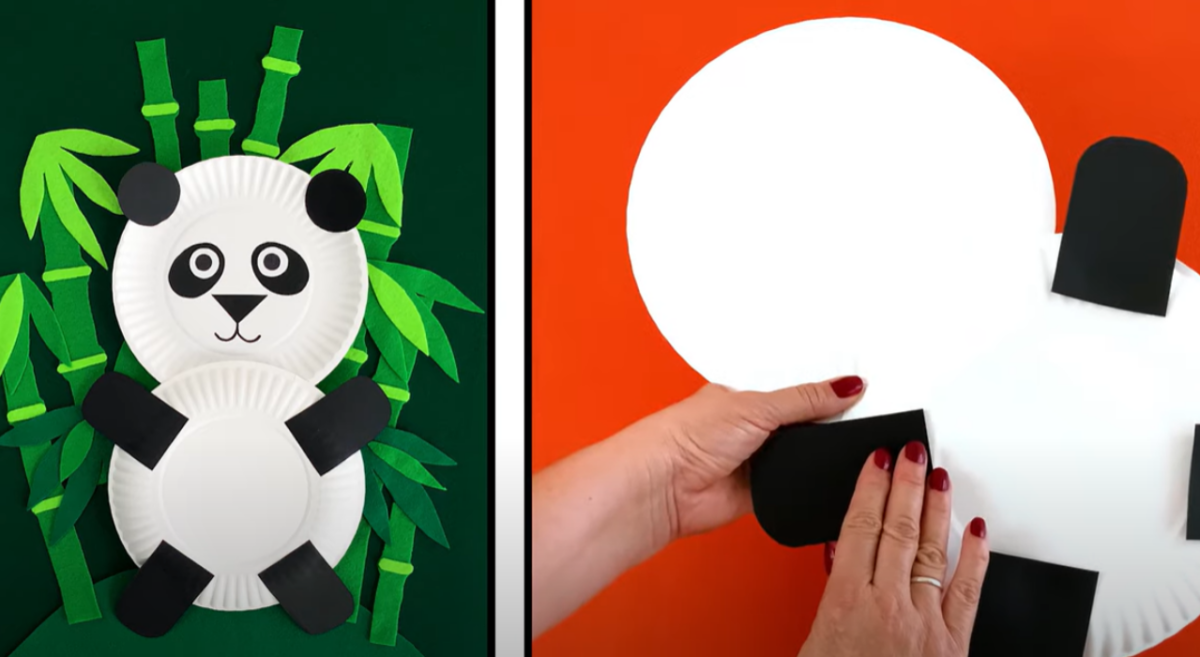
Step 4: Design Your Adorable Panda
Next, glue on the arms and legs to the lower, upside-down plate. Then glue the ears to the top plate. Now it’s time to give your panda some personality. Add all the facial features by gluing on your pre-cut pieces. Don’t forget to draw on the mouth!
While waiting for the glue to dry, add any unique details that make your panda look as captivating and imaginative as you’d like.
Step 5: Unleash Your Inner Panda
With your finished panda in hand, use your imagination to help it explore bamboo forests and more.
Does your panda like to munch on bamboo shoots, roll around in fluffy panda style, or engage in playful antics, just as a real panda would?
You can even go a step further and create a unique panda persona with a name and backstory. Or, you can create a second Paper Plate Panda as a pal. Whatever you choose to do, we hope you have fun!