Letter L Crafts & Activities for Preschoolers
Share
Add loads of fun to learning the letter L with engaging activities and crafts for young children.
Table of Contents
Add play and creativity to letter learning with hands-on art activities focused on the letter L. Pick from our lists of ideas below, or try them all. Each one uses everyday craft supplies and requires less than 30 minutes of time. Remember, while these ideas are designed for young children, they do require adult supervision.
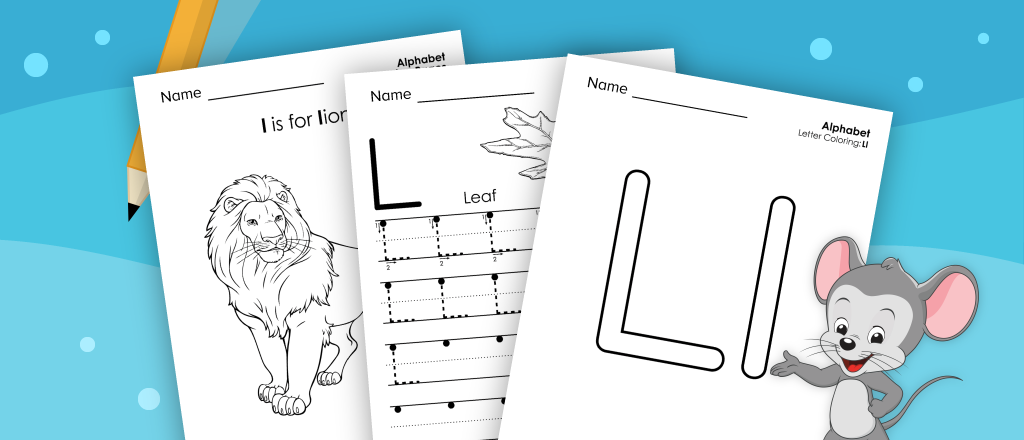
Several of the letter L crafts and activities listed below require the outline of a letter L. You can draw one yourself or find one in our free printable collection of letter L worksheets.
1. L is for Leaf Art
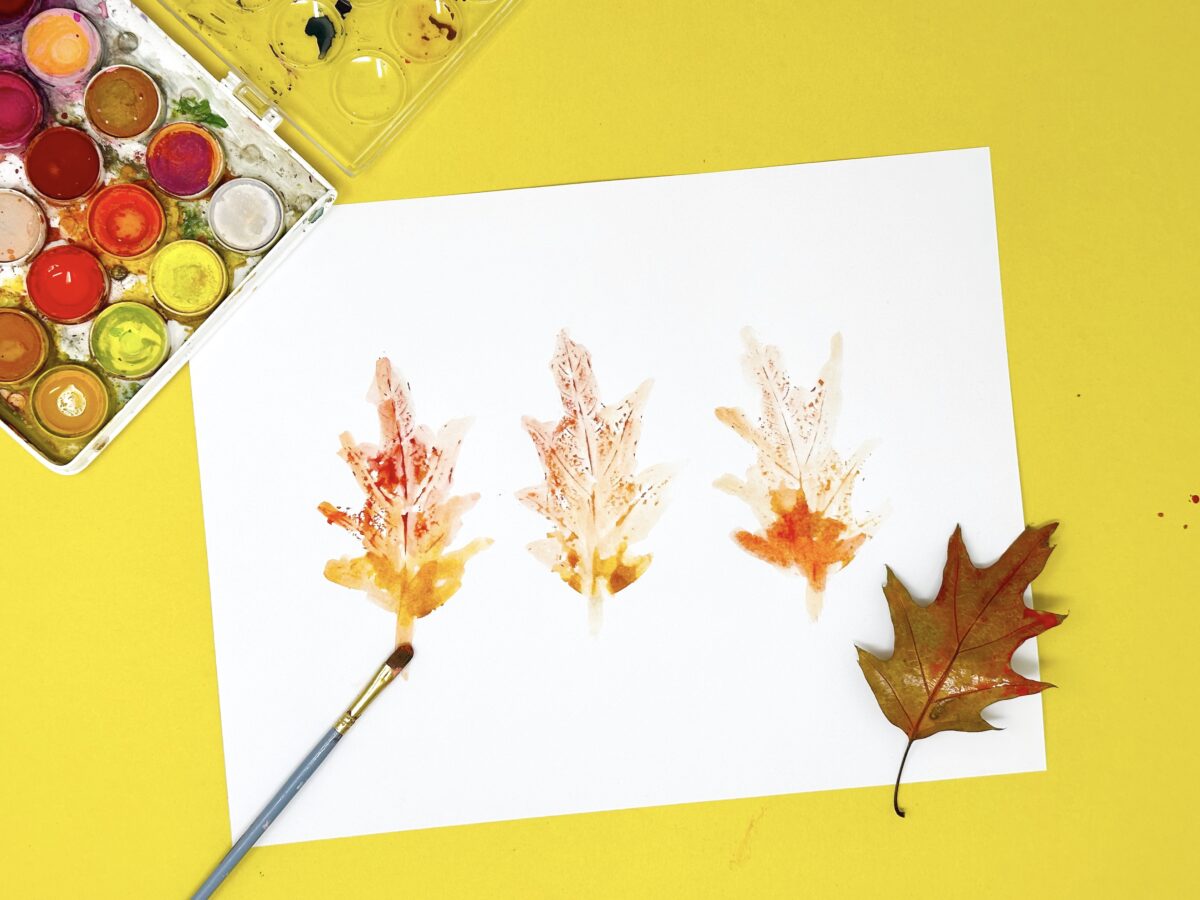
Nature provides the main craft supply for this leaf-inspired art activity.
Required Materials
- leaves from outside
- paper
- paint
- paint brush
How To
Gather up one or several sturdy leaves from outside. Have your child paint the under side of the leaves (the side with more prominent veins). Then, ask your child to press the paint-coated side of the leaves onto a sheet of paper, leaving behind unique and colorful leaf prints.
Tip: If using watercolor paint, be careful not to use too much water as it will make it harder for the paint to stick to the leaves.
2. L is for Lamb
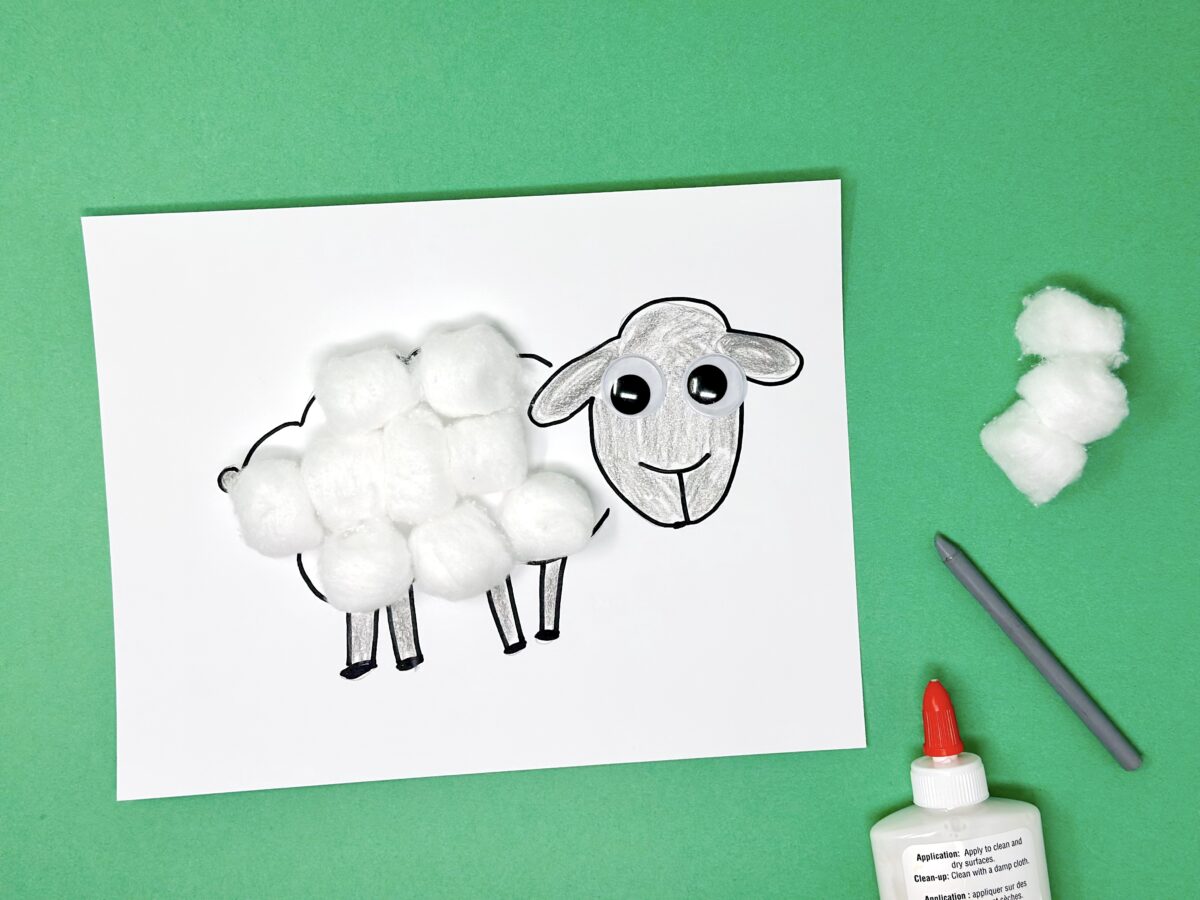
This lovely lamb gets its fluff from everyday cotton balls.
Required Materials
- cotton balls
- googly eyes
- paper
- marker
- glue
How To
Use the marker to draw the outline of a sheep, with a fluffy body, oval head with two ears, four rectangular legs, and a cute little tail. Then, ask your child to create the lamb’s fur by gluing the cotton balls onto its body. Finally, have your child create the lamb’s face, gluing down the googly eyes and drawing in a mouth and nose.
3. L is for Lemons
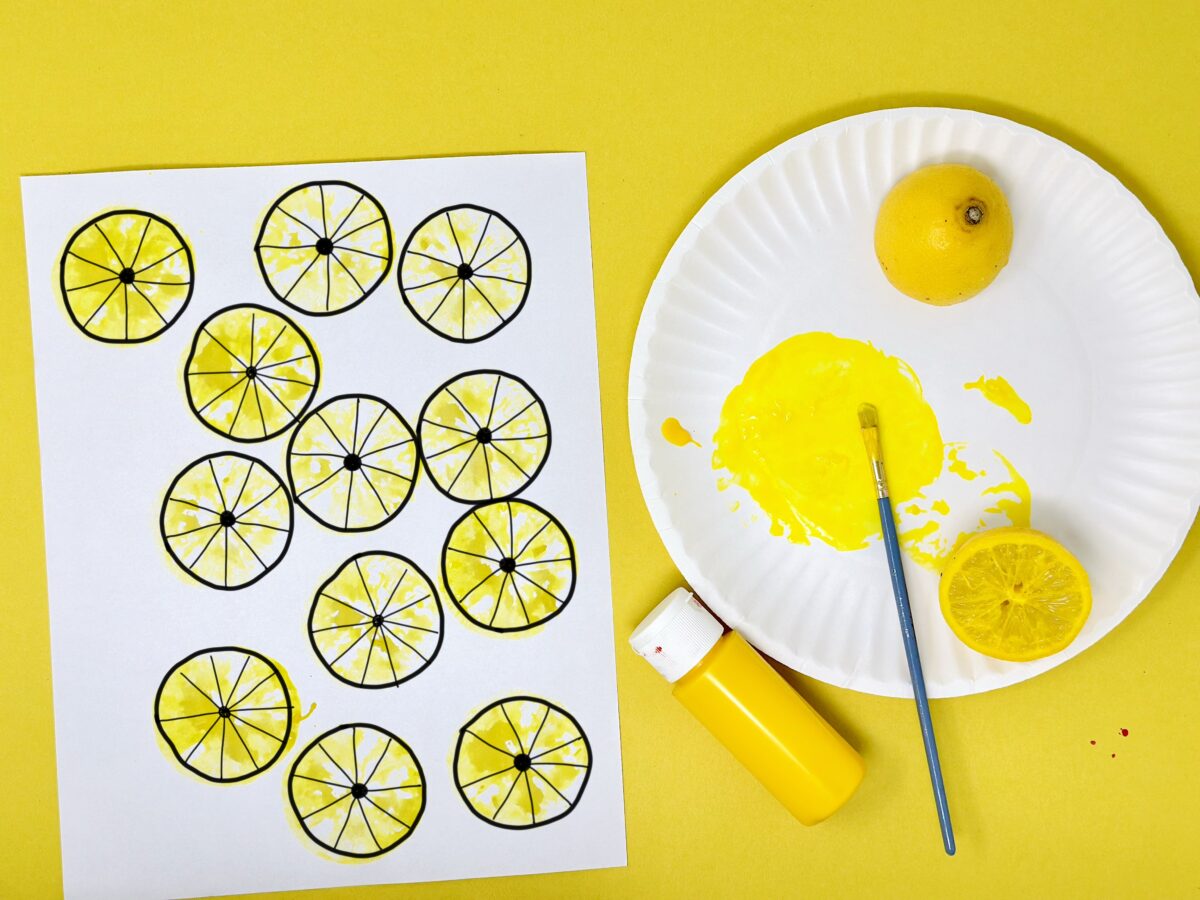
Who knew lemons could be such a cool art tool?!!
Required Materials
- 1 lemon
- yellow acrylic paint
- paper
- paint brush
- paper plate
How To
Cut a lemon in half and have your child pat it dry. Add yellow acrylic paint to a paper plate and gently press the lemon into it. Then, gently press the lemon onto the sheet of paper, being careful not to squeeze it. Once the lemon stamps have dried, use a marker to outline them and create their segments.
4. L is for Lion
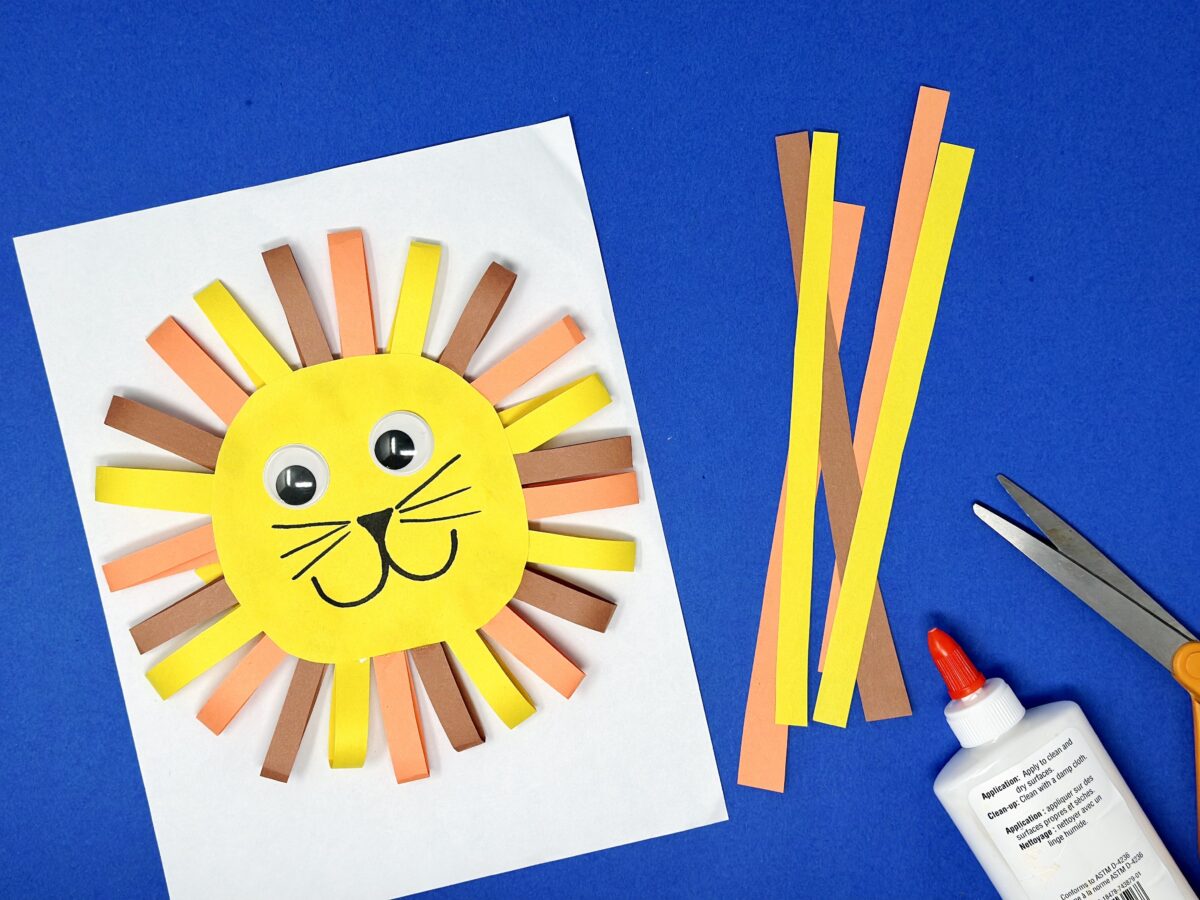
Little kids will love crafting this friendly lion from strips of construction paper.
Required Materials
- yellow, brown, and orange construction paper
- scissors
- glue
- marker
- googly eyes
How To
Cut out a circle from a piece of yellow construction paper. Use a black marker to draw on a nose, mouth, and whiskers onto it. Do not add the google eyes yet. Then, cut out long strip from the yellow, orange, and brown construction paper.
Flip the yellow circle over. Work with your child to fold the strip of construction paper in half, forming loops. Glue the folded strips all around the back edge of the yellow circle. When the glue dries, flip the yellow circle right-side up, glue on the googly eyes, and admire your awesome lion!
5. L is for Line Painting
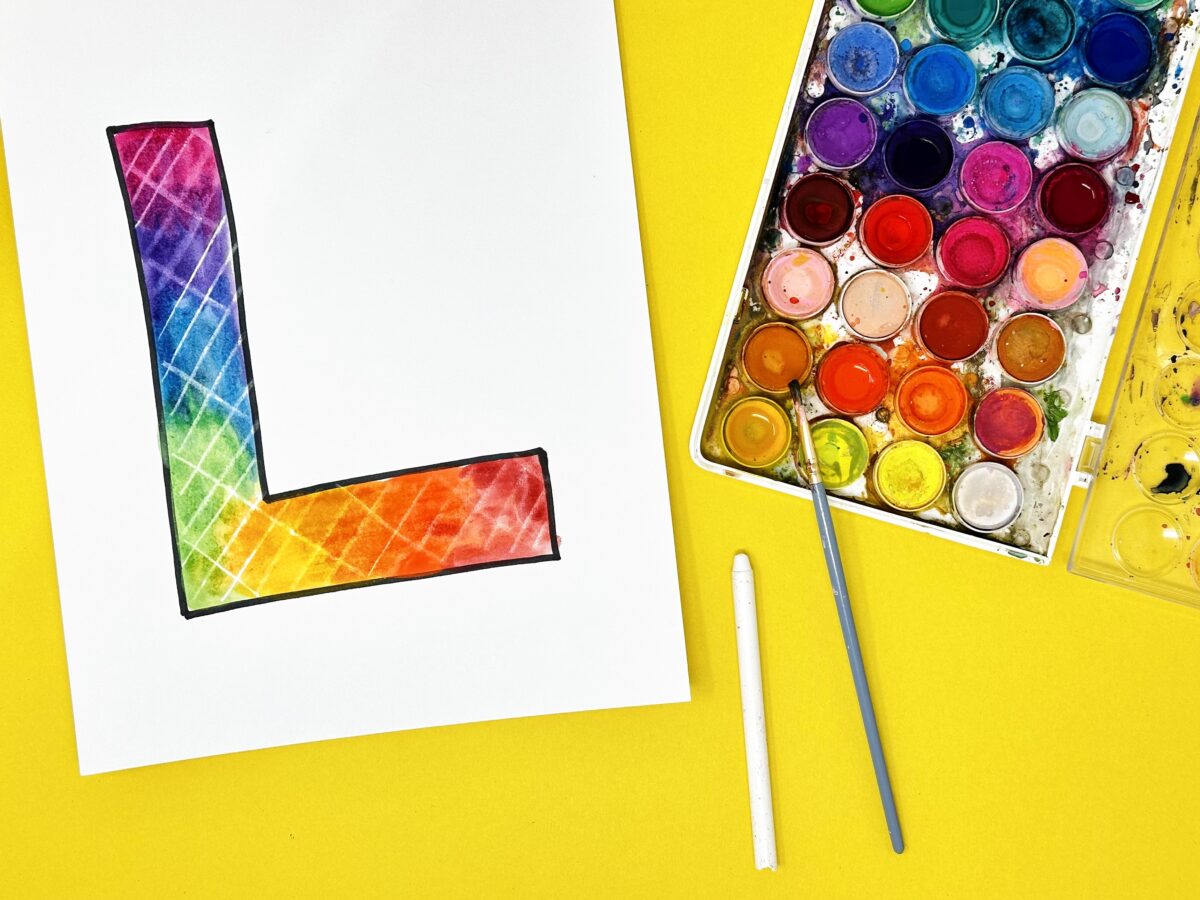
The letter L gets covered in little lines in this painting project.
Required Materials
- letter L outline
- thick paper or card stock
- white crayon
- watercolor paint
- paint brush
How To
Draw or print out the outline of a letter J onto your paper or card stock. Have your child draw lines inside the outline of the letter L, forming whatever pattern they would like. Then, ask them to fill in the letter L with their paint, using one color or many colors. As they work, they’ll see their lines revealed as the was from the white crayon repels the paint.
#1 Downloaded Kids’ Education App in the U.S.
The ABCmouse app has so much to offer! You and your child will find 10,000+ games and activities designed by curriculum experts to nurture math and reading skills, along with an extensive digital library and so much more. Our research-back curriculum focuses on preschoolers through second graders.

Then just $14.99 a month until canceled
6. L is for Lavender
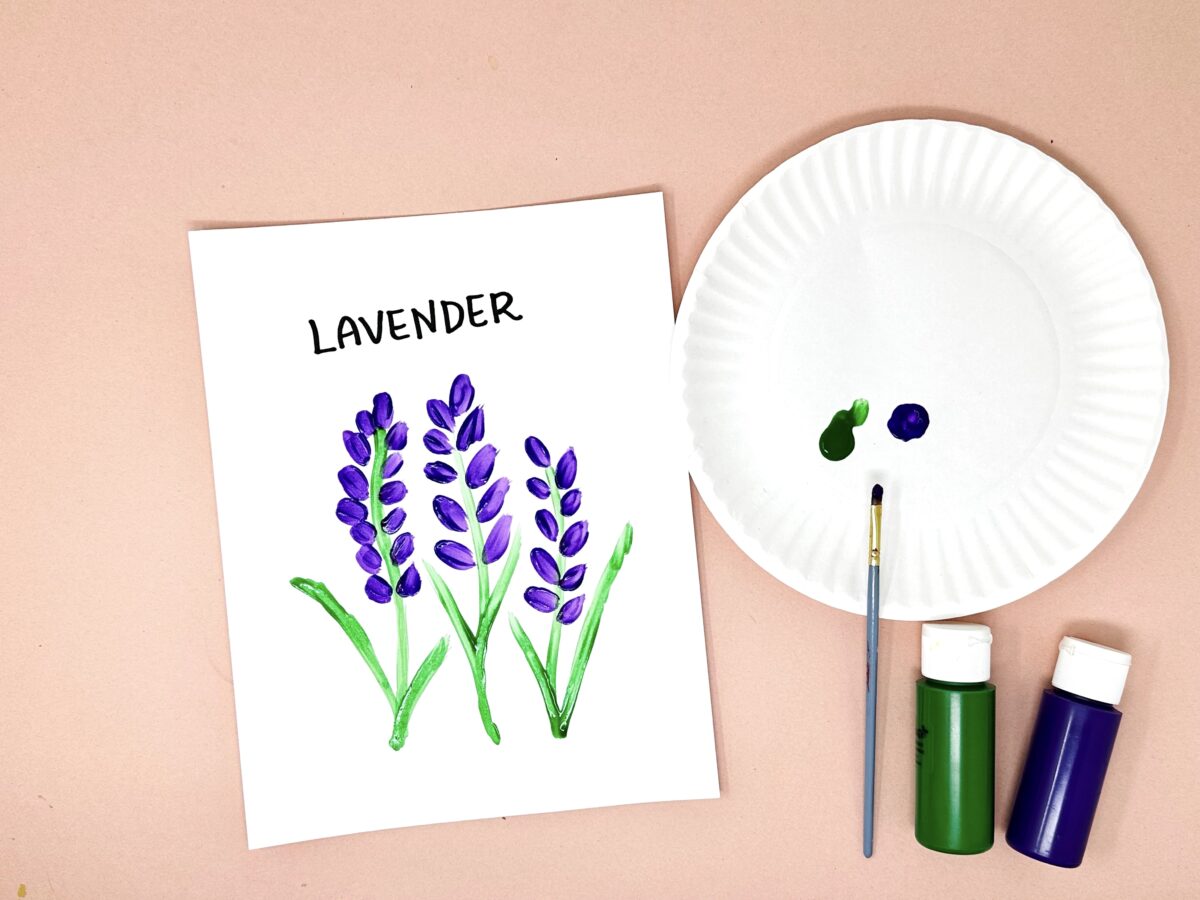
Create lovely stems of lavender with just a few brush strokes.
Required Materials
- paper
- purple and green paint
- marker or crayon
How To
Have your child use the green paint to create three long stalks. Then, have them add two long leaves to each stalk. Next, have them use the purple paint to add small dabs along either side of each stalk, forming the lavender’s petals.
Tip: Turn this into a sensory exercise by showing your child a real lavender plant and/or letting them smell dried lavender or lavender essential oil.
7. L is for Ladybug
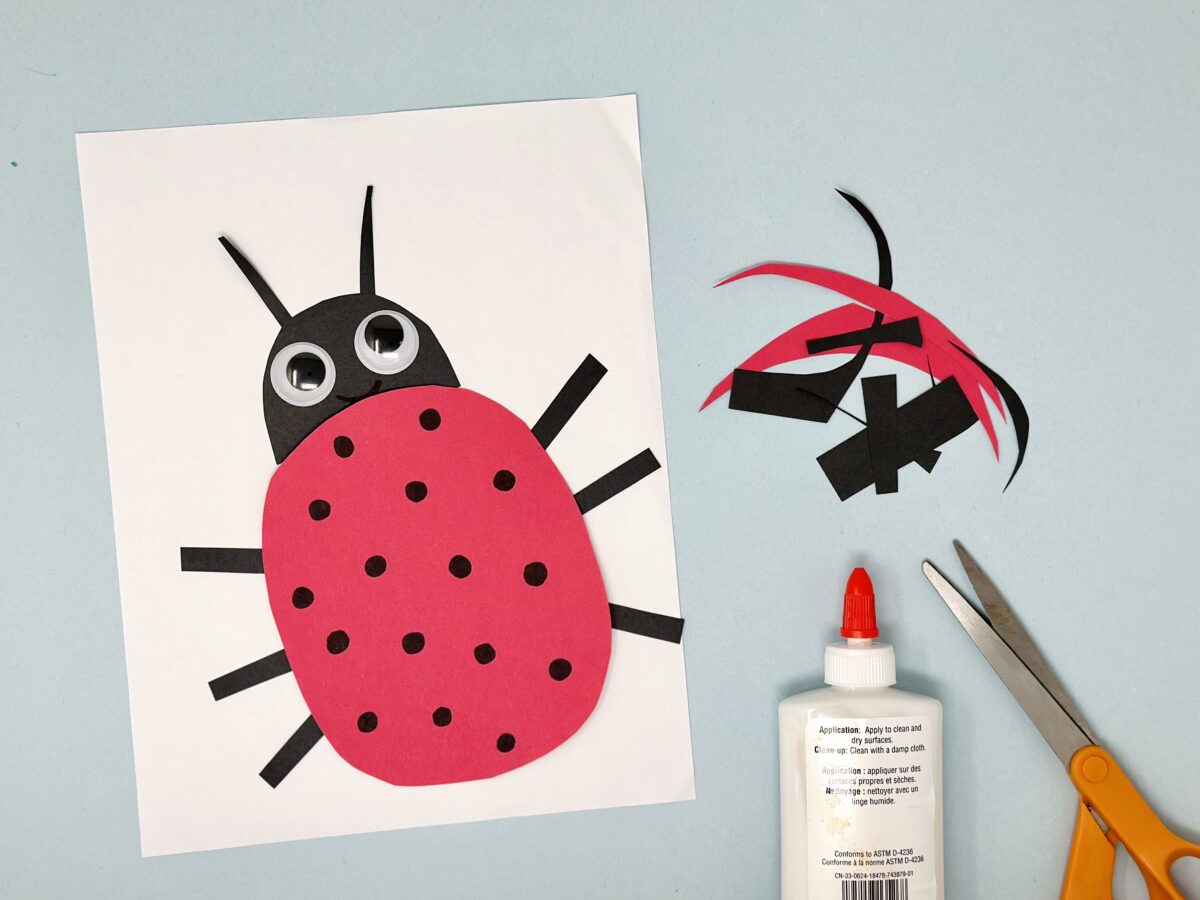
A few snips of construction paper leads to the creation of this little ladybug.
Required Materials
- red and black construction paper
- black marker
- scissors
- glue
- googly eyes
How To
Work with your child to cut a large oval from the red construction paper. Then, use the marker to add small black circles all over the red circle, forming the ladybug’s spots. Next, cut a semi-circle, six long rectangular pieces, and two skinny strips from the black paper. These will be the ladybug’s head, legs, and antenna.
Arrange the ladybug’s head, legs, antenna, and body on a sheet of paper and glue them into place. Then, give your ladybug a name, like Leslie, Larry, Laverne, or Lester!
8. L is for Lollipop
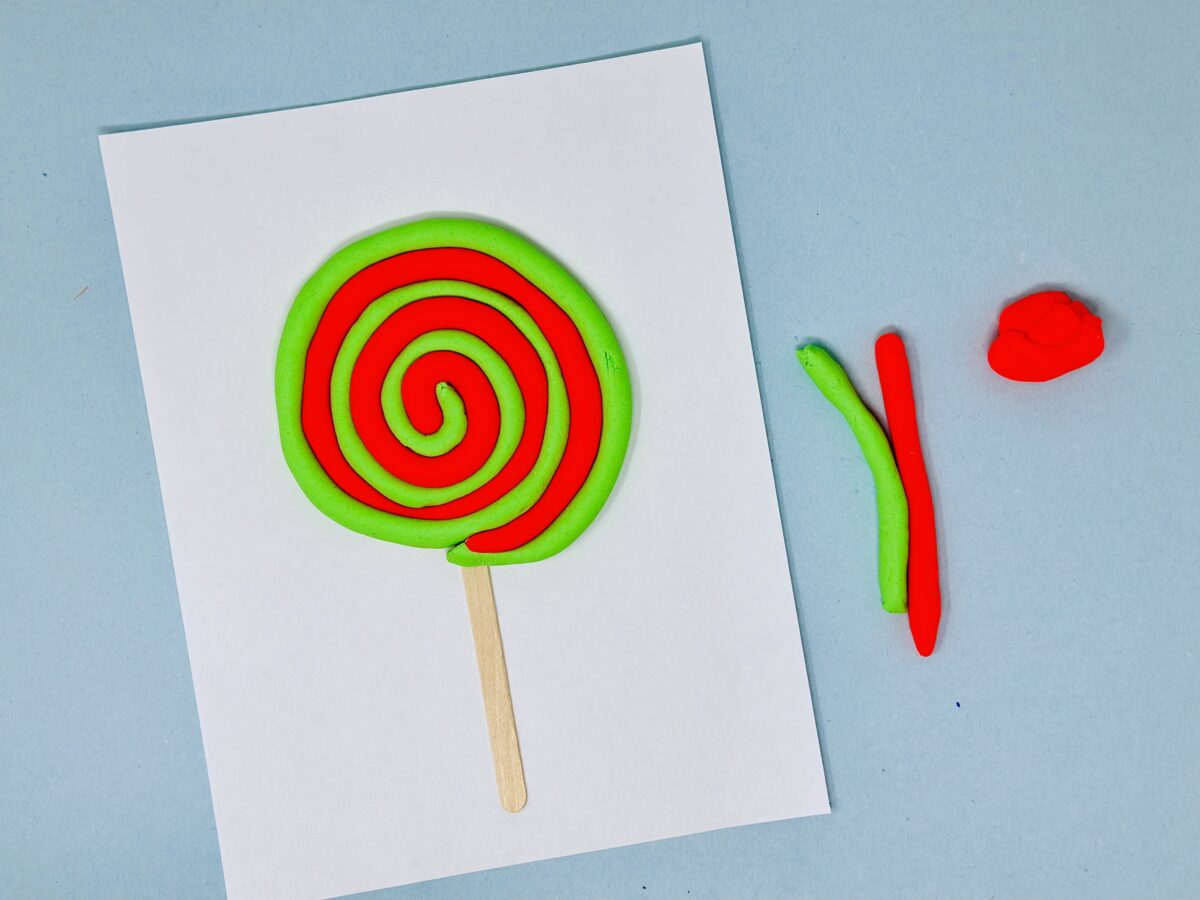
Kids will love assembling layers of playdough to form this large swirly lollipop!
Required Materials
- two colors of playdough
- paper
- popsicle or craft stick
How To
Staple or glue a craft stick to a piece of paper. Then, pick two different colors of playdough. Roll out several long, even lengths of each playdough color. Then, press the ends of the playdough ropes together, and loop them around each other, creating a large circle-shaped swirl. Gently press this swirl on top of the craft stick, creating a lollipop.
9. L is for Little Leaves
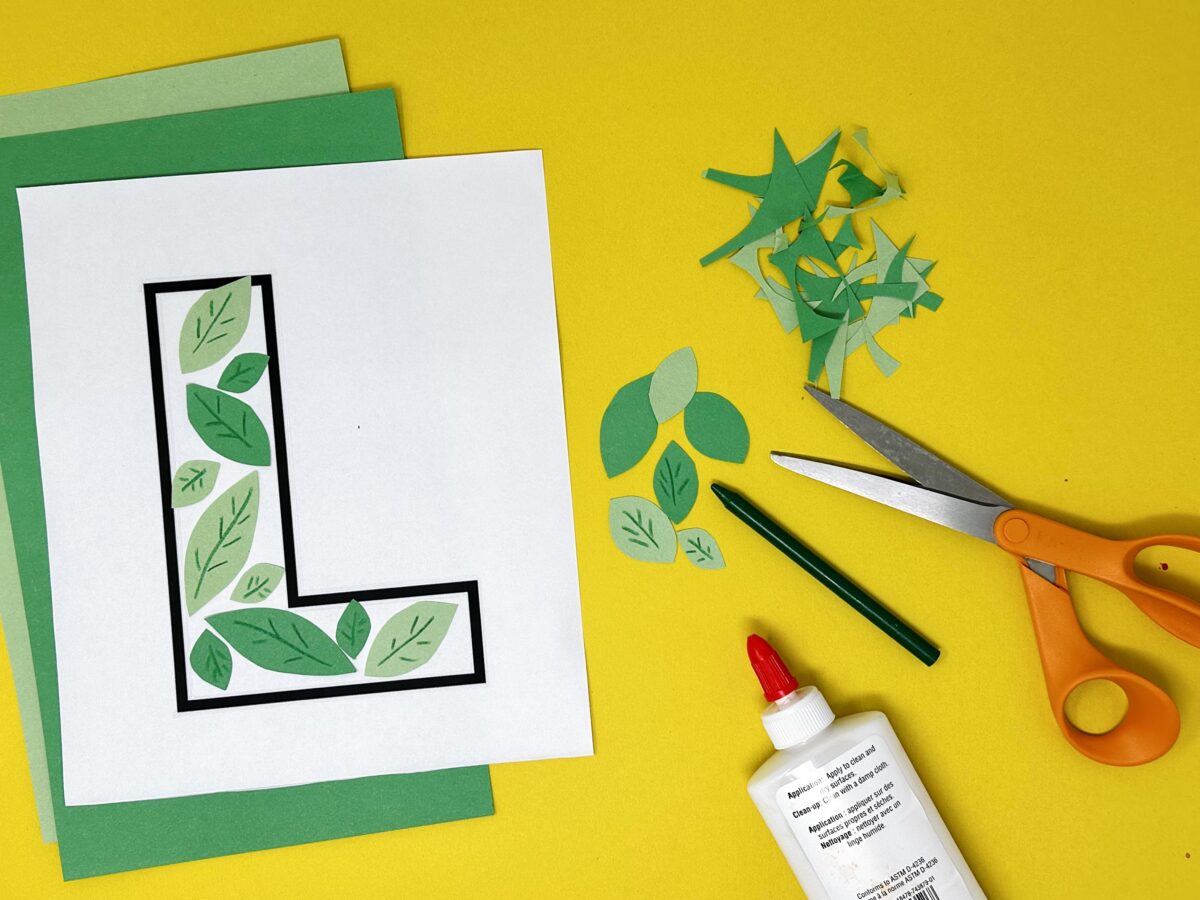
Let your little one fill the letter L with little leaves trimmed from paper.
Required Materials
- green construction paper
- letter L outline
- scissors
- glue
- marker
How To
Draw or print out the outline of a letter L. Next, work with your child to draw small leaf shapes on the green construction paper. Then, use a scissors to cut out the little leaves. Embellish each leaf with small lines to create veins. Finally, glue the leaves into the L, counting how many leaves you can fit.
Tip: If you have access to real small leaves outdoors, use those instead!
10. L is for Lemon-Add
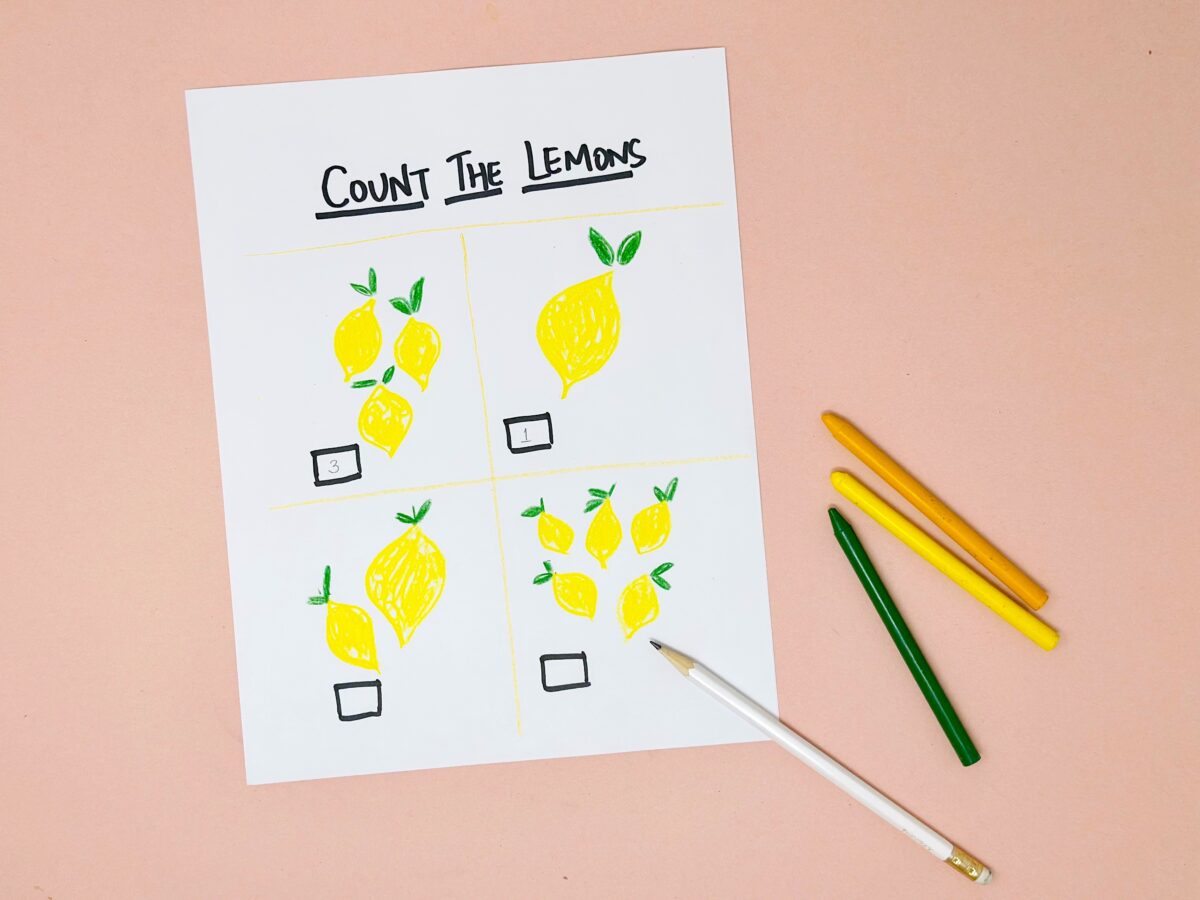
Counting is the first step towards addition, making this lemon counting activity a great way to get ready for adding!
Required Materials
- paper
- yellow and green markers and pencils
- pencil or black marker
How To
Draw groups of lemons, ranging in numbers from 1 to 5. Then draw a small box near each group of lemons. Work with your child to count each group of lemons, then write the answer into the box.
More Letter L Fun
Delight your child with more fun ways to explore the letter L, including:
The ideas, pictures, and copy for this post were provided by Smitha Katti from smilingcolors.com
-
Letter O Crafts and Activities
Discover 10 engaging crafts and activities for preschoolers featuring the letter O. From creating owls to octopuses and oatmeal textures, these hands-on projects make learning letters…
-
Letter N Crafts and Activities
Explore fun Letter N crafts and activities for preschoolers! From noodle necklaces to narwhals, these hands-on projects make learning the alphabet creative and engaging. Perfect for…
-
Letter M Crafts and Activities
Explore fun and engaging Letter M crafts and activities for preschoolers! From mustaches to moons, find creative, hands-on ideas that help kids learn the letter M…
-
Letter L Crafts and Activities
Explore fun and creative letter L crafts and activities for preschoolers! From leaf art and lavender painting to lollipop crafts and lion masks, each idea uses…
-
Letter K Crafts and Activities
Engage preschoolers with fun, easy-to-make Letter K crafts and activities. From kings and kites to kangaroos and koalas, each project fosters creativity and learning using simple…
-
Letter J Crafts and Activities
Engage preschoolers with creative and educational Letter J crafts and activities! From jaguars and jellyfish to dot painting and salt art, these fun projects make learning…


