Melting Monster Halloween Science Activity
Halloween is the perfect time for pairing spooky fun with exciting science experiments, just like in this Melting Monster Craft! This gooey, colorful, and slightly eerie project is perfect for kids and adults alike. It’s a fantastic way to explore some basic science concepts while getting into the Halloween spirit.
What You’ll Need for Your Melting Monster Craft:
- Cornstarch: The base of our goo, you’ll need 1-2 parts cornstarch to the amount of water you have. (We used about 2 cups of cornstarch and 1 cup of water).
- Googly Eyes: A fun way to add a little personality to our monster.
- Food Coloring: A drop or two is all you need to give your goo a nice hue. Bright green, orange, and purple are always favorites for this haunting season.
- Water: Enough to form a paste from your cornstarch.
- Fun Cut Outs: You can make more features for your monster by cutting out shapes from craft foam or colored paper.
- Glitter or Sequins: Jazz up your ghoulish creature with a little pizzazz!
Instructions for Making Your Melting Monster Science Craft:
Step 1: Gather Your Ingredients
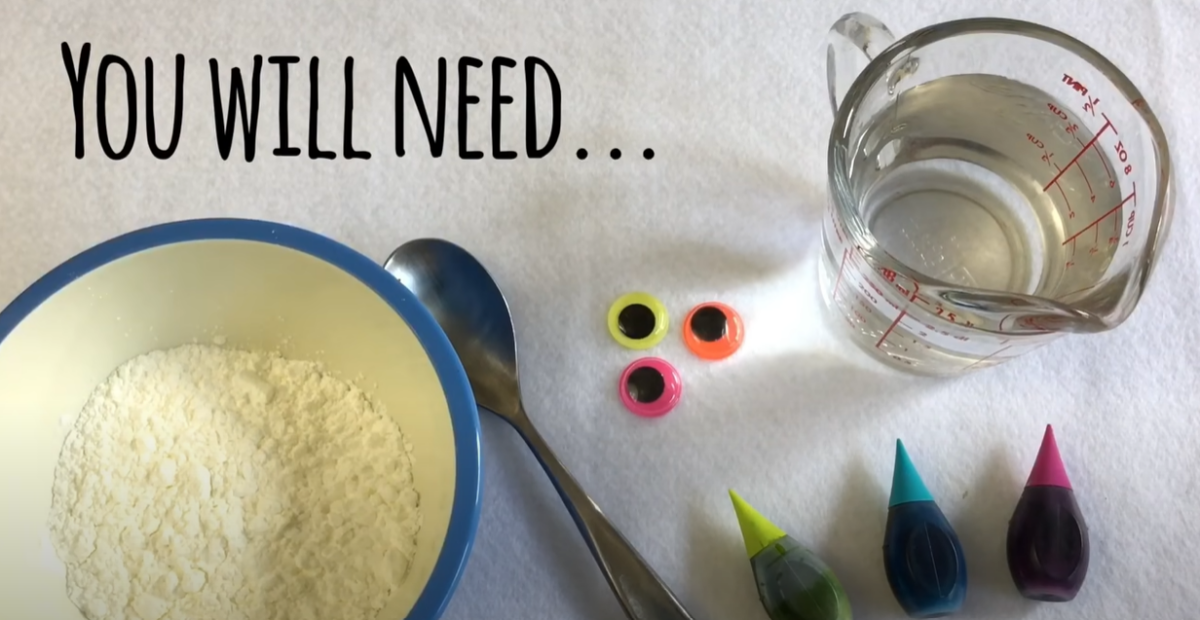
Start by assembling all your materials on a clean, flat surface. Make sure you have enough space to mix and create without making too much mess.
Step 2: Add Some Color
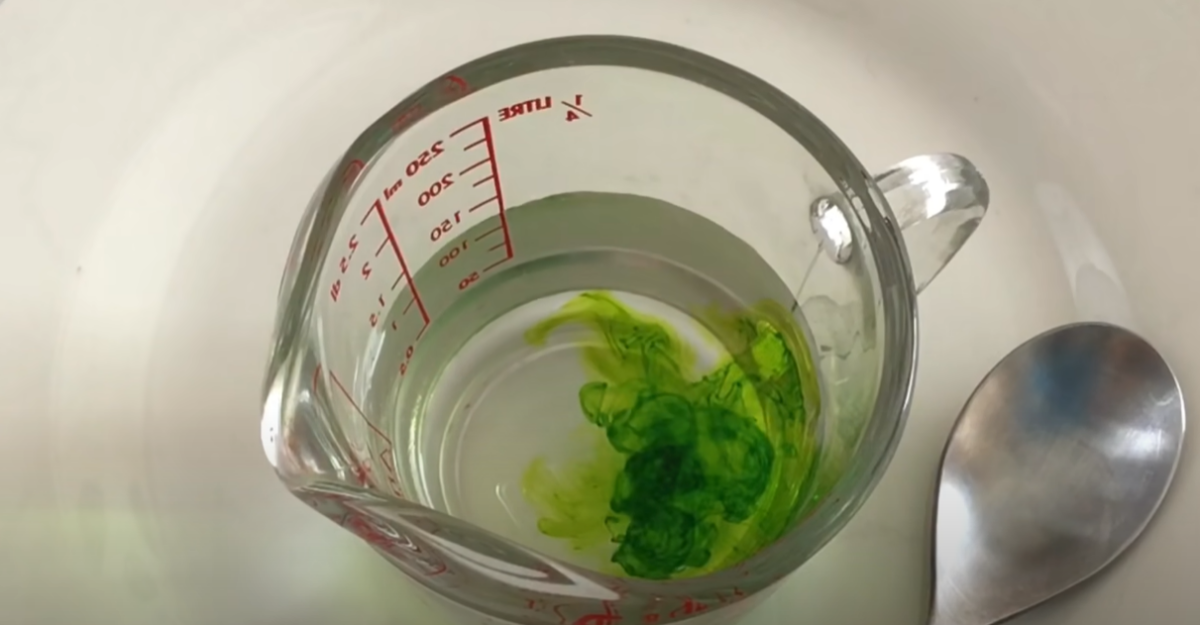
In a mixing bowl or your measuring cup, add a few drops of your chosen food coloring to the water. Mix until the color is evenly distributed. This will give your monster a vibrant and spooky look.
Step 3: Combine with Cornstarch
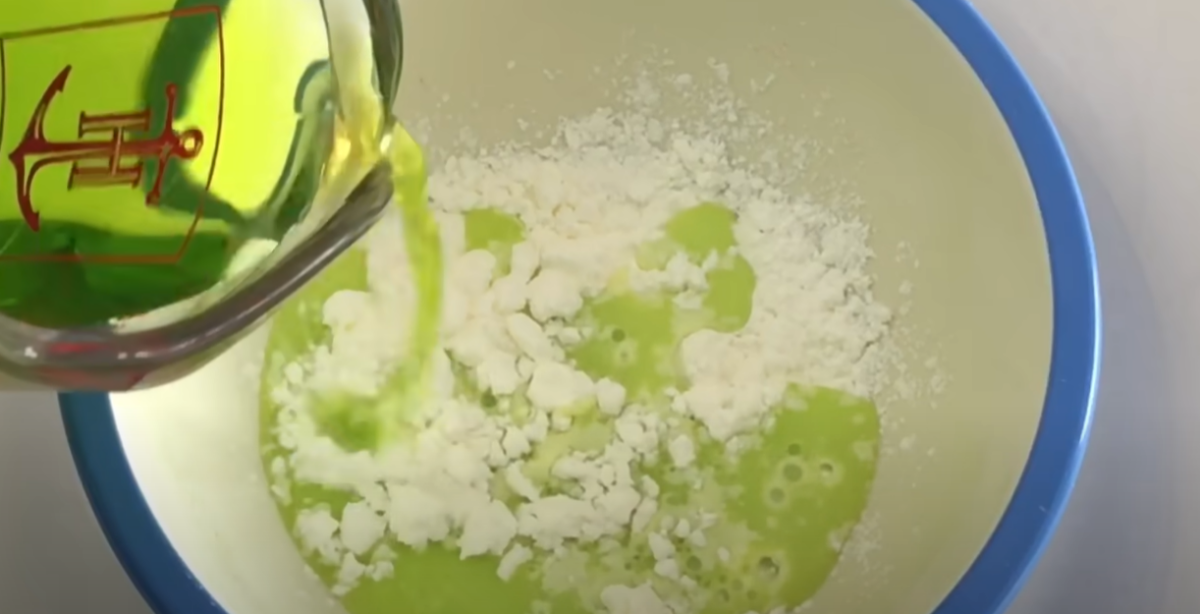
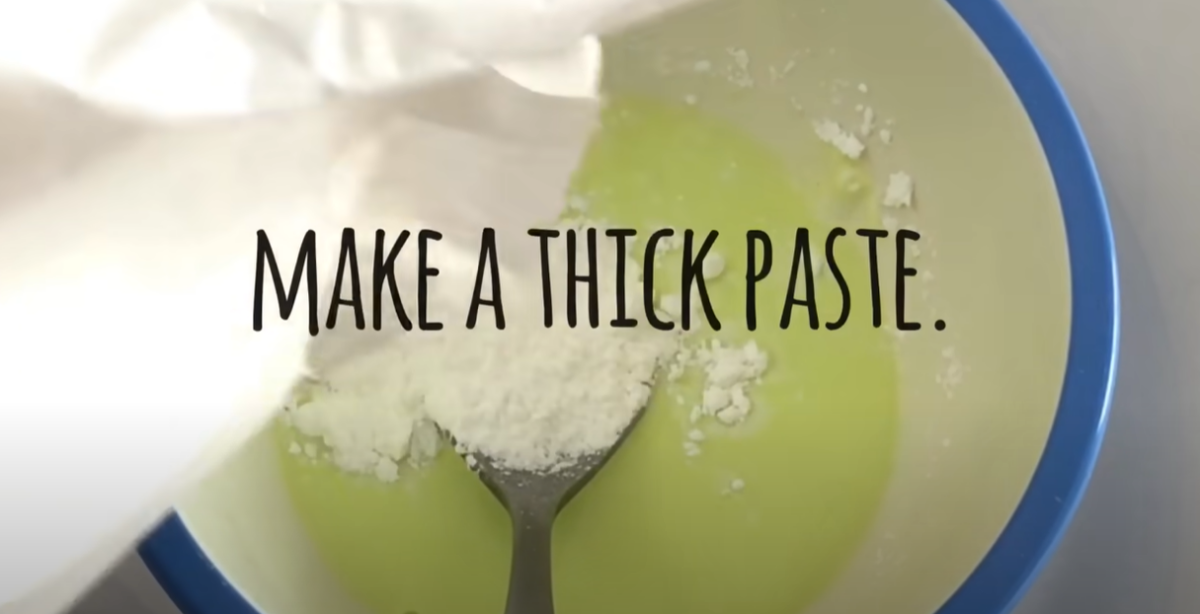
Slowly add the colored water to your cornstarch, mixing constantly. You may need to adjust the amount of water or cornstarch to get the right consistency. It should start to form a thick, gooey paste.
Step 4: Make a Paste
Continue mixing until you have a smooth paste that’s not too runny. If it’s too liquidy, add more cornstarch; if it’s too solid, add more water. You want it to be moldable but still able to flow slowly.
Step 5: Roll into a Firm Ball
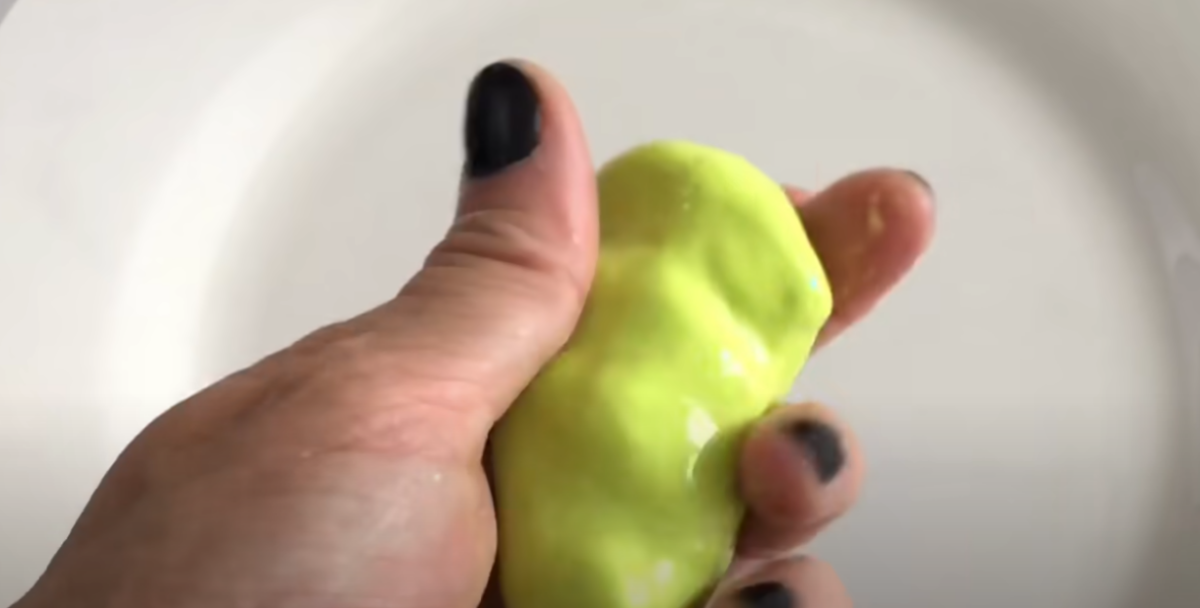
Once you have the right consistency, roll the mixture into a firm ball in your hands. It should hold its shape momentarily before starting to melt.
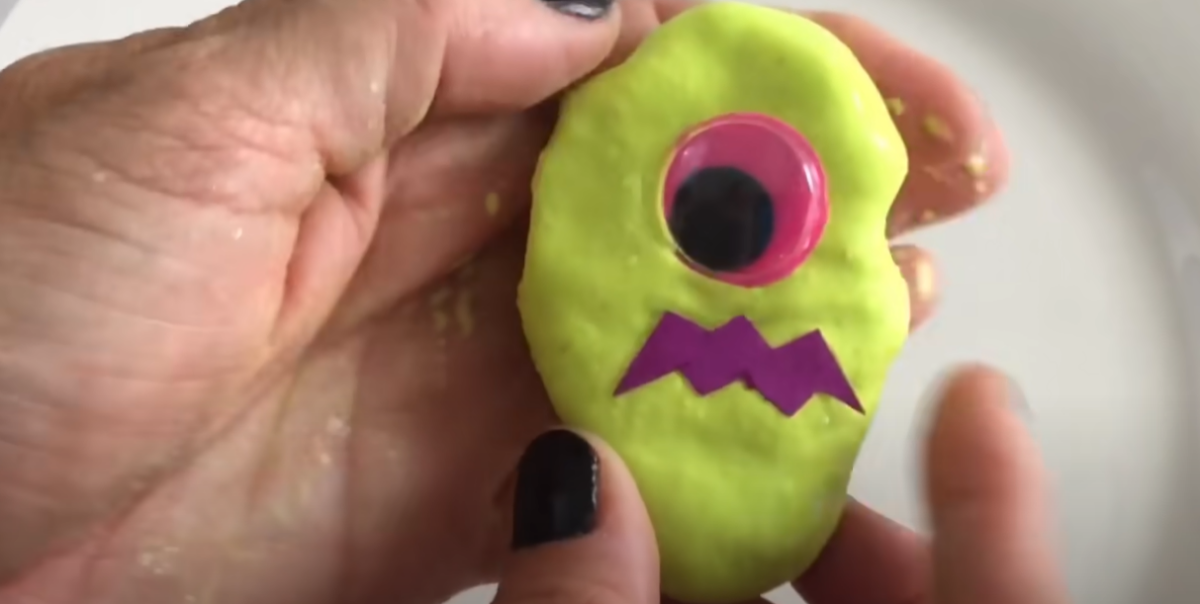
Step 6: Add Some Fun Features
Place the ball on a smooth surface or hold it in your hand and quickly add your monster’s features. Stick on google eyes, cut-out shapes for mouths or fangs, and sprinkle with glitter or sequins for a magical touch.
Step 7: Set It on a Smooth Surface and Watch it Melt!
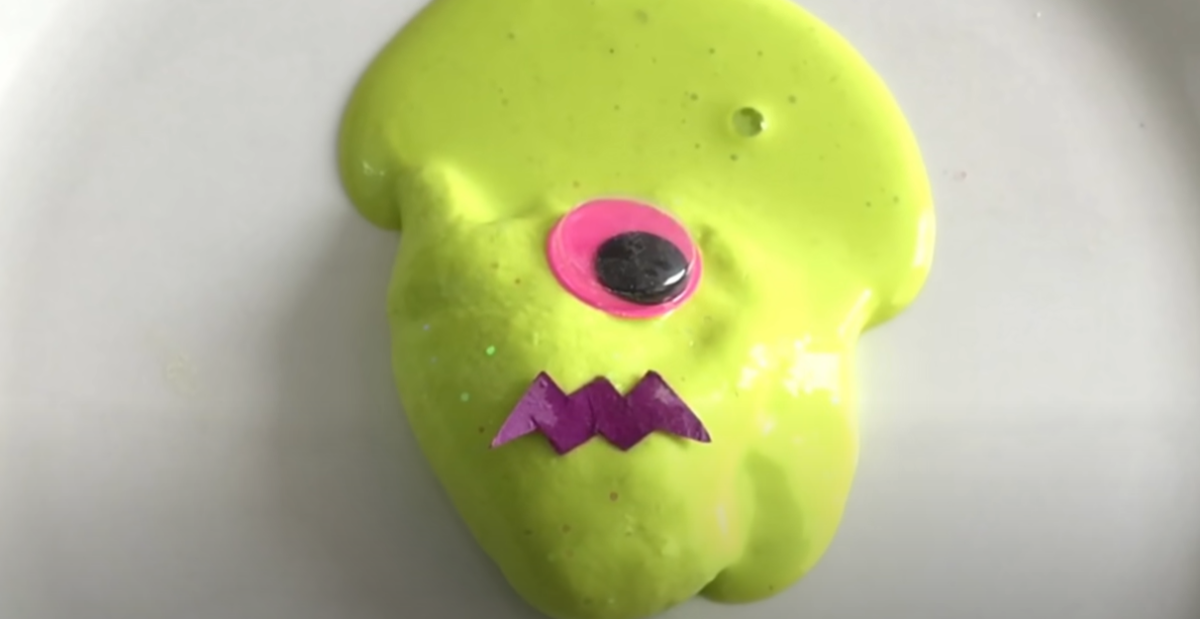
Now comes the fun part! Set your monster on a smooth surface and watch as it slowly melts and oozes. This part is sure to fascinate kids as they see their creation transform.
Fun Science:
The Melting Monster Craft shows how some materials can act like both a solid and a liquid. When you mix cornstarch and water, you get a gooey substance called oobleck. If you press on it, it feels solid, but if you let it sit or move it slowly, it flows like a liquid. This happens because the cornstarch particles are packed together tightly under pressure, but when the pressure is gone, they move freely. It’s a fun way to see how materials can change their behavior based on how they’re handled.
Creating a Melting Monster is a fun and educational way to celebrate Halloween. This activity is perfect for a classroom, party, or just a spooky afternoon at home. Not only does it provide a creative outlet, but it also introduces basic scientific principles in an engaging and memorable way.

Try More Fun Halloween Games and Activities

Keep kids entertained this Halloween with spooky crafts, snacks, and free printables! Make balloon bats, yarn pumpkins, and tasty treats, or play Halloween bingo. Download coloring pages, word lists, and more for extra festive fun.
