Rocket Car Craft for Kids
Get ready to create a self-propelled car with a bit of science and creative expression. This Rocket Car craft project allows children to dive into building a vehicle while also offering an introduction to the world of engineering.
This enjoyable car craft is easy to complete and the finished product can be used again and again for repeat amusement. Kids can immerse themselves into crafting their very own rocket car and then enjoy the exhilarating launch and watching how far their car travels. Unleash your child’s inner engineer and artist with this thrilling rocket car craft project.
What You’ll Need to Create a Rocket Car:
- Plastic bottle caps
- Balloons
- Flexible straws
- Skewers
- Cardboard
- Painter’s Tape
Instructions for Making Your Rocket Car:

Step 1: Gather Your Materials
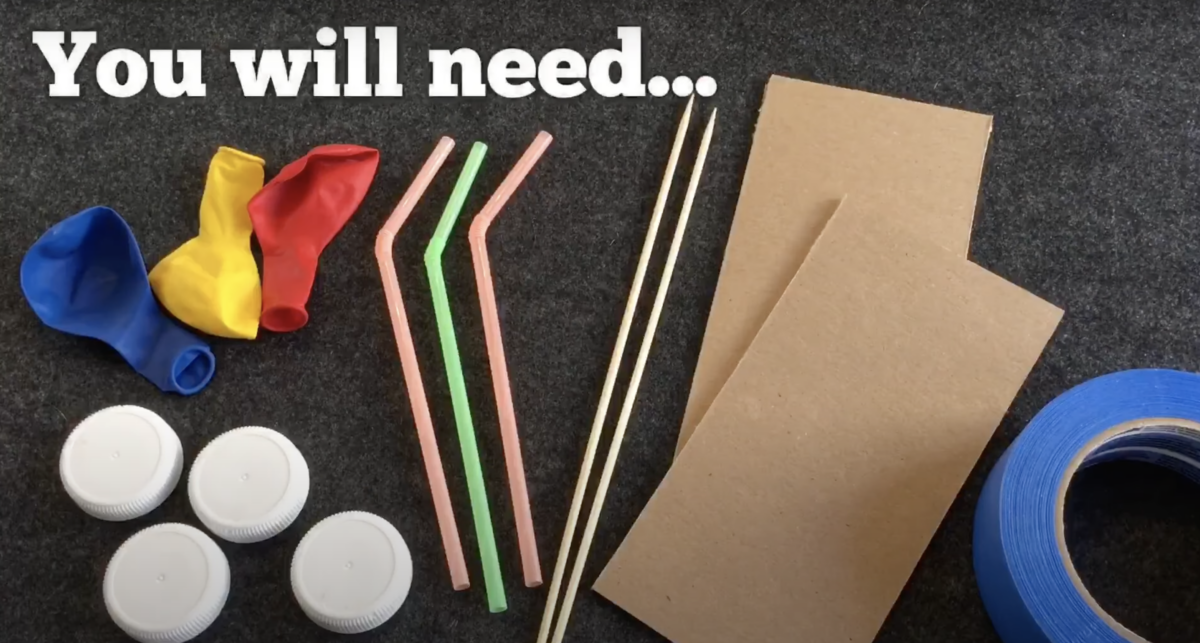
Before you embark on your rocket car-building adventure, it’s essential to gather all the necessary materials listed above.
Create a clean workspace where you can comfortably bring your creation to life.
Step 2: Prepare the Cardboard Body
Lay your cardboard flat on your workspace, and envision the rocket car’s shape you want to create.
Using a pencil, gently sketch the outline of your rocket car on the cardboard. A straightforward rectangular body is a good starting point, but feel free to get creative with the design.
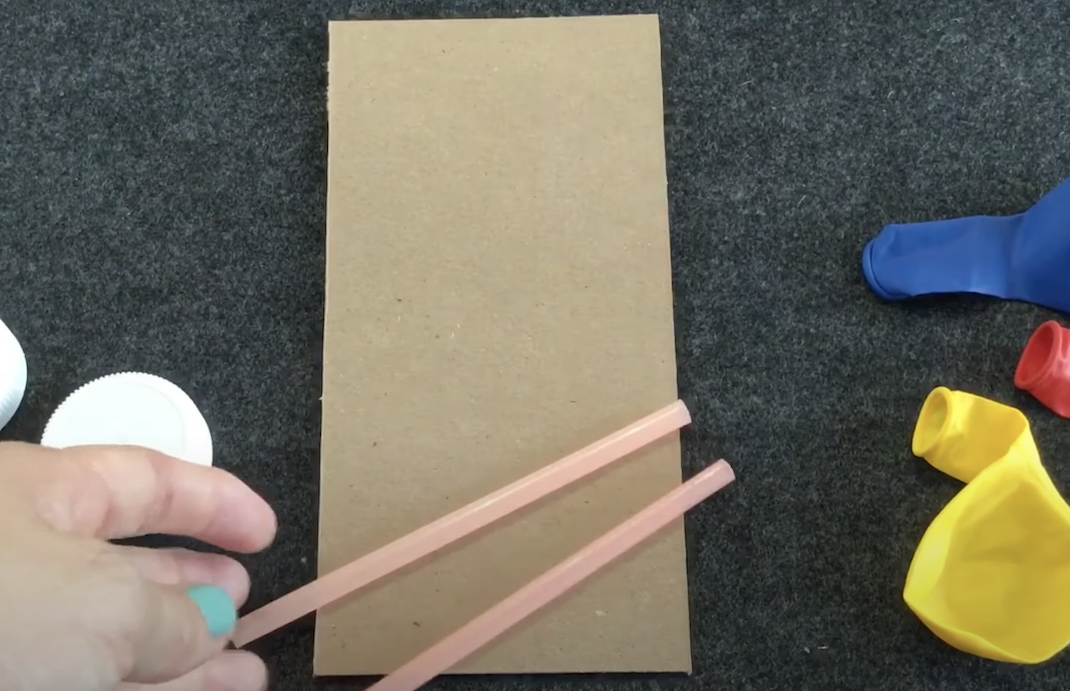
Step 3: Attach the Wheels for Smooth Movement
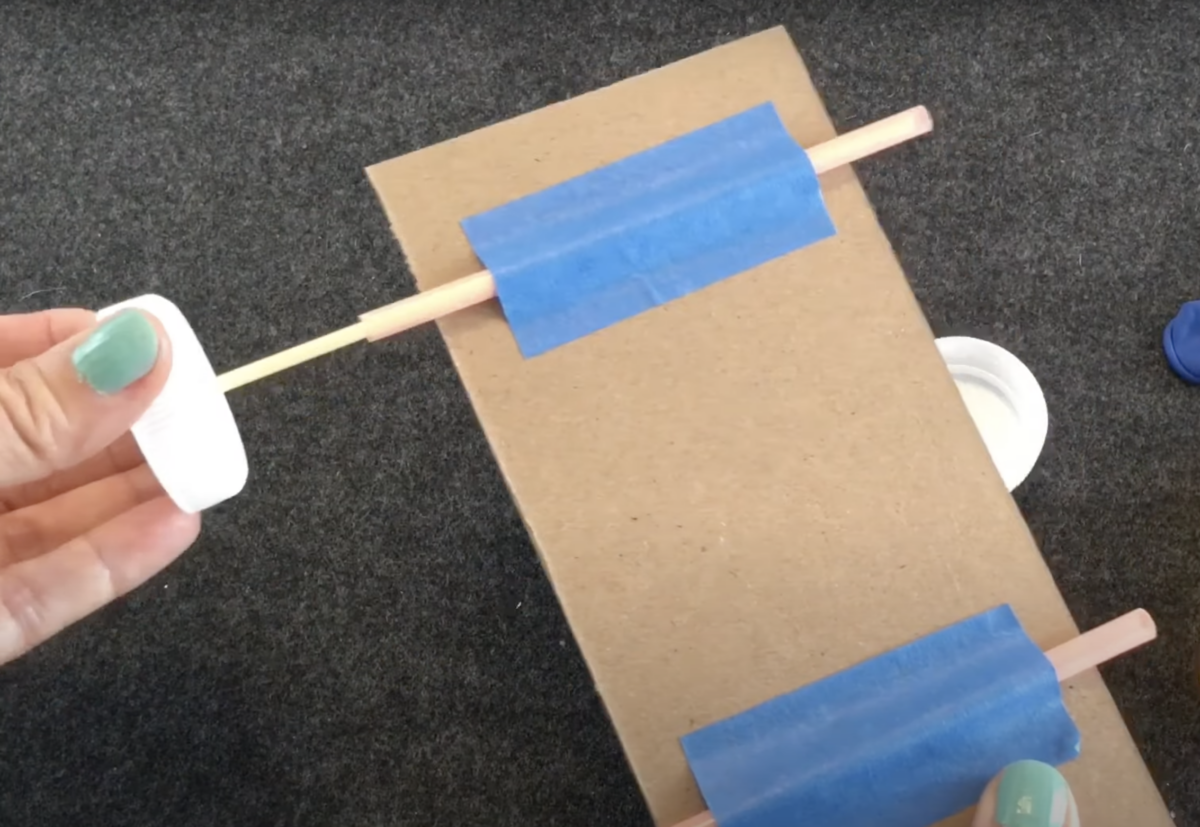
Cut two straws to a length just slightly longer than the width of the cardboard. Use tape to securely fasten these straws in the spots where the wheels should be placed.
Now, take the skewers and carefully insert them through the straws, and add wheels at each end. This setup will ensure that your rocket car’s wheels can rotate smoothly, allowing for efficient movement.
Step 4: Craft the Rocket Engine for Thrilling Power
Now comes the thrilling part—the creation of your rocket engine!
Using tape, affix the open end of a balloon around the bendy section of one of the straws.
Ensure it’s tightly secured because you’ll need to inflate the balloon for the big moment!
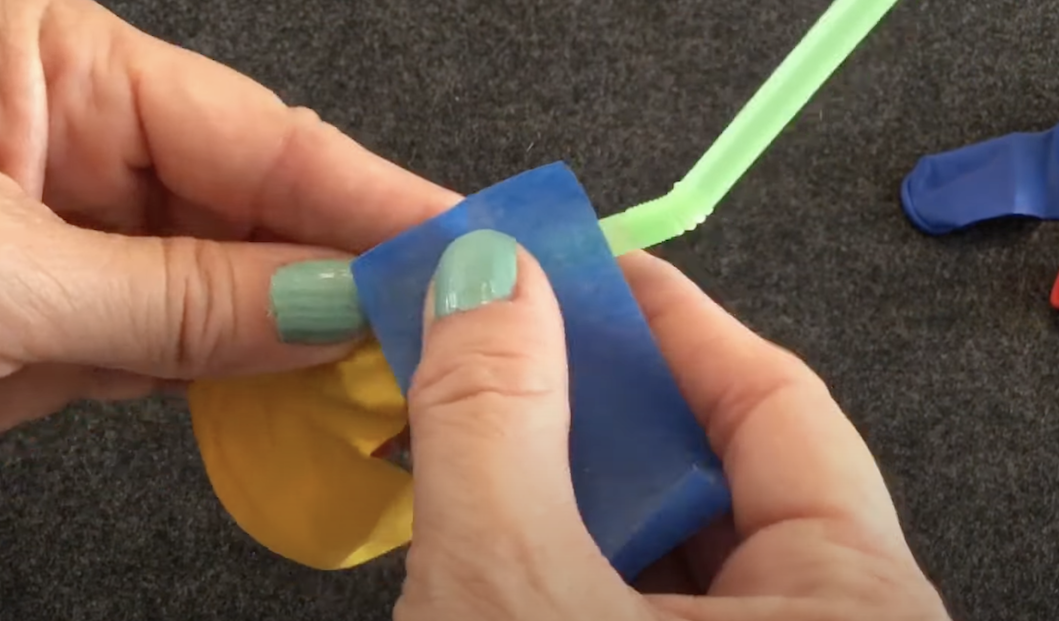
Step 5: Prepare for an Exciting Launch
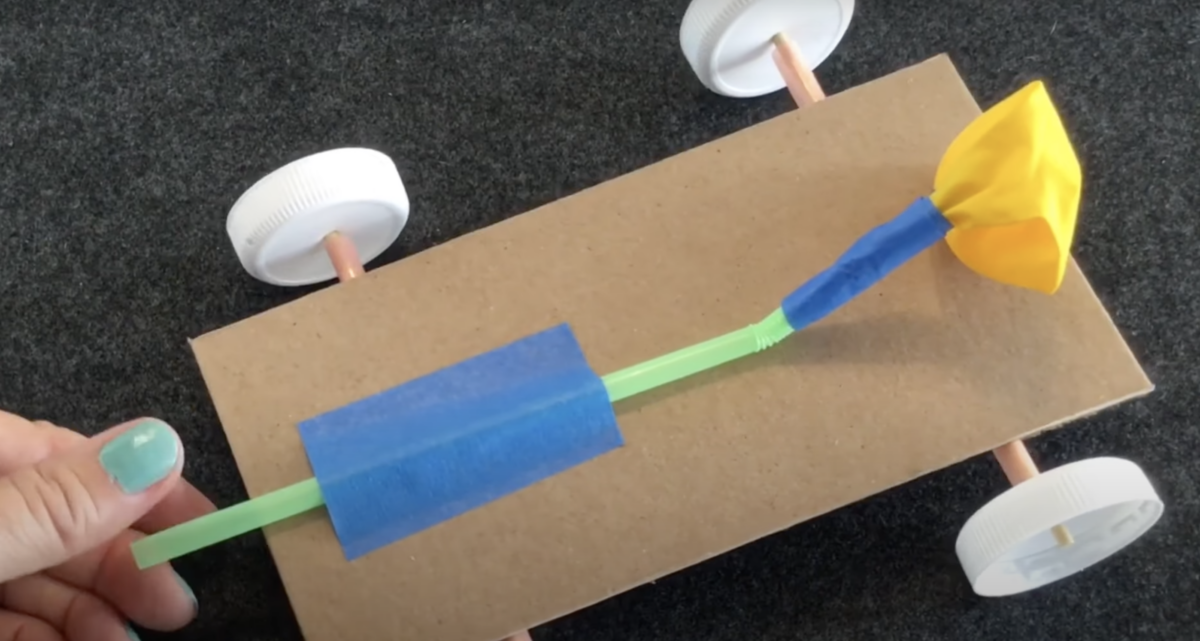
Attach the straw with the taped-on balloon to the top side of the cardboard using more tape.
Make sure the end of the straw is protruding out of the back of the rocket car. This setup will allow the rocket car to harness the energy from the balloon’s release.
Step 6: Get Ready to Blast Off!
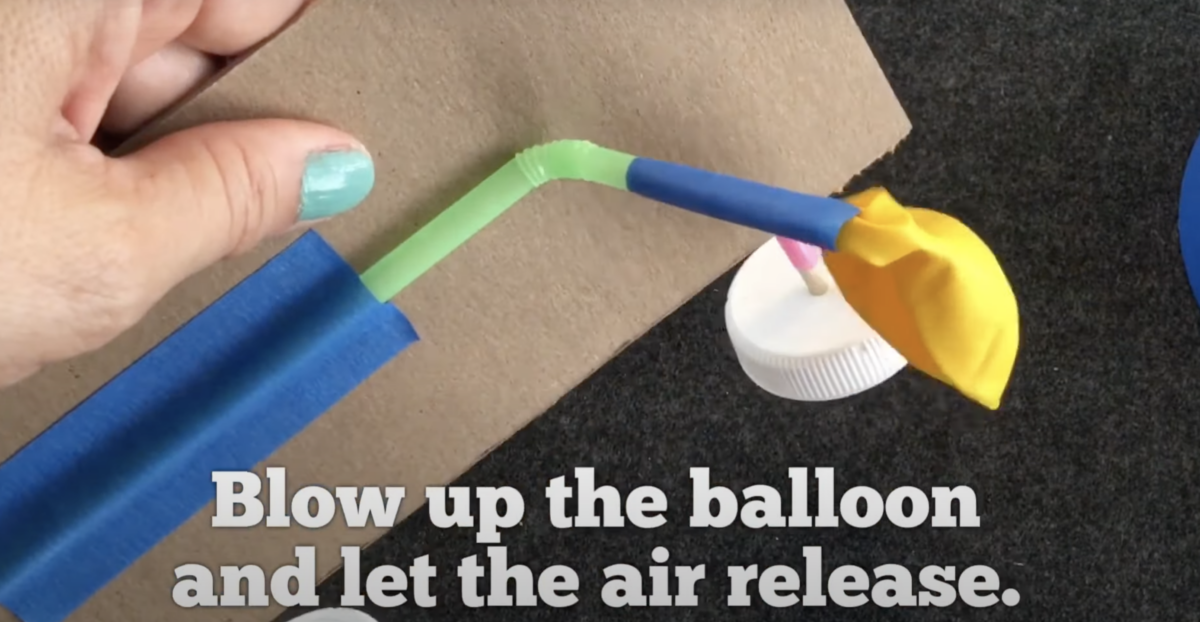
Now, the anticipation builds as you prepare for takeoff! While holding your rocket car, start inflating the balloon by blowing air into it.
Carefully put the rocket car down while simultaneously pinching the balloon’s opening to seal in the air. Your rocket car is now charged and ready for action.
Step 7: Launch and Explore!

Place your rocket car on a smooth and flat surface, such as a driveway or a wide sidewalk. Release your grasp on the balloon, and watch in amazement as your rocket car takes off with a burst of energy, propelled by the escaping air from the balloon.
Experiment with different balloon sizes and inflation levels to fine-tune your rocket car’s performance.
Congratulations! You’ve successfully constructed your very own rocket car. The adventure has just begun. Keep experimenting and making adjustments to see how far or fast your rocket car can go. Challenge your friends to a rocket car race or try testing it on various surfaces to observe how it performs.
Step 8: Safety First, Fun Always
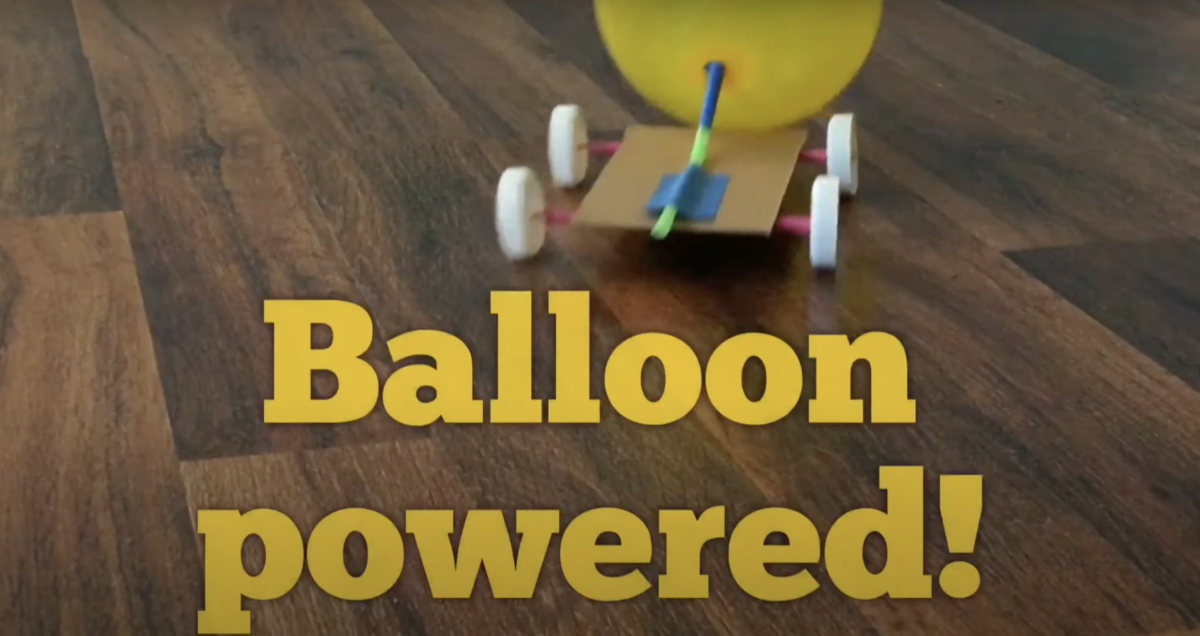
Remember to prioritize safety while launching your rocket car. Ensure that no one stands in the path of the moving vehicle, and avoid launching it near obstacles. Always have a blast responsibly and enjoy the exciting world of rocket car adventures!
