Thanksgiving Craft for Kids: Pine Cone Turkey
This delightful Thanksgiving craft for kids provides a wonderful way for children to engage with the festive spirit of Thanksgiving. It also provides a fantastic opportunity for them to work on developing their fine motor skills and expressing their artistic flair.
Through simple, easy-to-follow steps, this guide will show you how to transform pine cones from your backyard into charming turkey displays that can adorn your holiday table or mantle.
What You’ll Need To Make a Pine Cone Turkey:
- Pine cone
- Feathers
- Glue
- Colored paper
- Scissors
- Googly eyes
Instructions for Making Your Pine Cone Turkey:

Step 1: Gather Your Materials
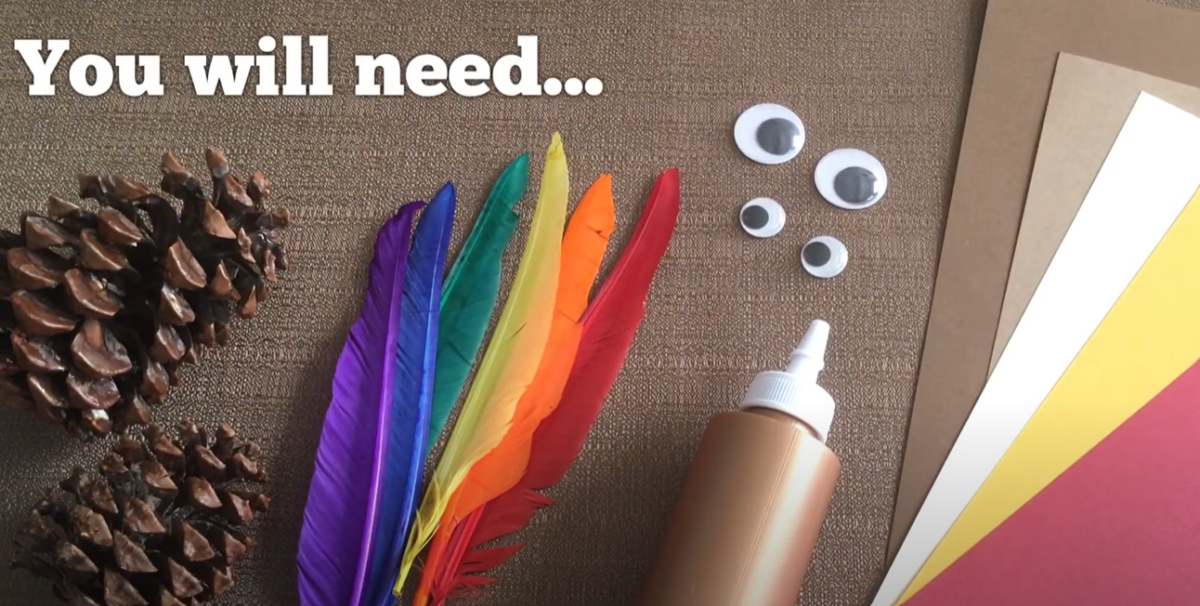
Before you dive into the fun of crafting your Pine Cone Turkey, it’s important to have all your materials on hand.
Once you have all these items gathered, lay them out on your crafting table, and you’re ready to move on!
Tip: Safety scissors are ideal for young children.
Step 2: Cut Paper Strip and Wings
Now that you’ve gathered all of your materials, it’s time to shape the personality of your Pine Cone Turkey with some colored paper.
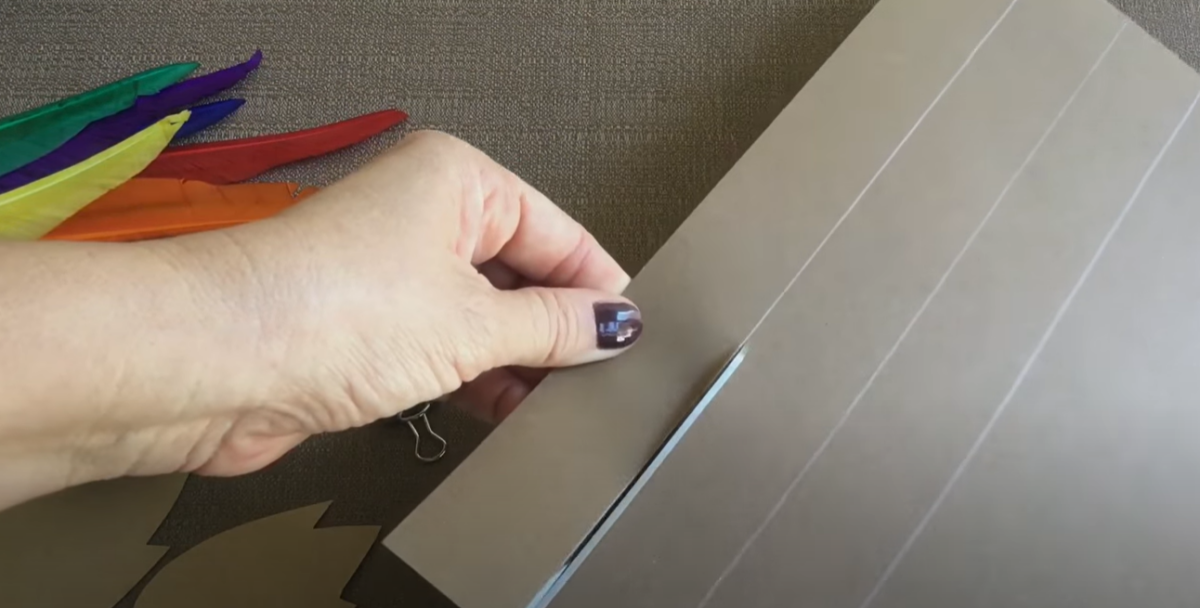
Cut a strip of paper about 1-inch thick length wise from your paper. This will act as the neck of your turkey.
Grab another sheet of the same colored paper. Fold it in half. Draw a turkey wing on your paper and then cut it out. This will ensure you are creating two identical wings for your turkey.
Step 3: Glue the Neck
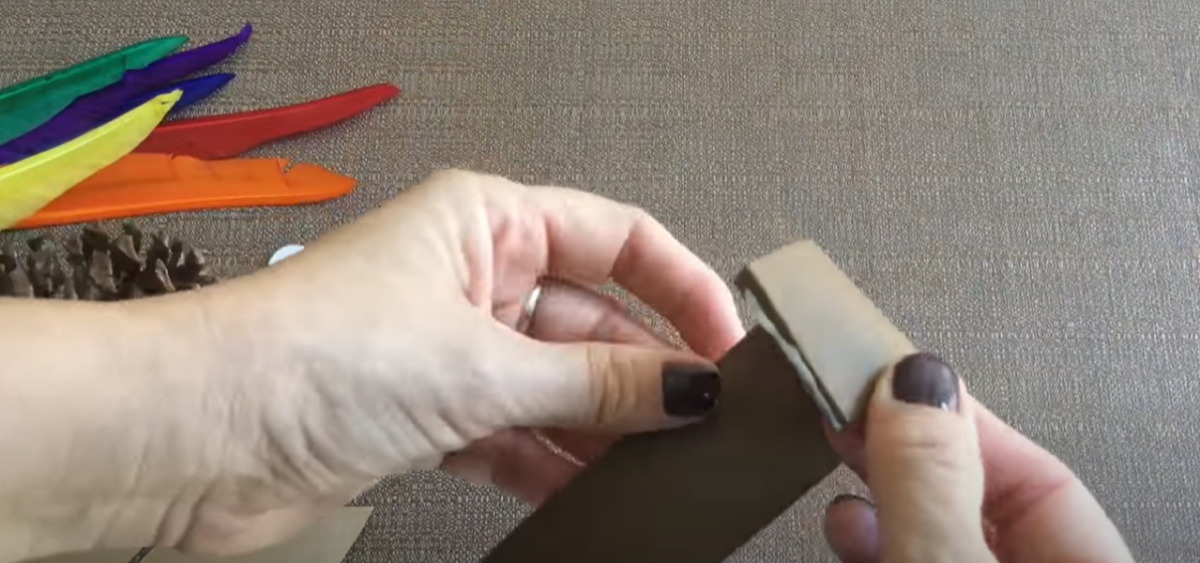
Next, take your long strip of paper and fold the end over about 1/4 of an inch. This is where you will place a strip of glue.
Once the glue is in place, roll the end of your strip of paper to make a circle. Press and hold the glue to the inside of the paper.
Tip: Watch the full video tutorial to see the details of each step.
Step 4: Decorate the Face
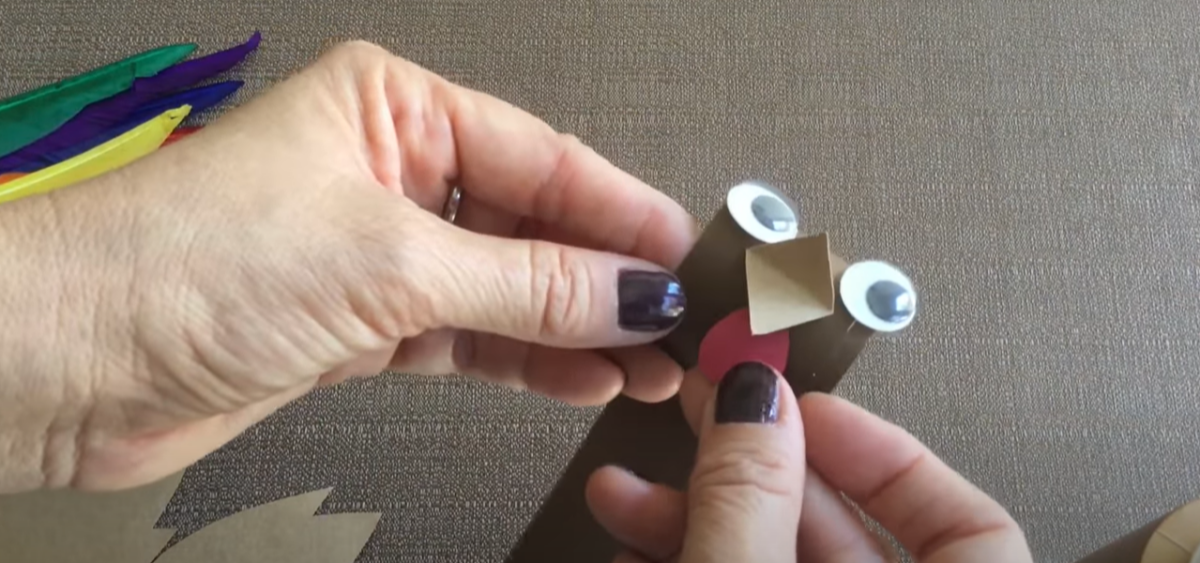
Once the glue has dried, you can start adding details to your turkey face.
Cut a diamond shape and fold it in half for the beak.
Cut a red tear-drop shape for the wattle.
And add some googly eyes.
Tip: You can also use construction paper for the eyes, or draw them on.
Step 5: Insert Feathers
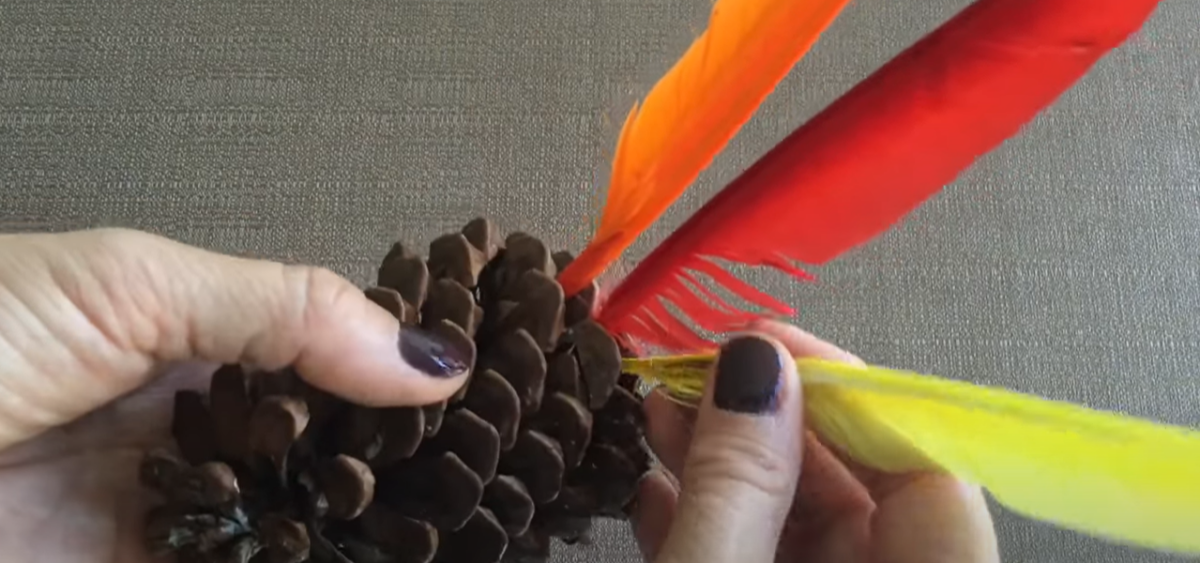
Next, take your pine cone and add drops of glue towards one side of its base. Then push the tip of your colorful feathers into the drops of glue.
Step 6: Glue on Neck and Wings
Once your feathers have dried, add more glue to the same side of the pine cone, towards the top. This is where you’ll glue the bottom of your turkey neck into the pine cone.
Then, put glue on your turkey wings and add them to each side of your pine cone.
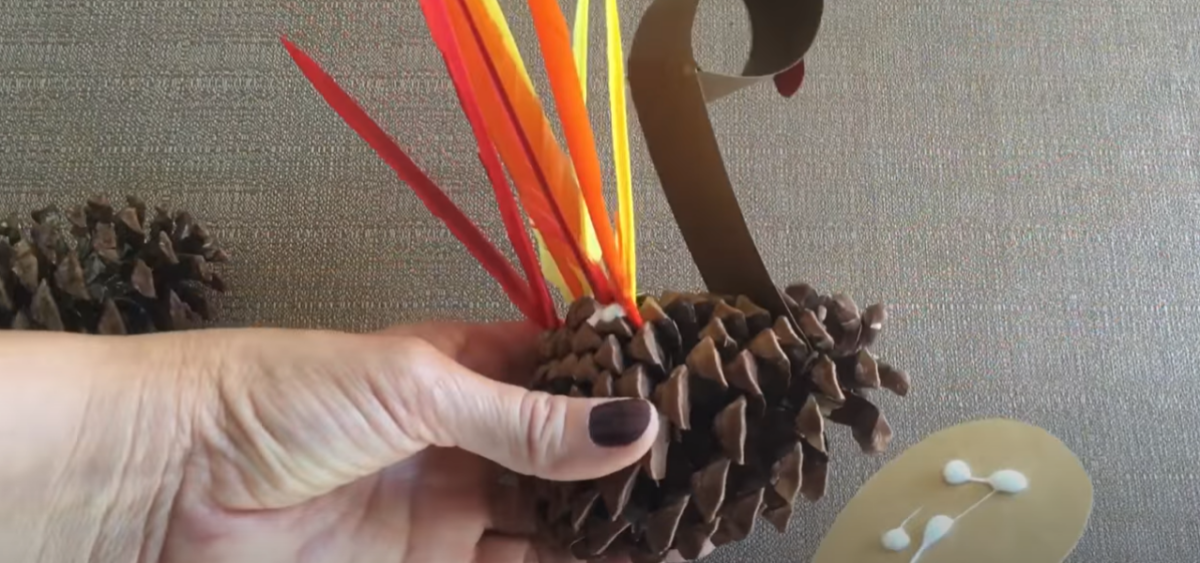
Step 5: Enjoy Your Finished Turkey!
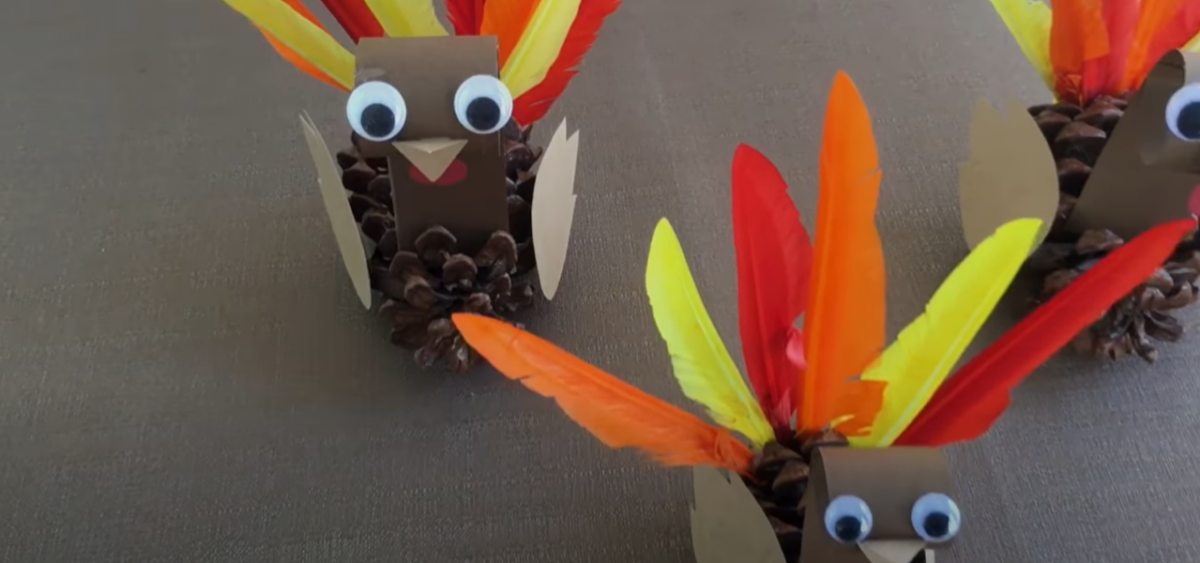
Once you are finished, you can make more pine cone turkeys and enjoy your flock.
Tip: You can use your turkeys to decorate your tables for the holidays!


