Try This STEM Activity for Kids: Popsicle Stick Ferris Wheel
Welcome to an exciting weekend project that combines fun, learning, and a touch of engineering genius! Today, we’re diving into a DIY project perfect for young minds eager to explore the realms of science, technology, engineering, and mathematics (STEM): Building a Popsicle Stick Ferris Wheel.
Why a Popsicle Stick Ferris Wheel?
Crafting a Ferris Wheel from popsicle sticks is not just an artistic endeavor; it’s a journey into basic engineering principles. It’s an activity that encourages problem-solving, creativity, and an understanding of fundamental physics, all wrapped up in an enjoyable and tangible project.
What You’ll Need for the Popsicle Stick Ferris Wheel Project:
- Popsicle Sticks (50 or more)
- Hot Glue or White Glue
- Skewers
- Cardboard
- Scissors
Instructions for Making Your Popsicle Stick Ferris Wheel Project:
Step 1: Create the Spinny Wheels:
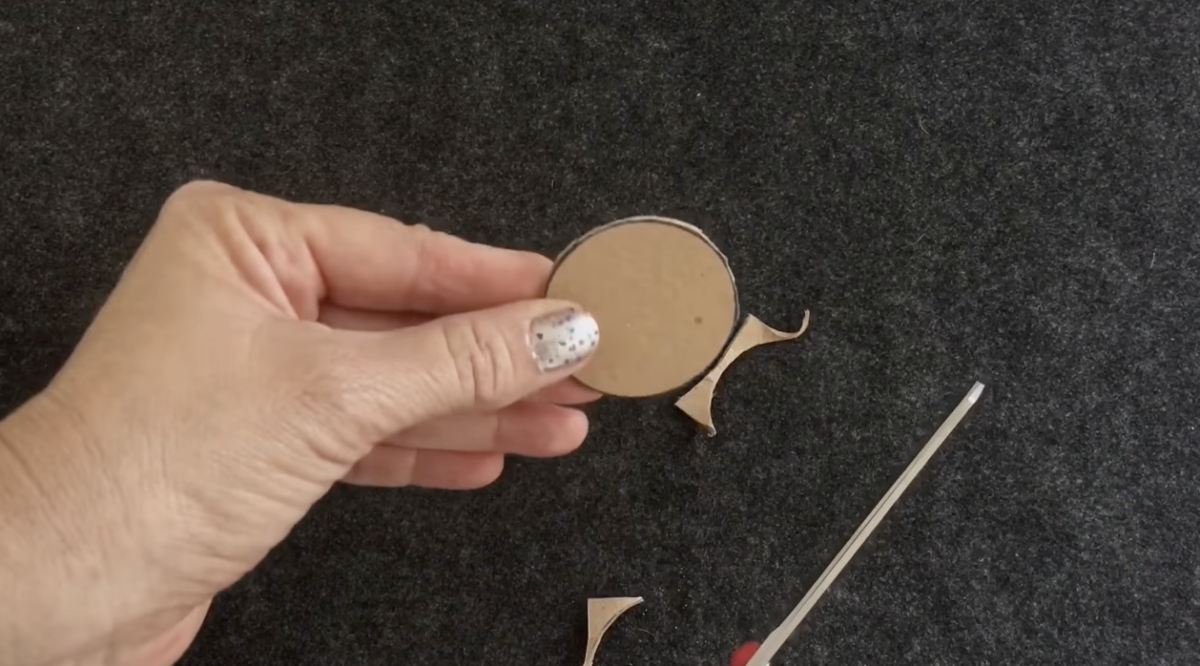
Imagine you’re a giant looking at a tiny magical wheel! Let’s make two of these wheels. Take a piece of cardboard and, with a grown-up’s help, cut out two small, perfect circles. These are the sides of our Ferris wheel, where all the fun begins.
Step 2: Stick ’em Up
Now, let’s lay down our magical sticks! Take your colorful popsicle sticks and glue them onto the cardboard circles. Spread them out like the sun’s rays or a starfish’s arms. Each stick is a ride for a tiny friend! Don’t forget to poke a hole in the center (a grown-up can help!) and slide a skewer through. This is what lets our wheel spin, round and round.
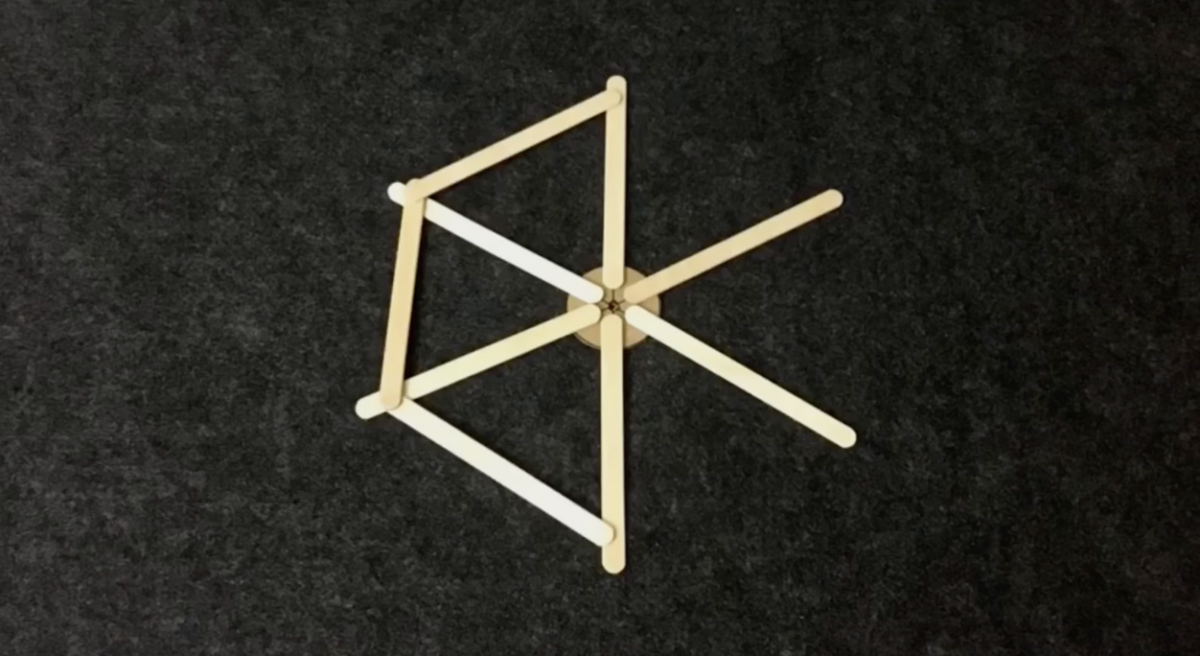
Step 3: Build a Home Base
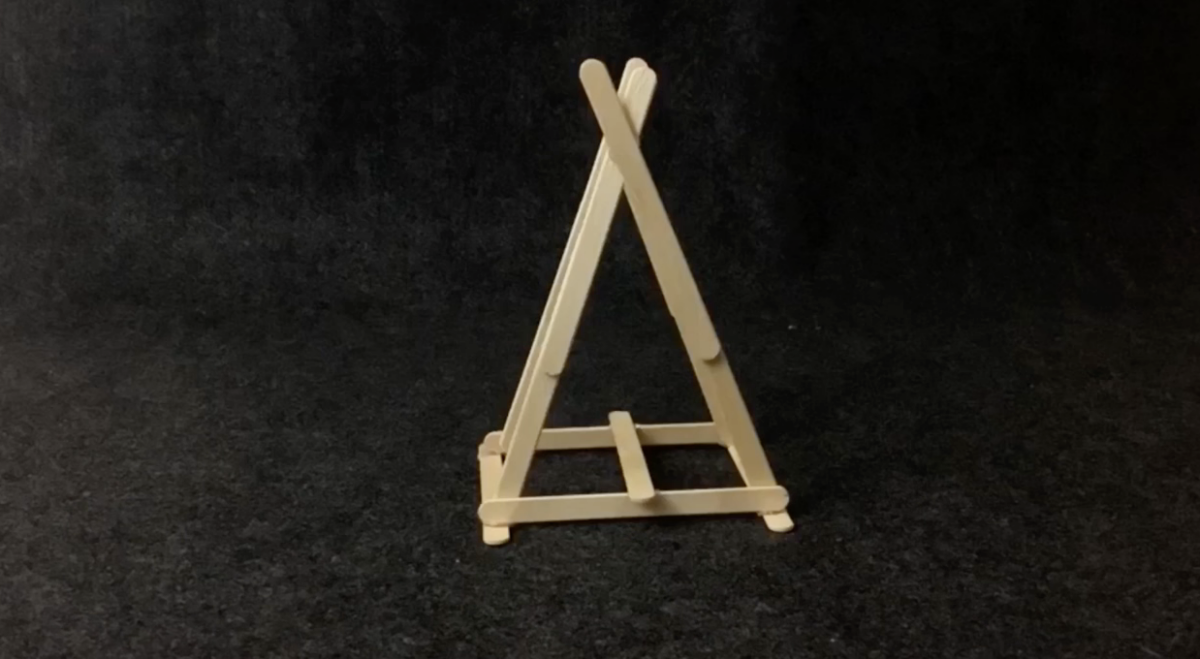
Every Ferris wheel needs to stand tall and proud. Let’s build a sturdy base that looks a bit like a triangle or a mountain. Try to copy the one in the video as closely as you can. This will hold our wheel up high so everyone can see. Use more popsicle sticks and glue them together following the steps we saw in the video.
Step 4: Connect the Dots
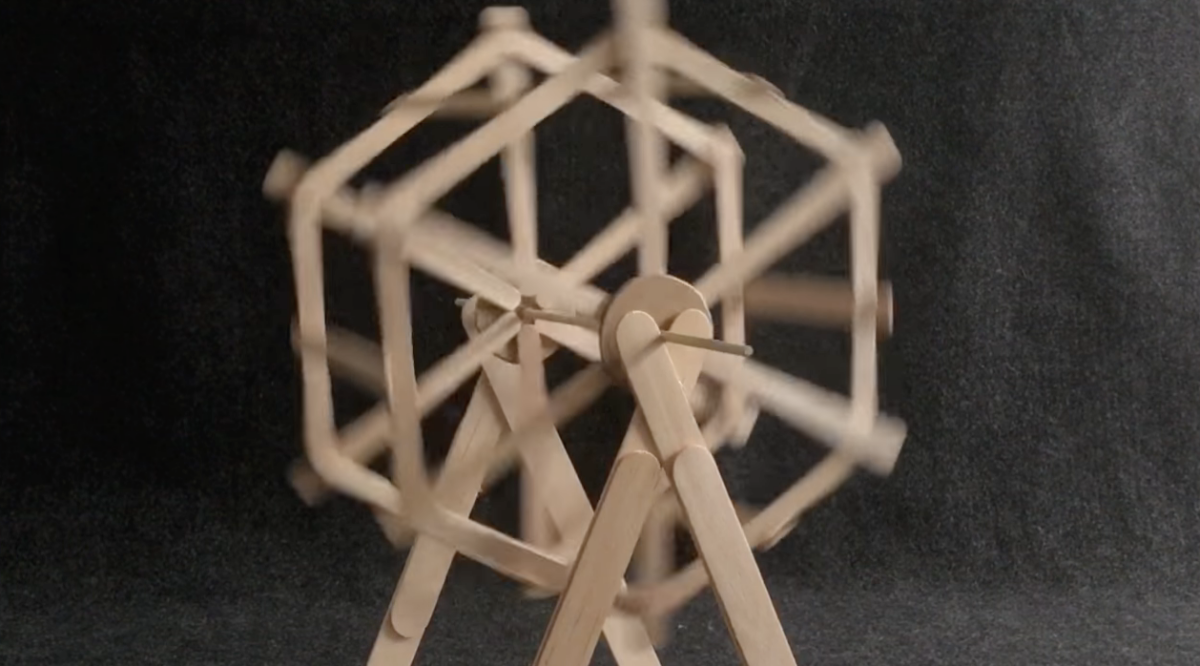
Time to bring in the second wheel! With a grown-up’s help, use skewers to join the two wheels. These are like invisible bridges, letting our wheel have two sides, just like the real ones you see at fairs!
Step 5: Splash of Color
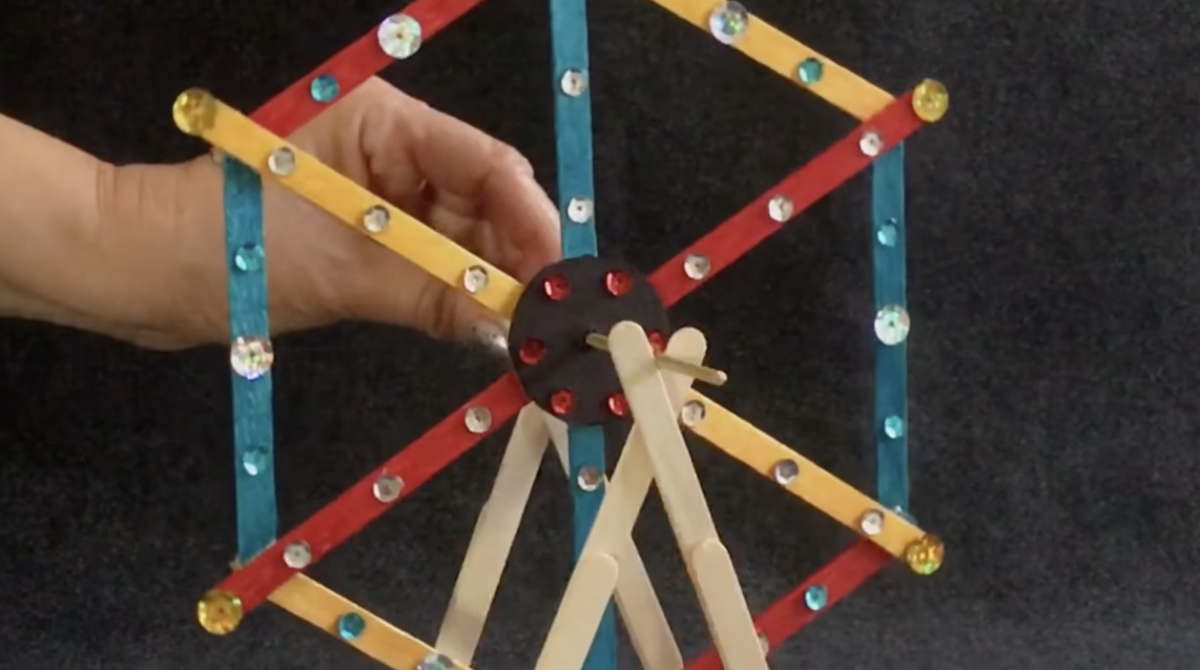
Here’s where we turn our Ferris wheel into a rainbow of fun! Grab your paints and let your imagination run wild. Paint it with your favorite colors, add sparkles, or maybe even some stickers. Each color makes it more magical, and every brush stroke adds a bit of joy.
The Educational Twist:
While constructing this Ferris wheel, there’s a wonderful opportunity to discuss the science behind such amusement rides. How does a Ferris Wheel work? What roles do engineers and architects play in creating these structures? This project not only ignites curiosity but also provides a foundational understanding of physics and engineering principles.
Beyond Just Building:
This activity is more than a mere craft project; it’s a bonding experience. As parents and children work together, they engage in meaningful conversations, solve problems, and most importantly, have fun! It’s a chance to teach valuable lessons in a playful environment.
A Gateway to STEM
By the end of this project, not only will you have a colorful, homemade Ferris wheel, but also an enriched understanding of basic engineering concepts. It’s activities like these that can spark a lifelong interest in STEM fields for kids, setting them on a path of discovery and innovation.
So, gather your materials, roll up your sleeves, and get ready to build, learn, and create!


