Winter Wonderland Slime Craft
Winter is the perfect time to bring the sparkle and magic of the season indoors with a craft that’s as fun to make as it is to play with. We’re talking about slime, that squishy, stretchy stuff that kids absolutely adore. But not just any slime—we’re going to give it a winter wonderland twist that will make it shimmer like freshly fallen snow. Imagine creating your very own piece of winter magic using just a few household items and a sprinkle of creativity. Let’s dive into making our very own batch of winter slime, complete with the glint of sequins to mimic the icy beauty of the season.
What You’ll Need for the Winter Wonderland Slime Craft:
- White or Clear Glue: The base of our slime, providing the perfect snowy or icy backdrop for our winter theme.
- Contact Lens Solution: This acts as an activator, turning our glue mixture into the delightful, stretchy slime we’re aiming for.
- Shaving Cream: About 2 cups of this will give our slime a fluffy texture, like a cloud or a mound of snow.
- Baking Soda: Just a 1/2 tablespoon of this will help thicken the slime, adding to its squishy consistency.
- Food Coloring: A drop or two is all you need to give your slime that cool, wintery hue. Think icy blues, frosty whites, or even a cool lavender.
- Water: 1/4 cup to help mix our ingredients smoothly together.
- Glitter or Sequins: These are the magic ingredients that will transform our slime into a winter wonderland. Choose silver, blue, or iridescent options for that frostbitten sparkle.
Instructions for Making Your Winter Wonderland Slime Craft:
Step 1: Mix Your Base
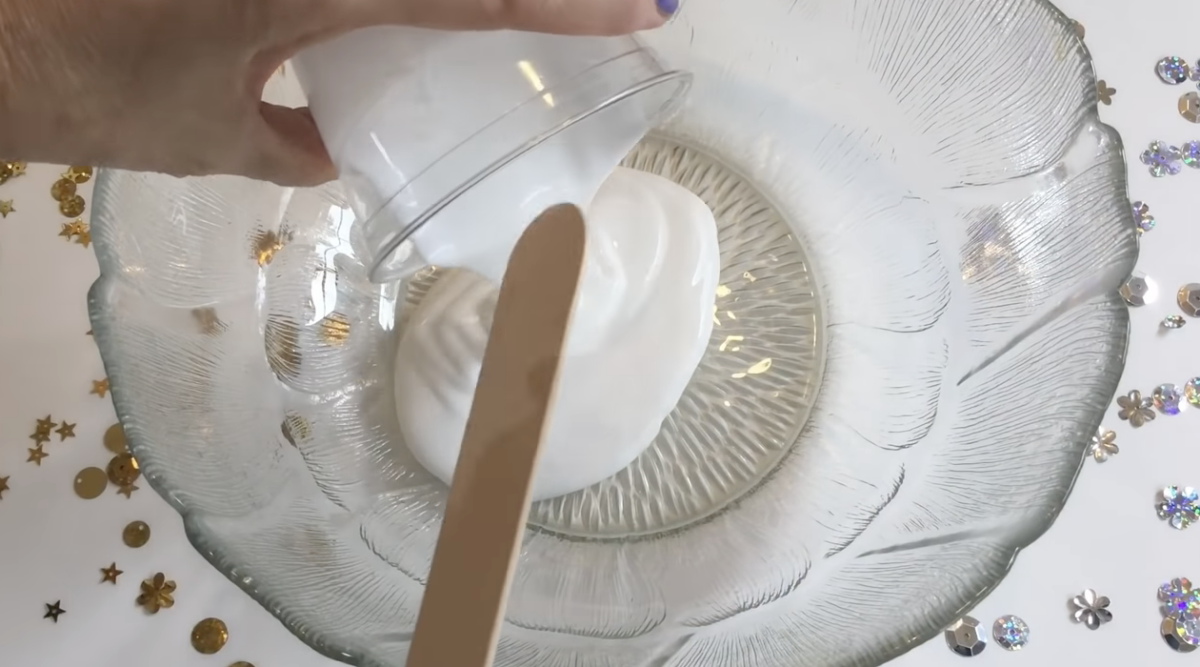
In a large mixing bowl, combine your white or clear glue with the 1/4 cup of water. Then, begin adding the contact lens solution a little bit at a time. With each addition, stir your mixture until it begins to pull away from the sides of the bowl and starts to form into slime. Stir until they’re well mixed.
Step 2: The Magic Touch
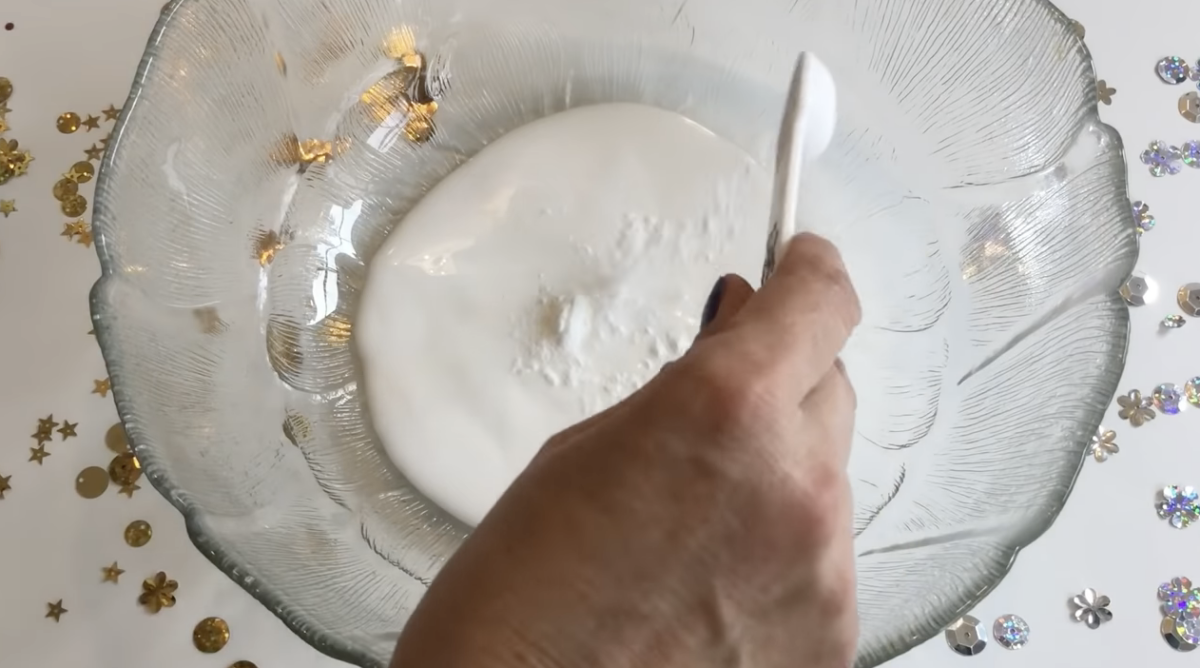
Sprinkle the 1/2 tablespoon of baking soda into your mixture and stir.
Step 3: Add Some Fluff
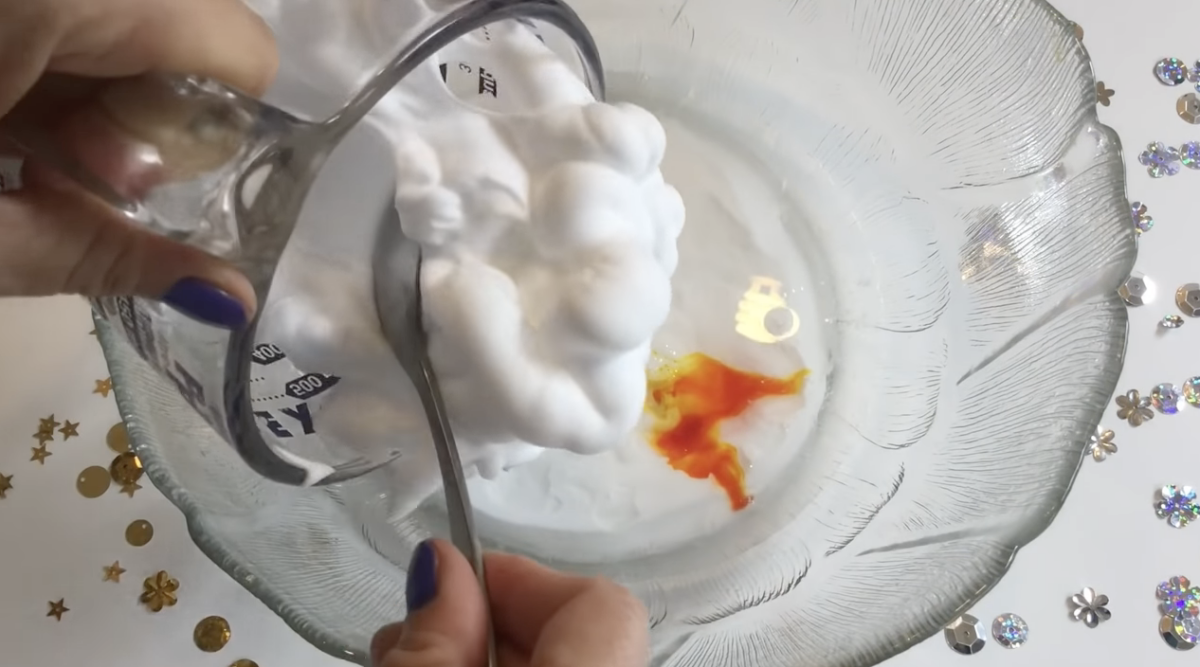
Scoop in your shaving cream into the bowl with your glue mixture. The more shaving cream you add, the fluffier your slime will be, so feel free to go all out! Mix thoroughly until the shaving cream is completely blended with the glue.
Step 4: Get Colorful
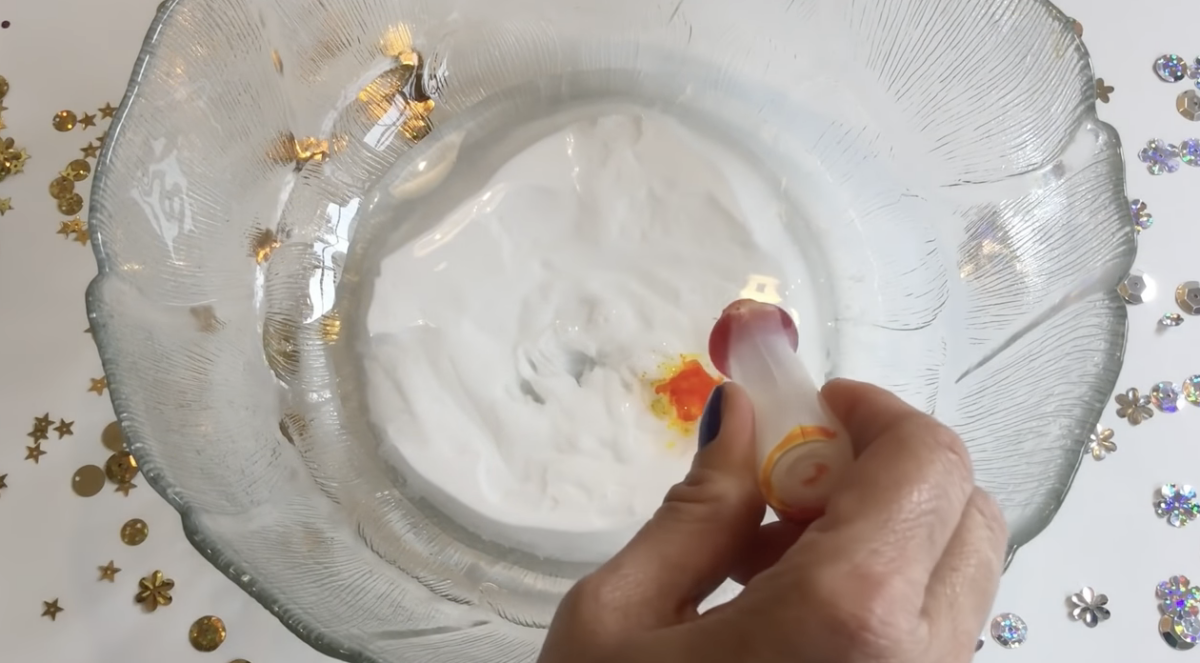
This is the perfect time to add your food coloring—just a few drops will do. Mix again until the color is evenly distributed.
Step 5: Winterize Your Slime
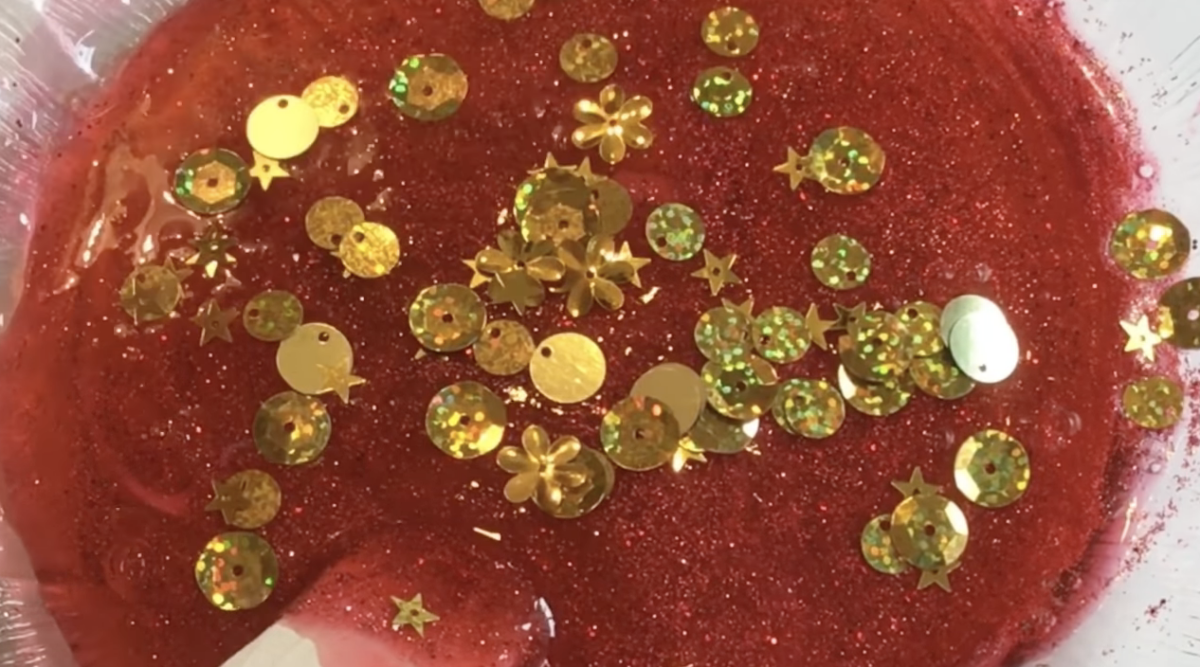
Now for the most enchanting part: add your glitter or sequins into the slime. Fold and knead them in until your slime sparkles like a snowy day. If you’re feeling extra festive, you can even add more than one type of glitter or sequin for that multi-faceted ice effect.
Step 6: Knead and Play
Take the slime out of the bowl and knead it with your hands. If it’s too sticky, you can add a little more contact lens solution until it reaches your desired consistency.
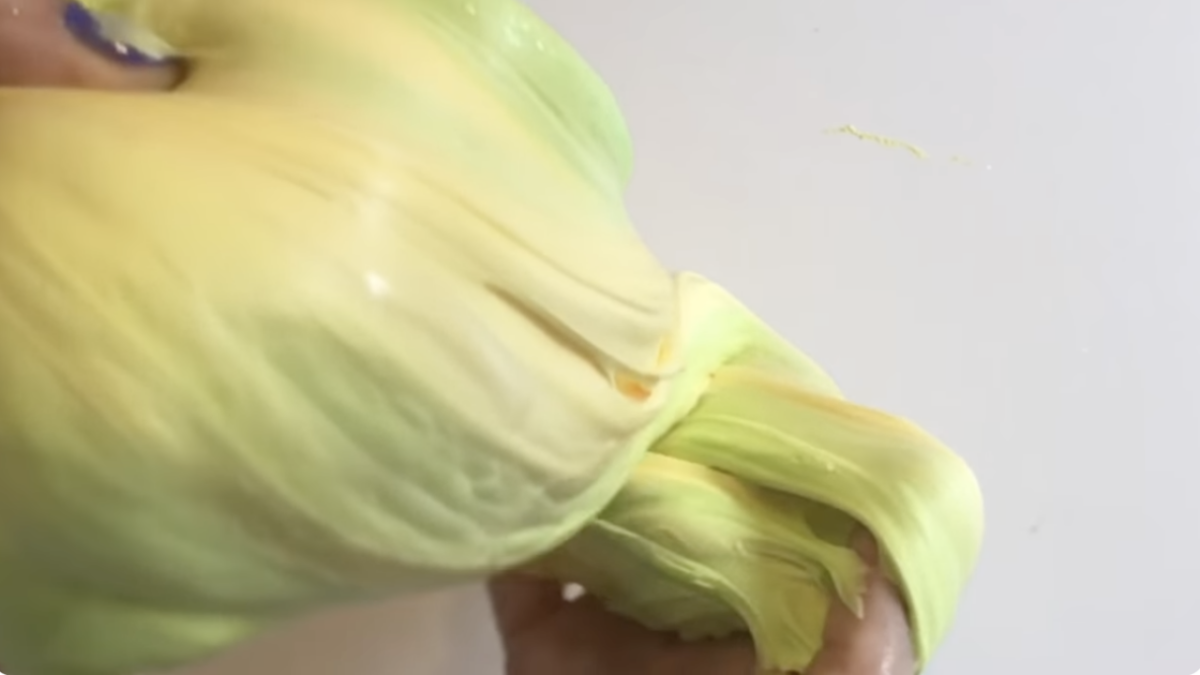
Step 7: Enjoy Your Winter Slime
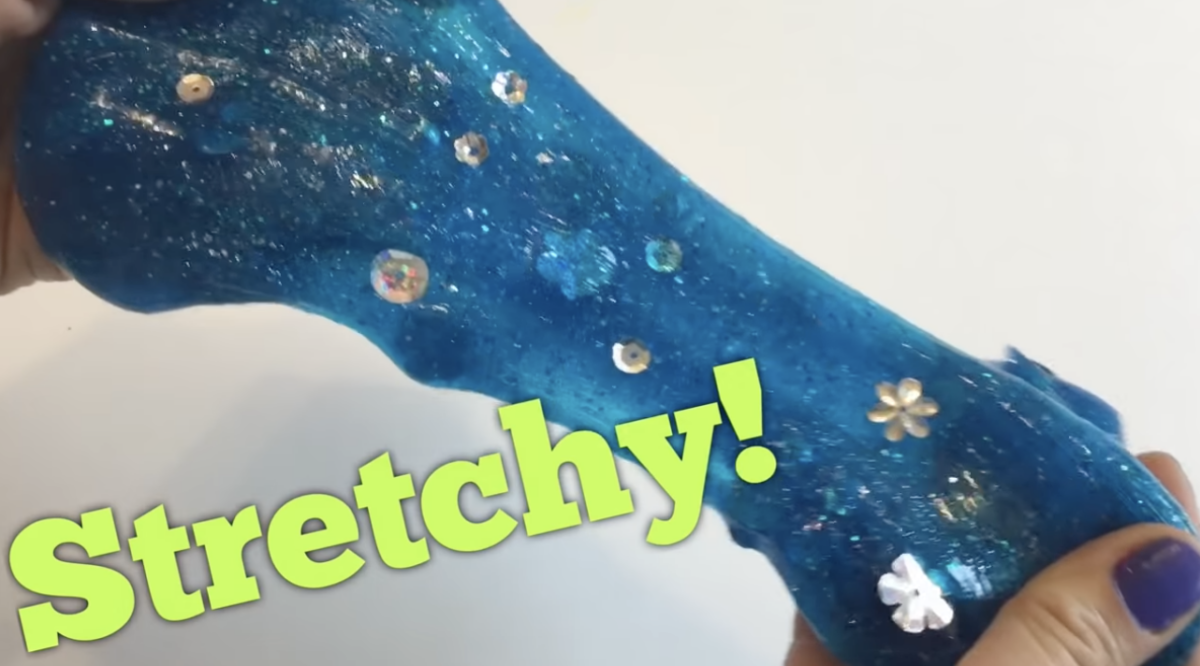
Congratulations! You’ve just created your very own winter wonderland slime. Stretch it, pull it, squish it, and watch it shimmer like ice and snow in your hands. It’s the perfect craft for a cozy winter day inside.
Safety Tips:
- Always supervise children during the craft, especially when using chemicals like contact lens solution and baking soda.
- Make sure everyone washes their hands after playing with the slime to avoid any irritation.
This winter slime craft is more than just a fun activity; it’s a way to bring the beauty and wonder of the season into your home, creating memories that will last long after the snow has melted. So why wait? Dive into your craft supplies and let the magic of winter unfold in your hands.
